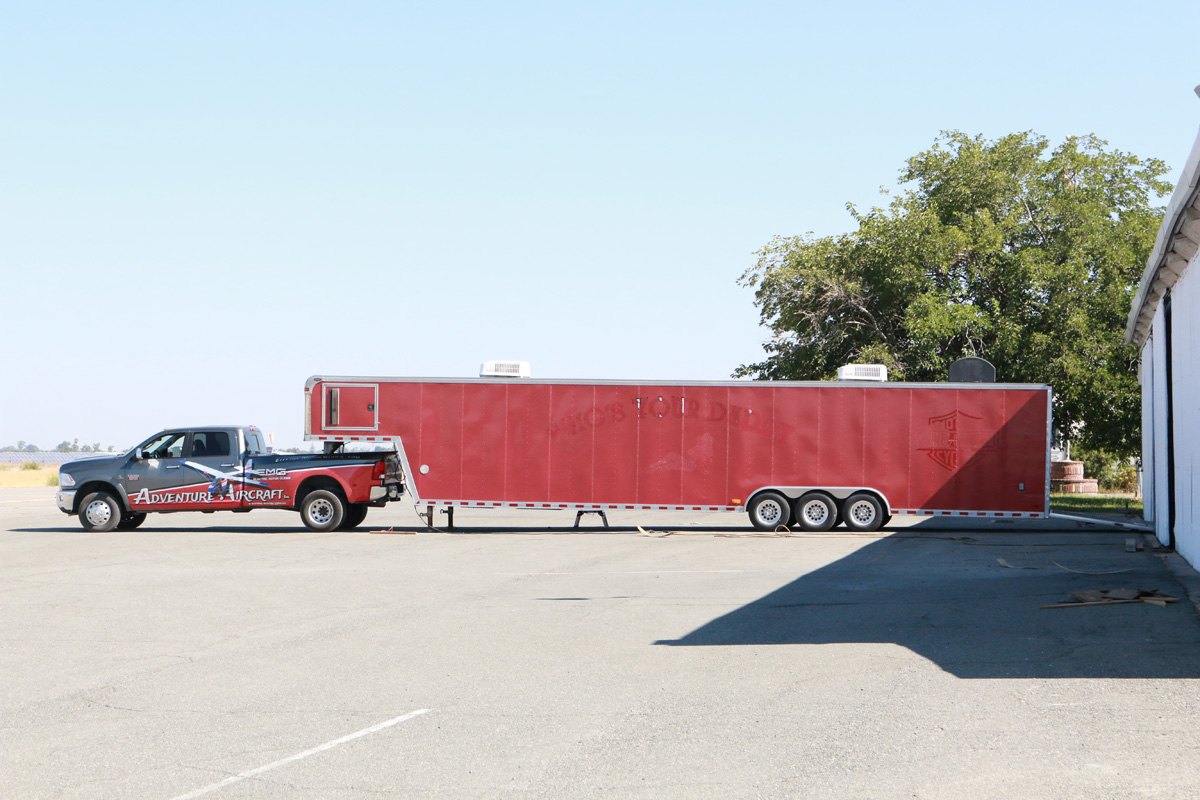
July 19, 2017: Off to Oshkosh
The voyage to Oshkosh begins. The 4300 mile round trip journey, has in the past, always been quite eventful. There is always something that goes wrong. We are hoping this year will be the exception. We put a greater emphasis on vehicle maintenance, planning, and organization. Although the weather for Oshkosh this year looks to be about as good as we’ve ever seen, the weather along the way looks as though it’s going to be filled with a lot of rain showers, and thunderstorms. If you are also hinted to Oshkosh make sure that you venture over to the ultralight area where we will have our booth and airplanes set up. Check the calendar of the home page to see what forums we will be presenting this year. And keep in mind, there are still seats available for the 2 day light sport repairman inspection class Monday and Tuesday after the air show is over.
July 1, 2017
As July begins, we are in a full out sprint to get ready for the Oshkosh air show. Continue to post updates as often as we can about what’s going on with the airplane and the shop. There are many other tasks that we are undertaking simultaneously. We continue to publish new drawings to the builders database on a fairly regular basis. We are working on some format changes to the website to make the process of building more user-friendly. We have a fairly long list of parts that we are trying get ready for customers that will pick up their orders at the air show. All of this while trying to submit articles for the EAA magazine, writing PowerPoint presentations for the forums that we will be presenting during the air show. Prepping for the two-day light sport repairman inspection class that we will be holding in the Vetty theater the Monday after the air show. And prepping for the Hints for Homebuilder videos that we will be doing the day after that.
New Links this Month
July 19, Ready for departure
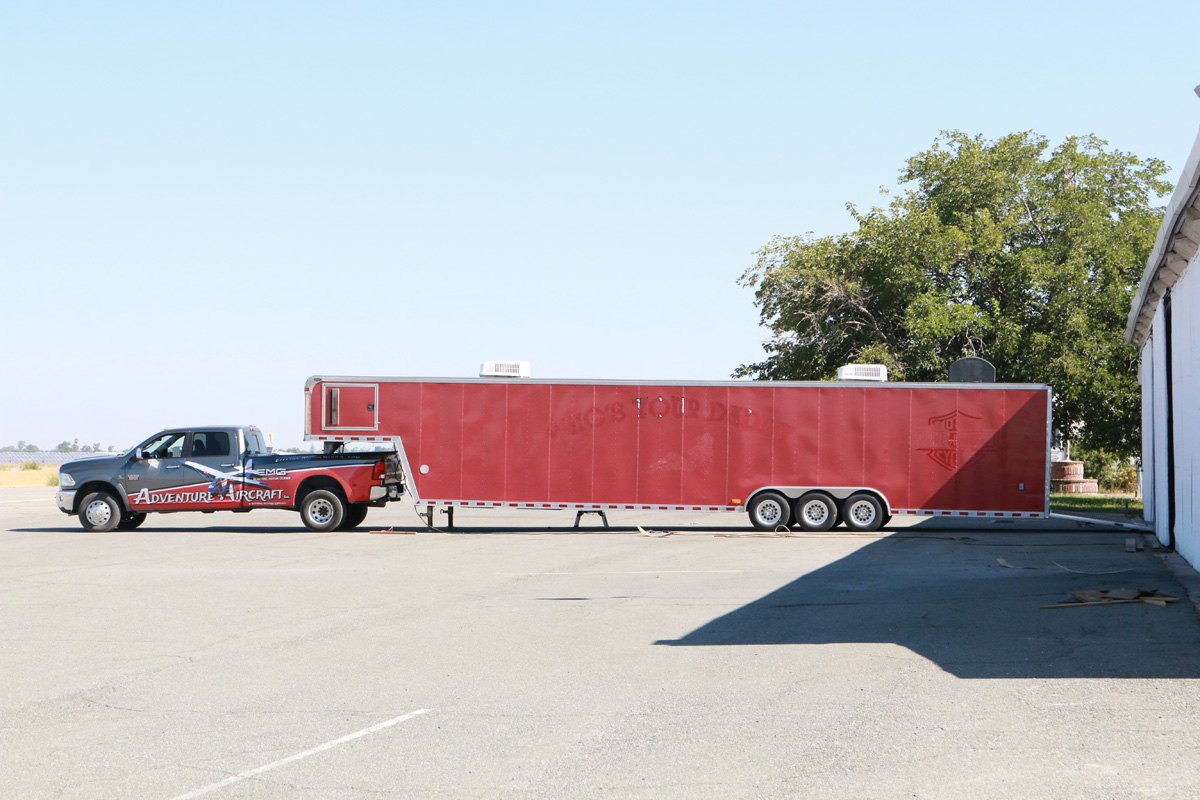
2 airplanes loaded.
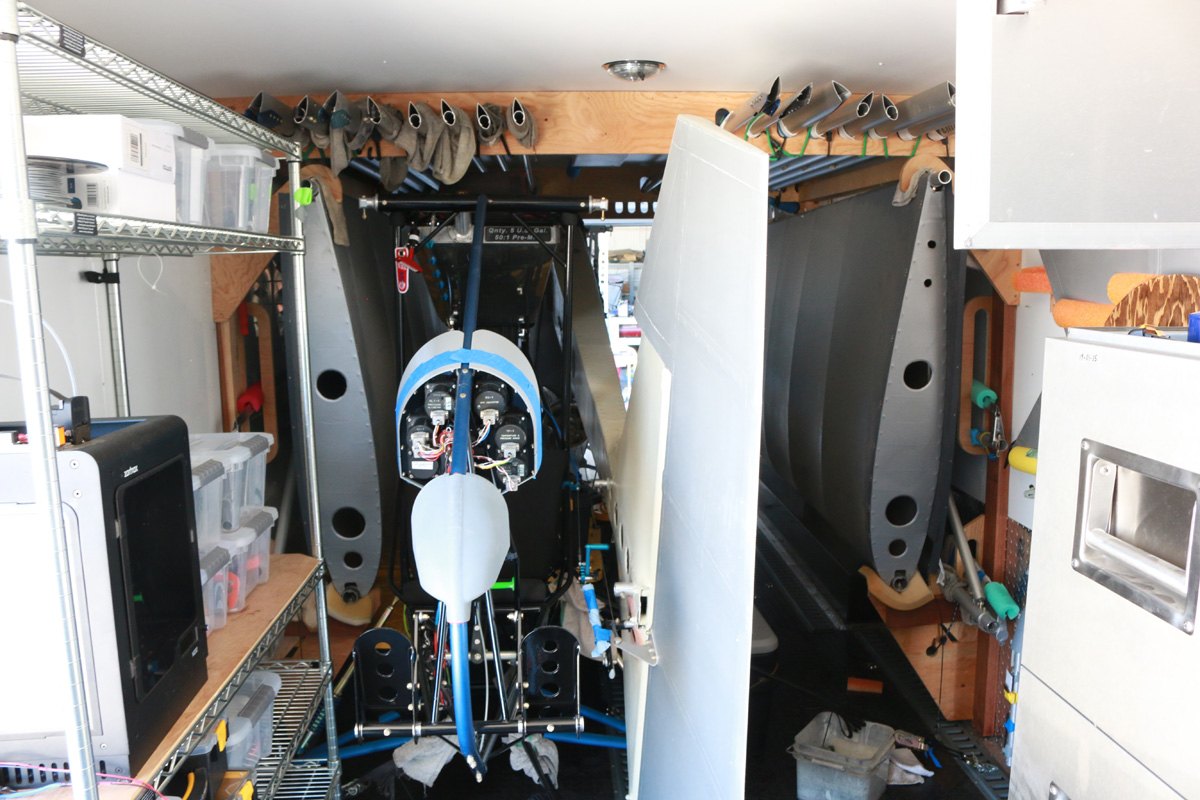
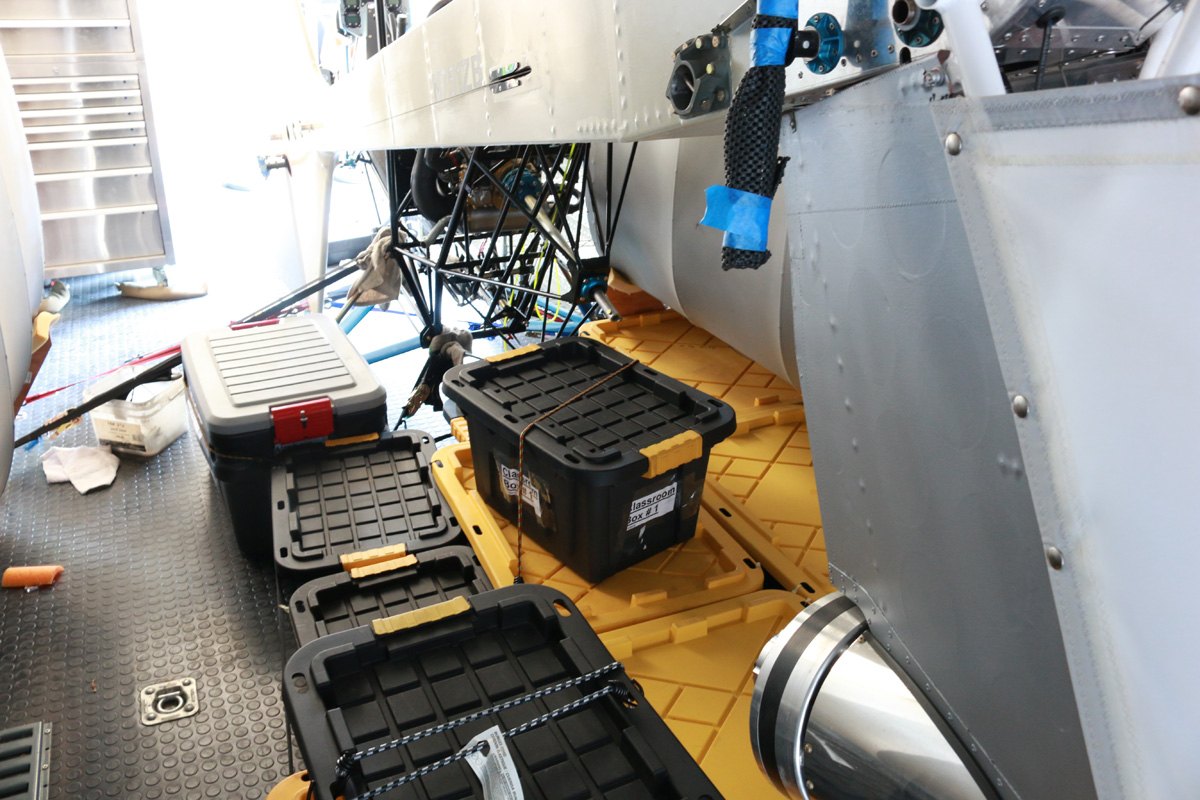
Boxes, boxes, and more boxes
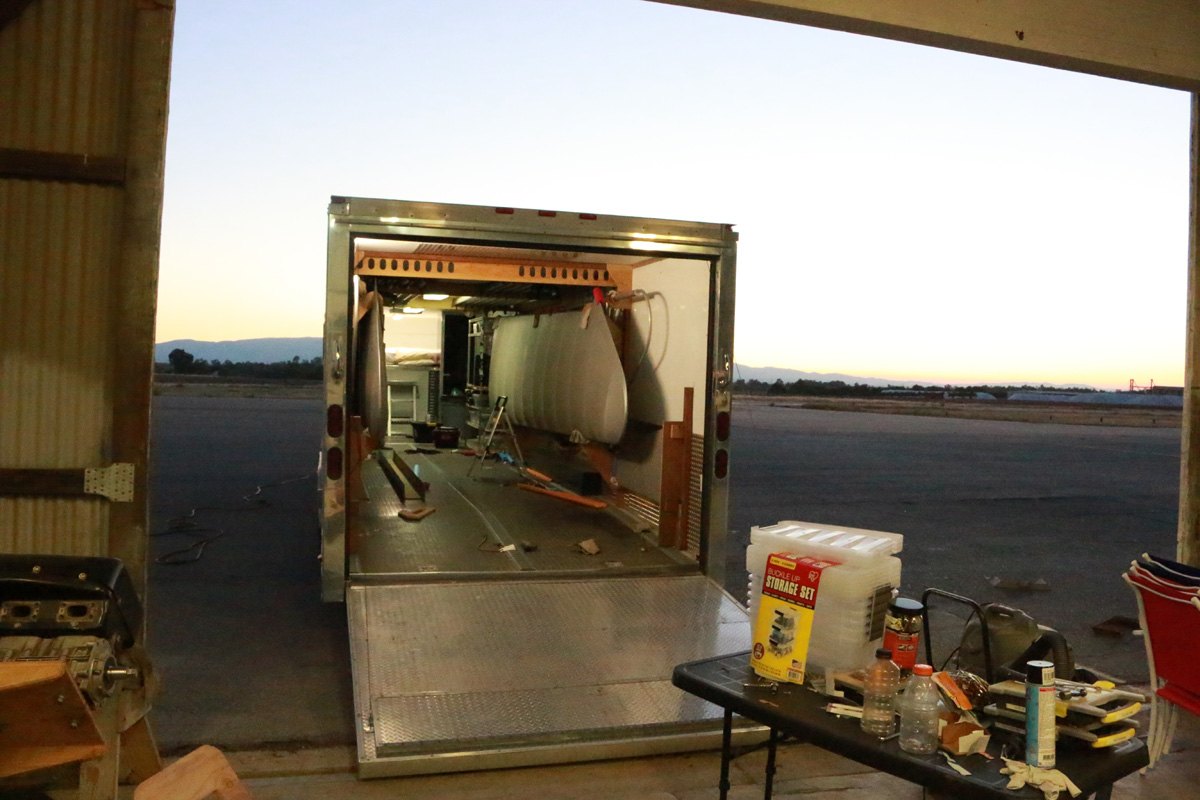
View from the tailgate
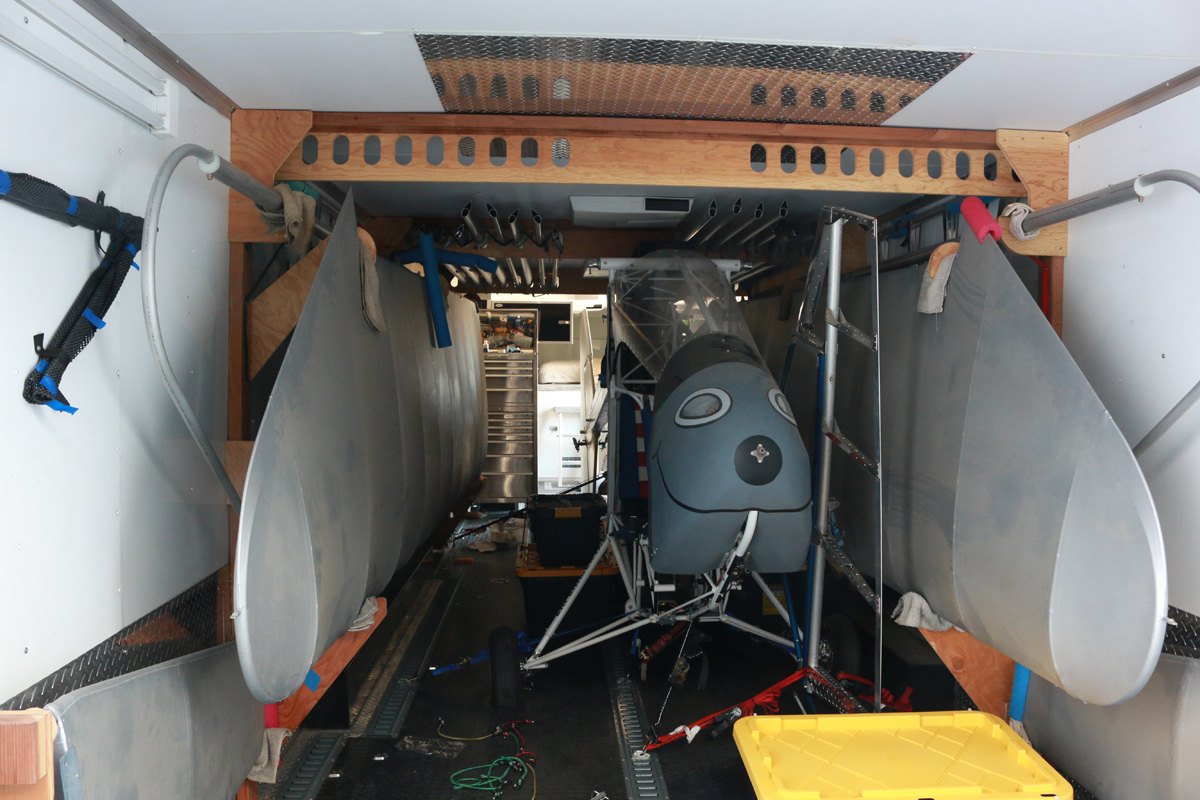
July 18, loading the trailer
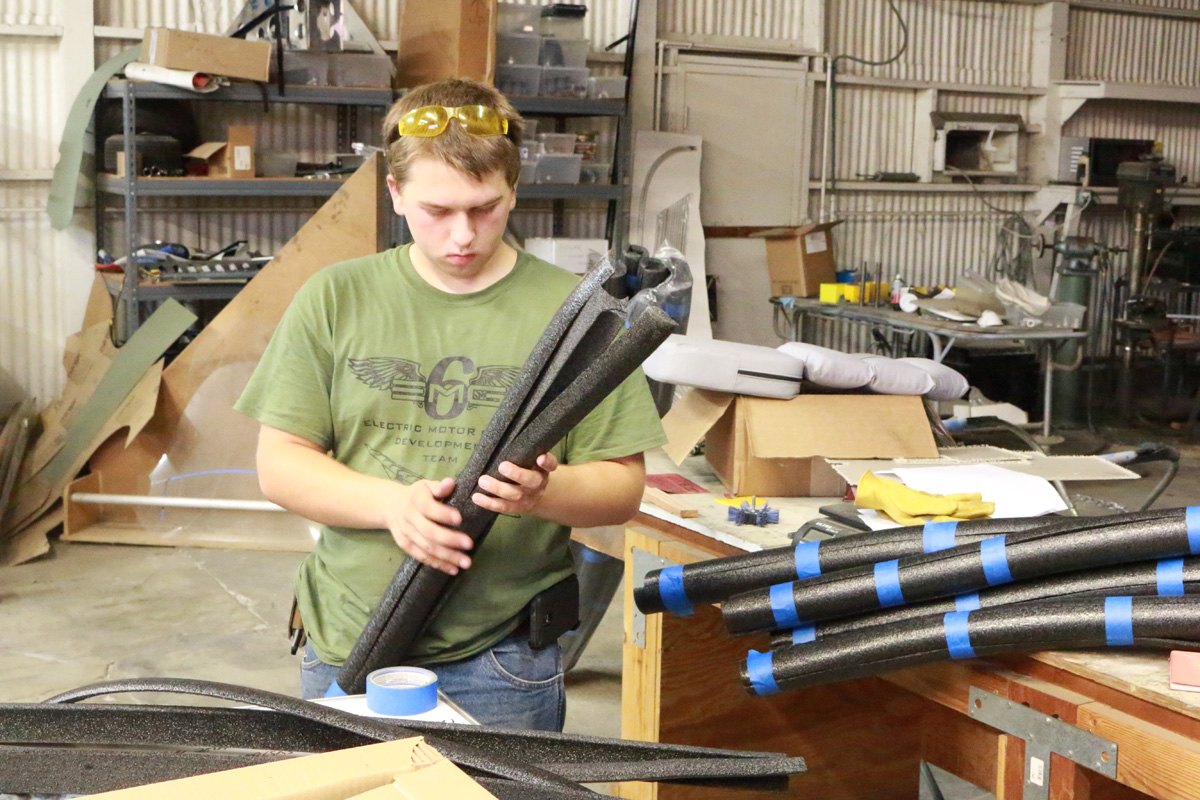
Gap seals.
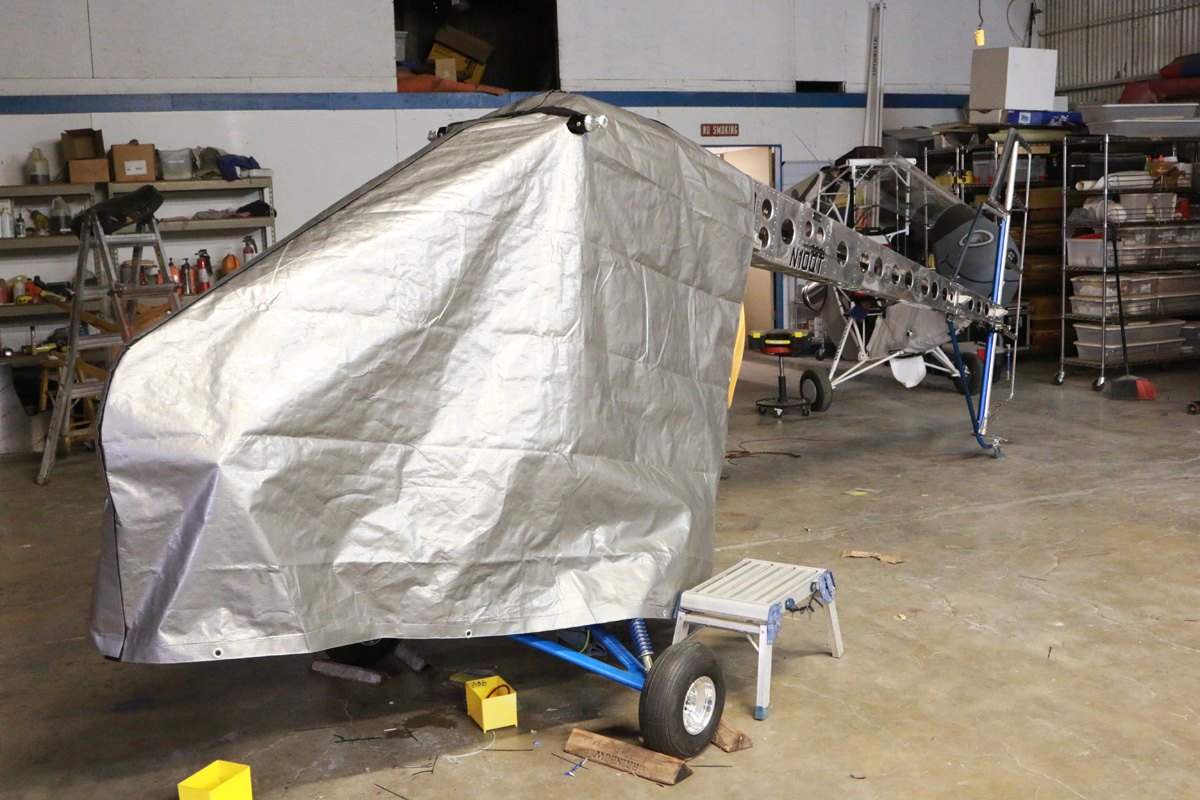
Rain cover
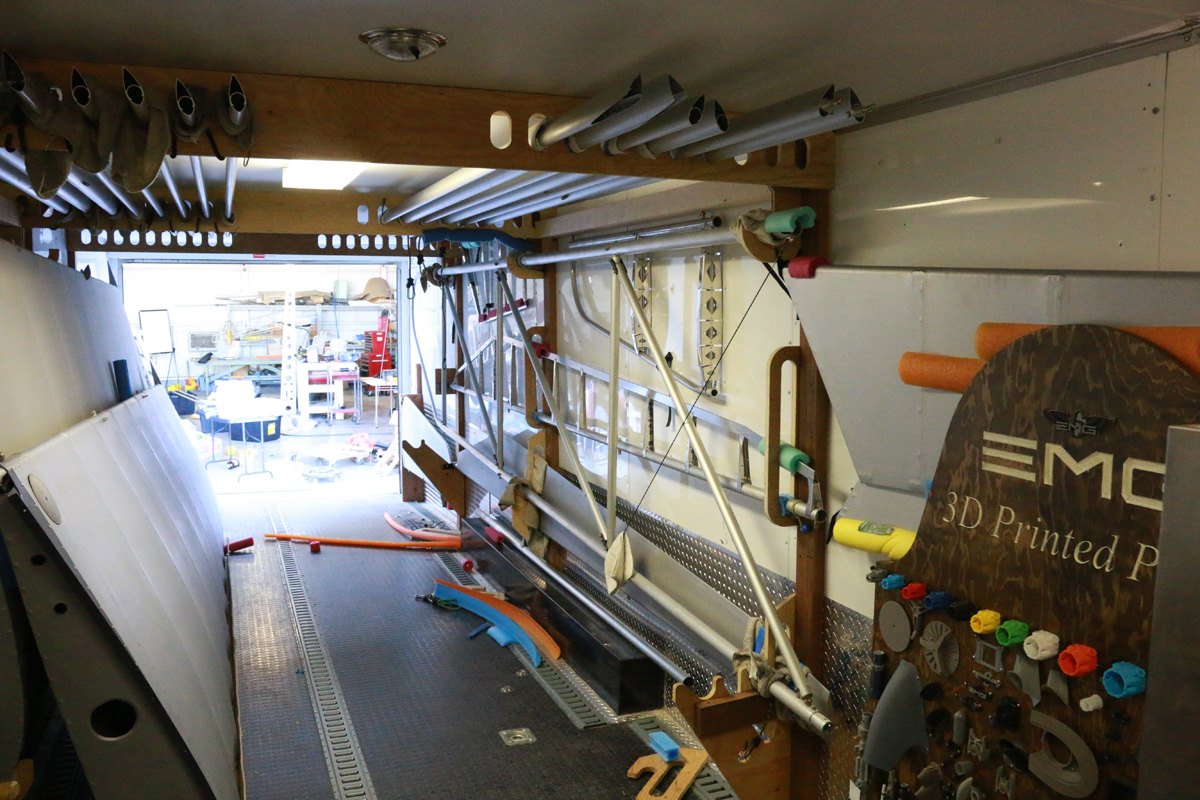
Mounting components
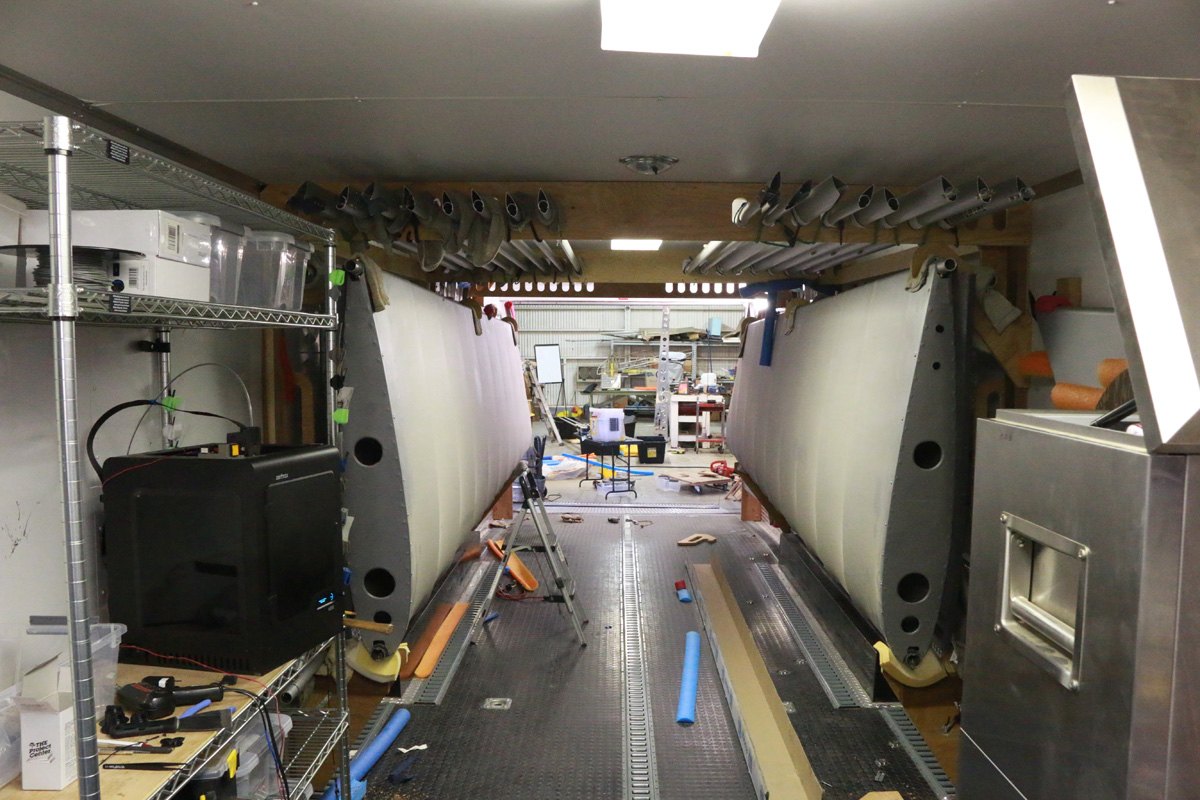
Right side of the trailer
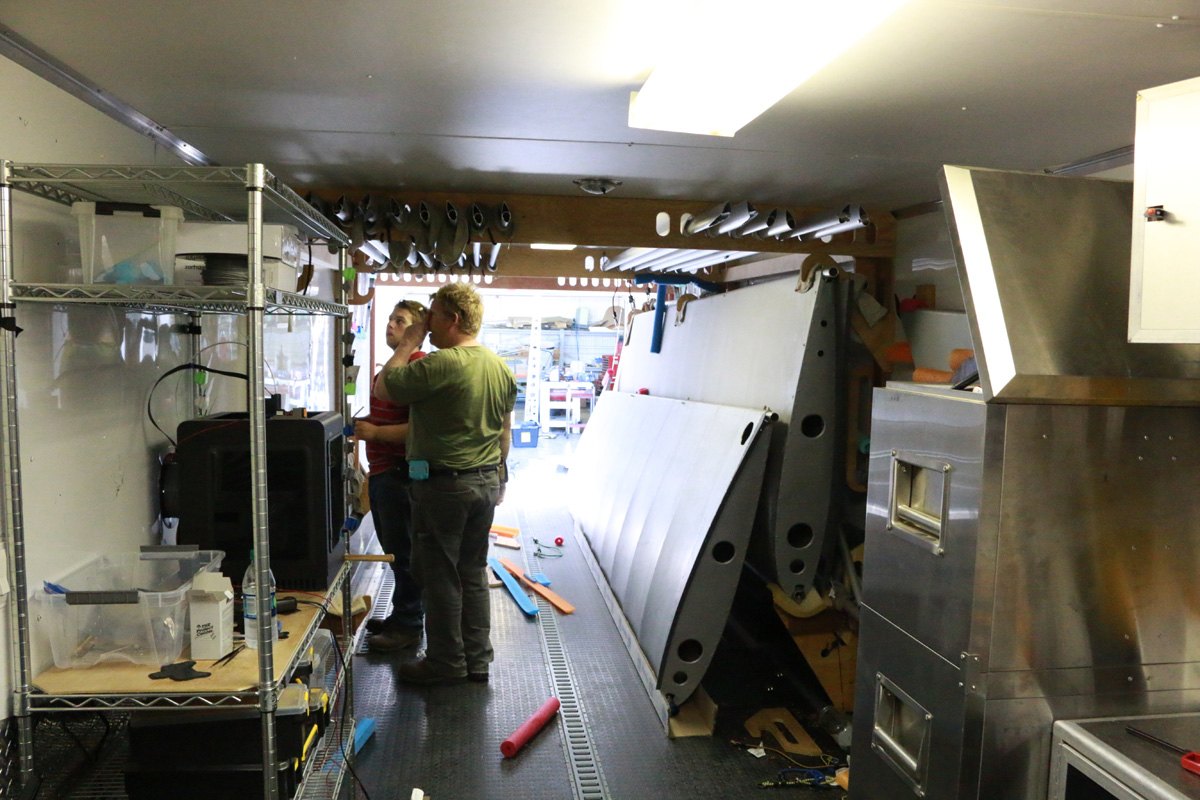
Surfaces mounted
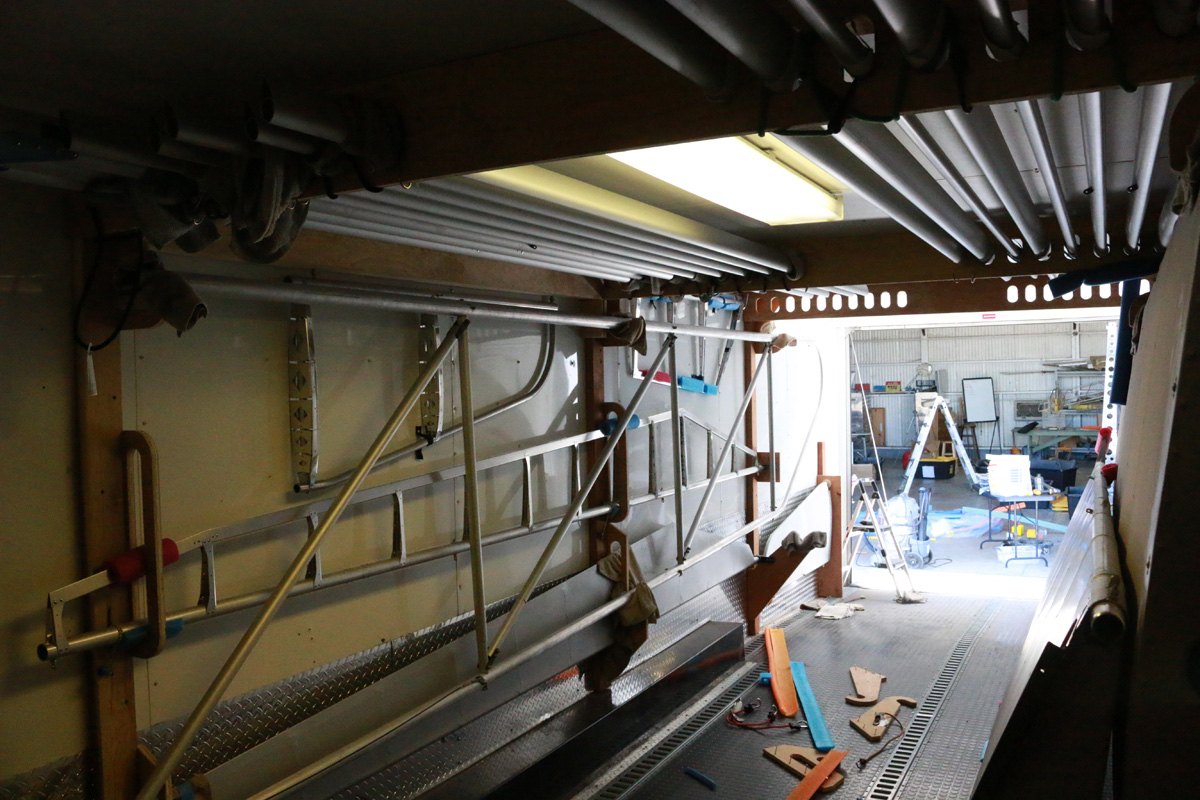
Wings control surfaces ready
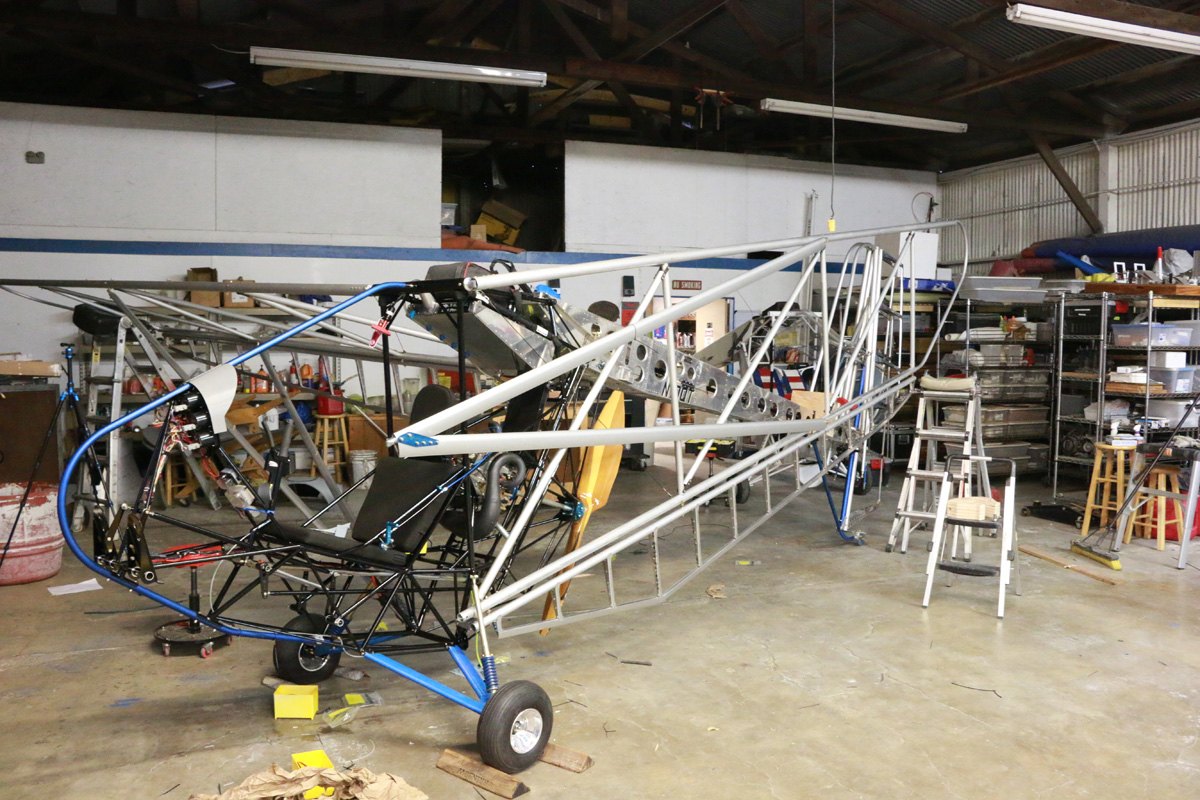
July 15, wing fold system
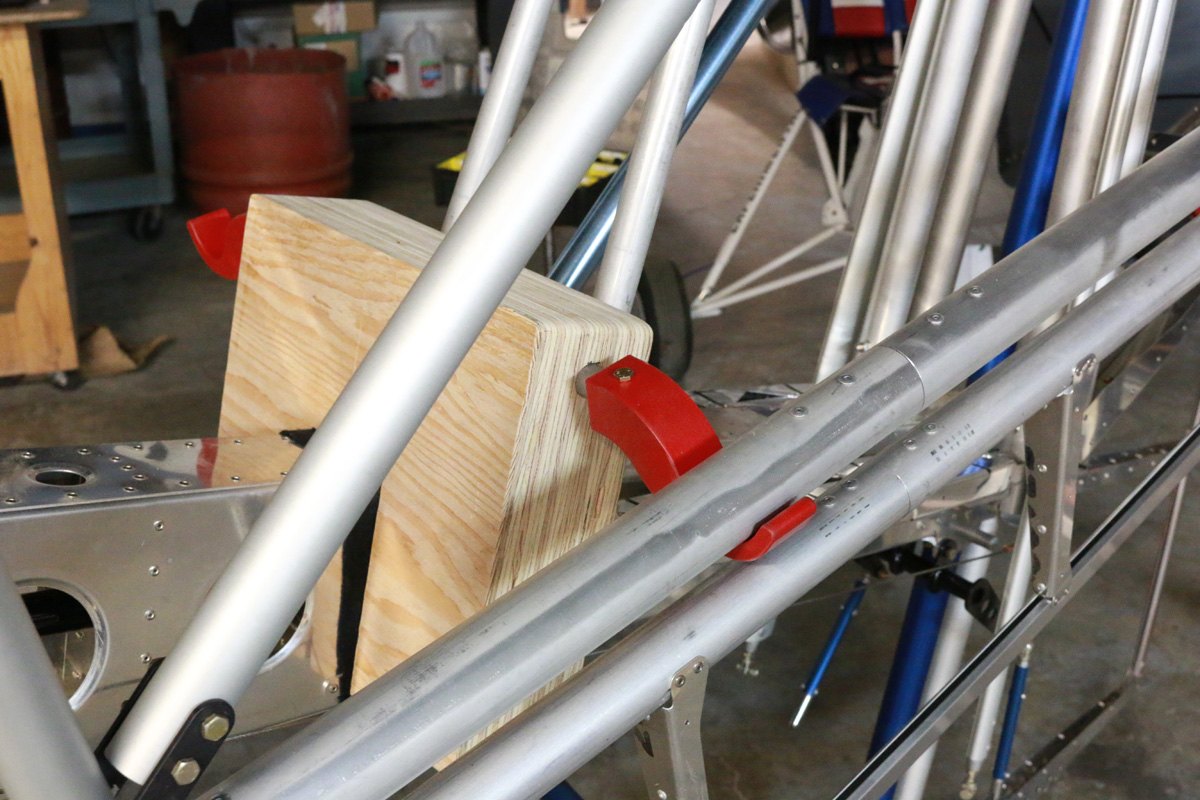
Wing fold saddle
Inboard trailing edge position
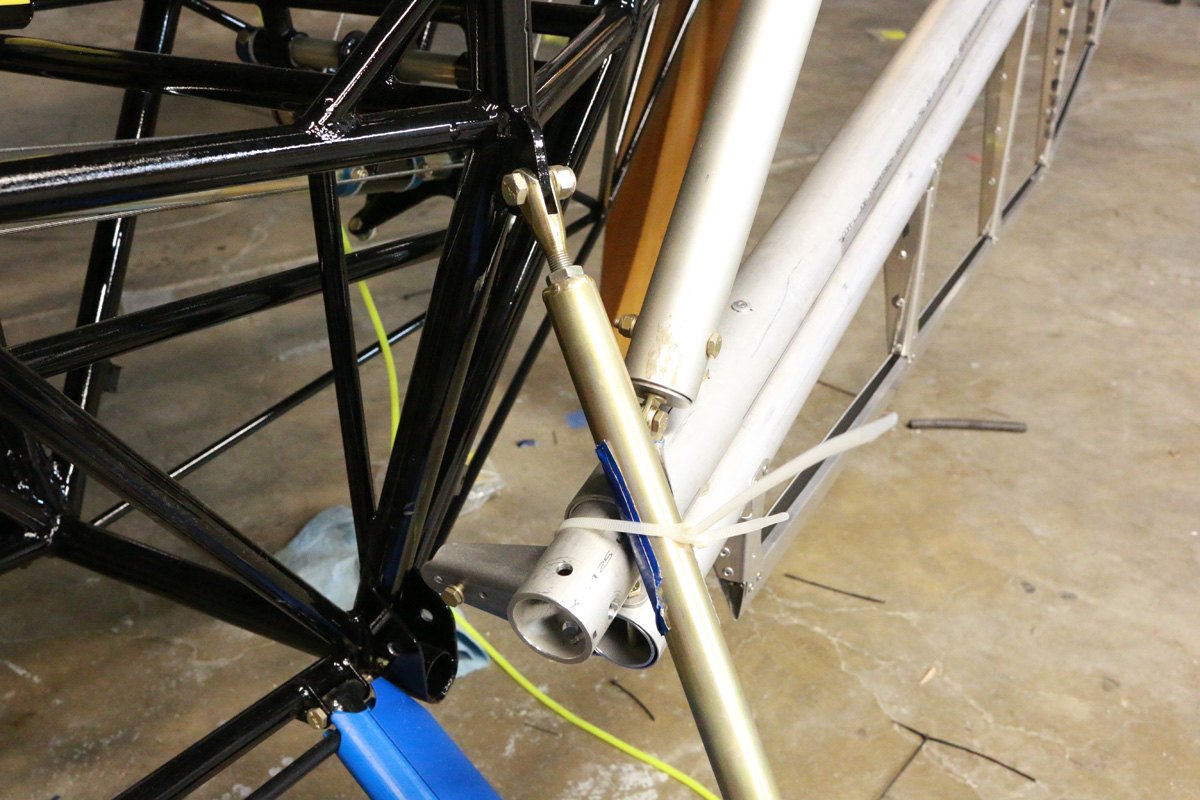
Lift strut attach fitting
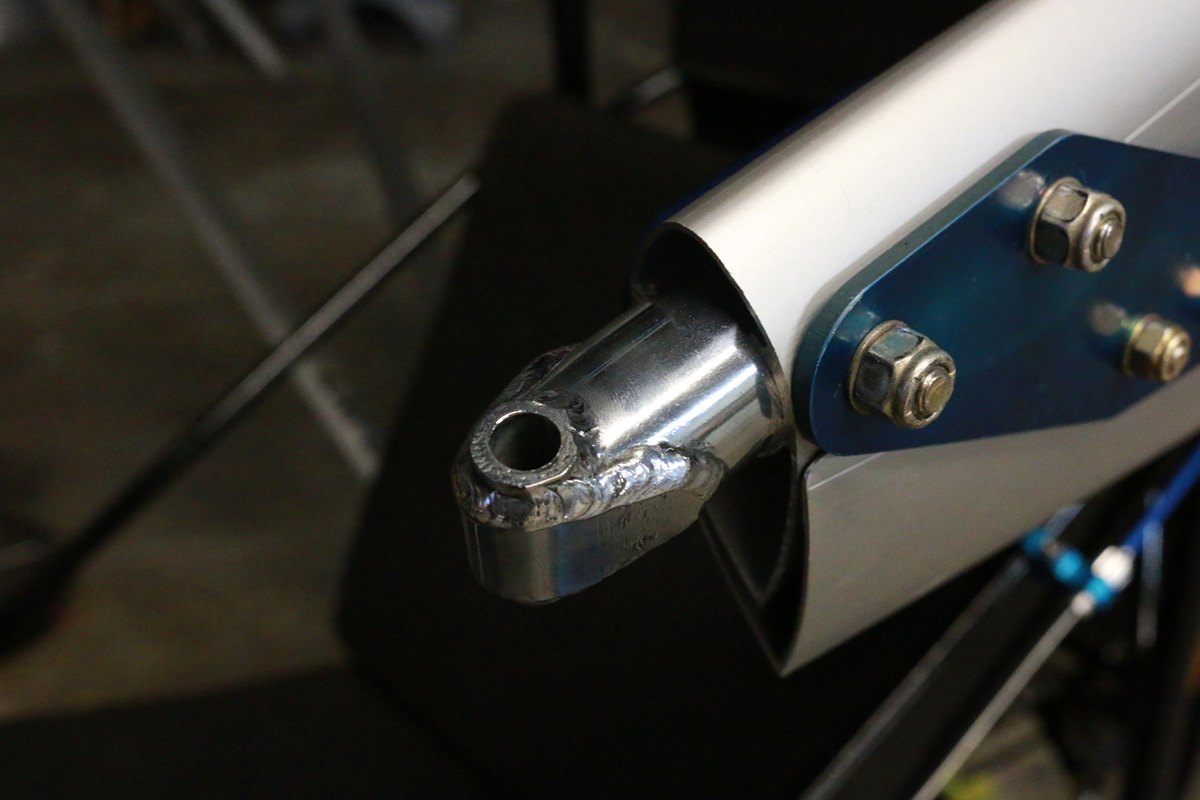
Lift strut eyebolts standoffs
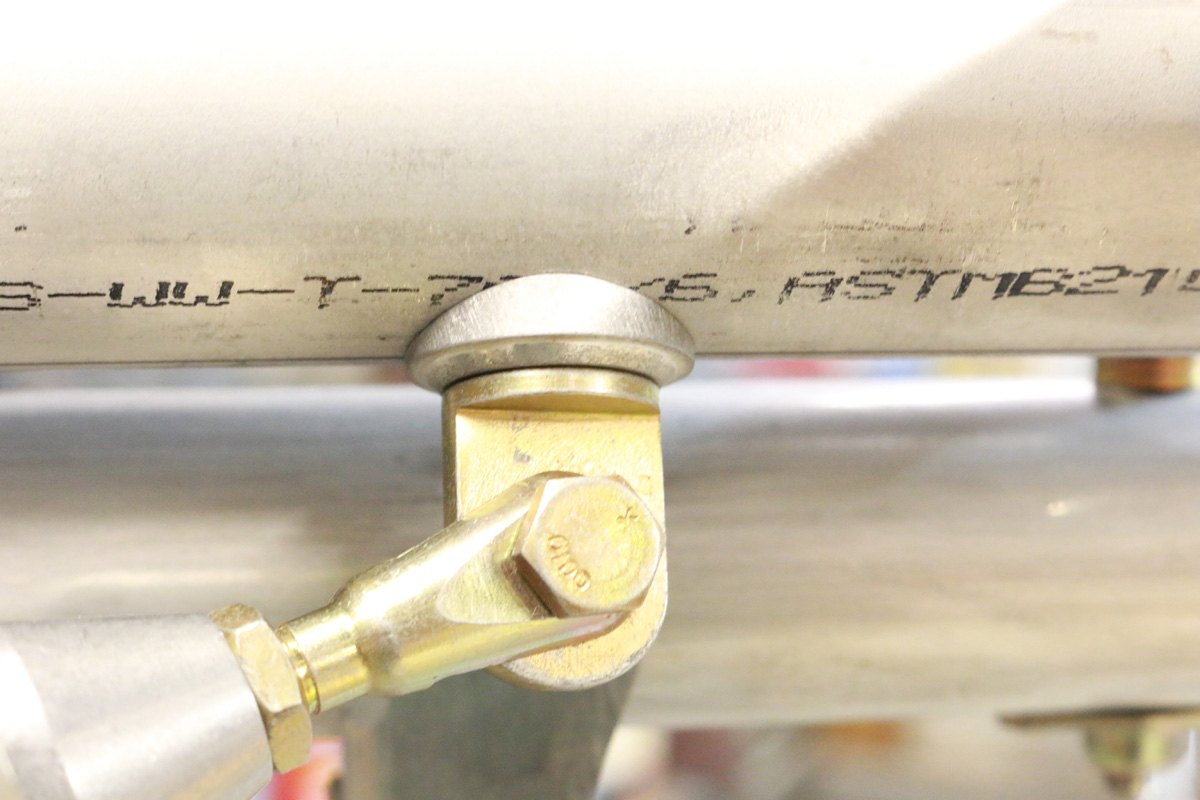
Lift strut positioning
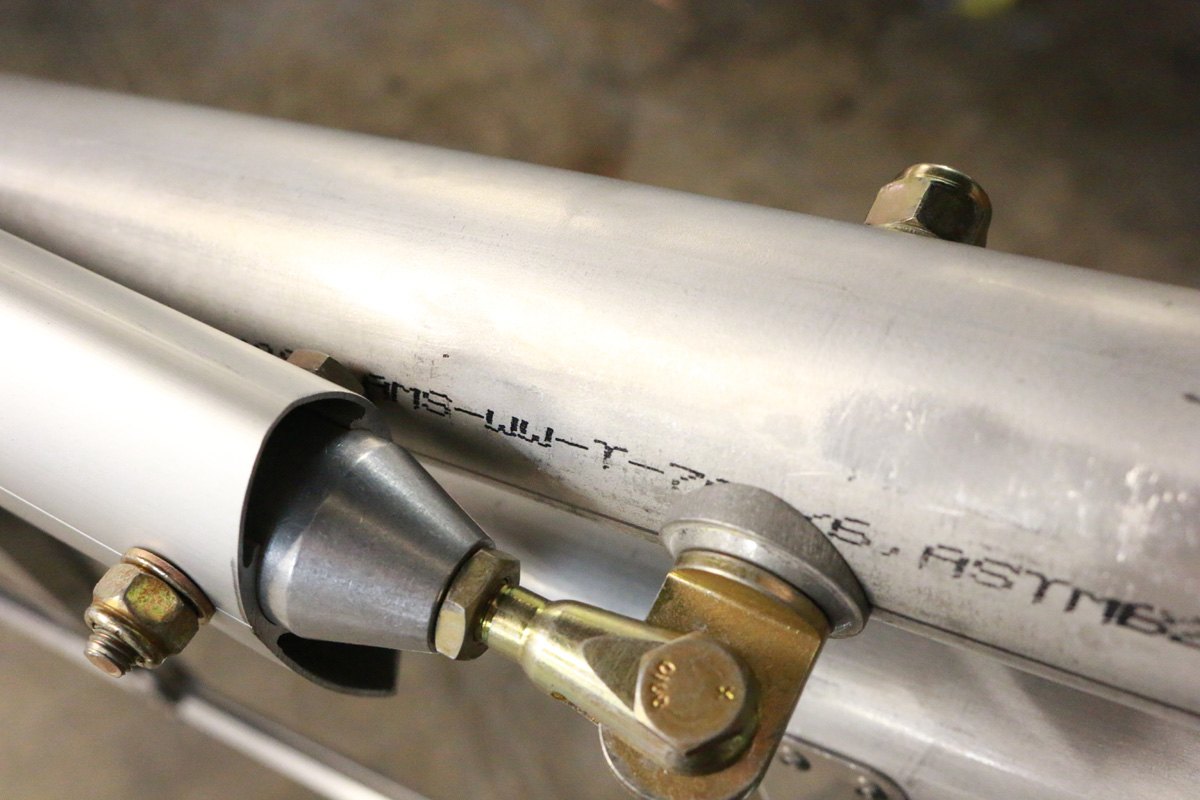
Forward spar standoff
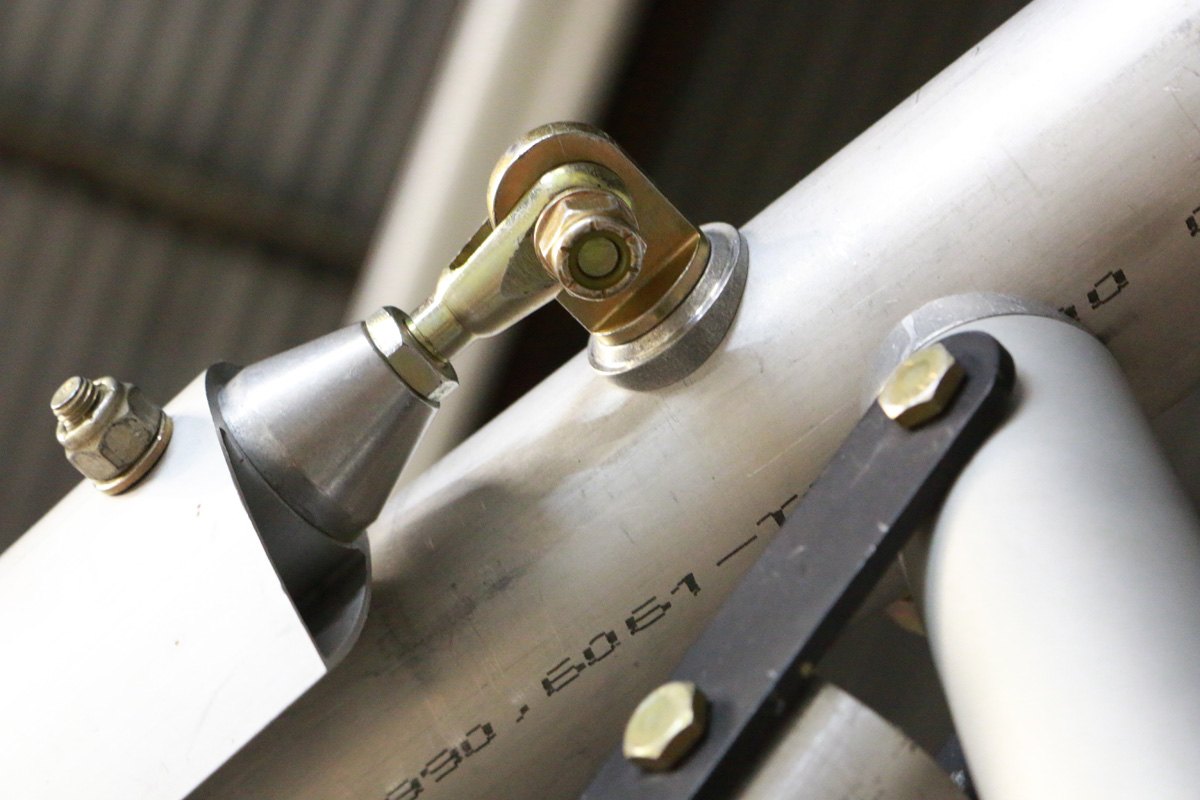
Jury strut attach
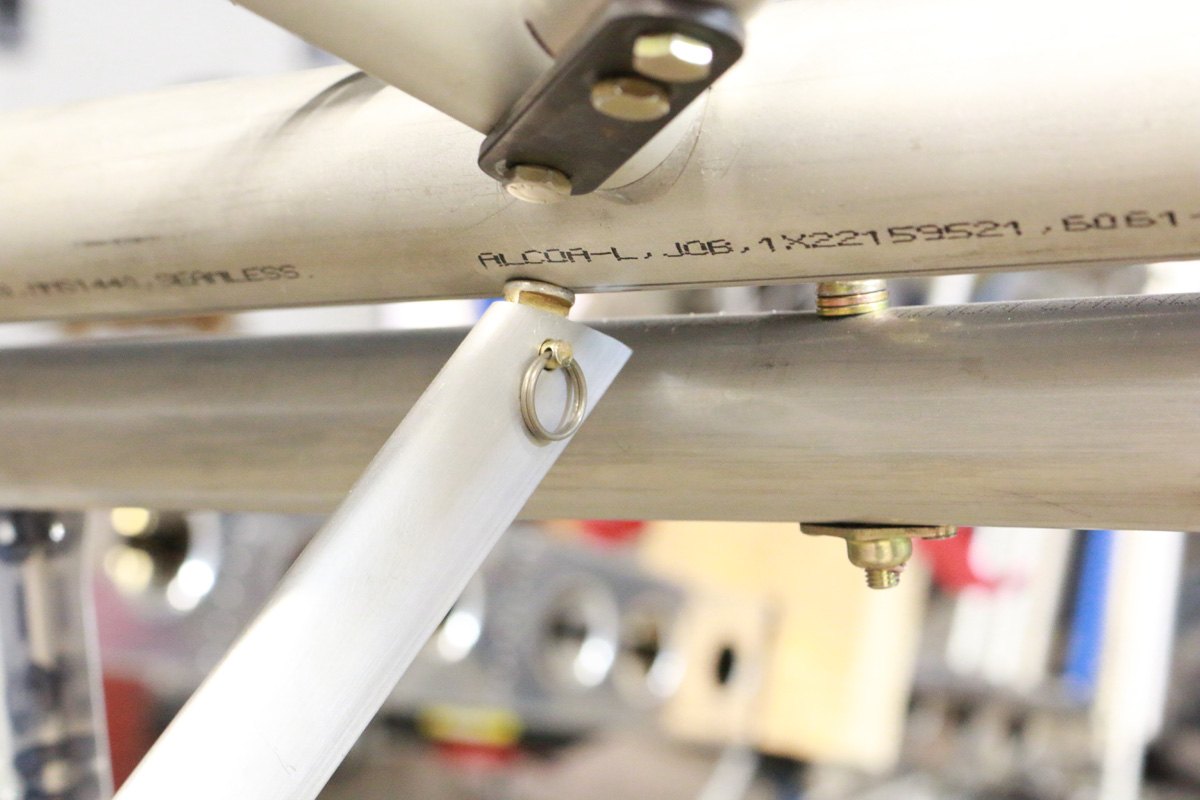
Jury strut clevis pin attachment
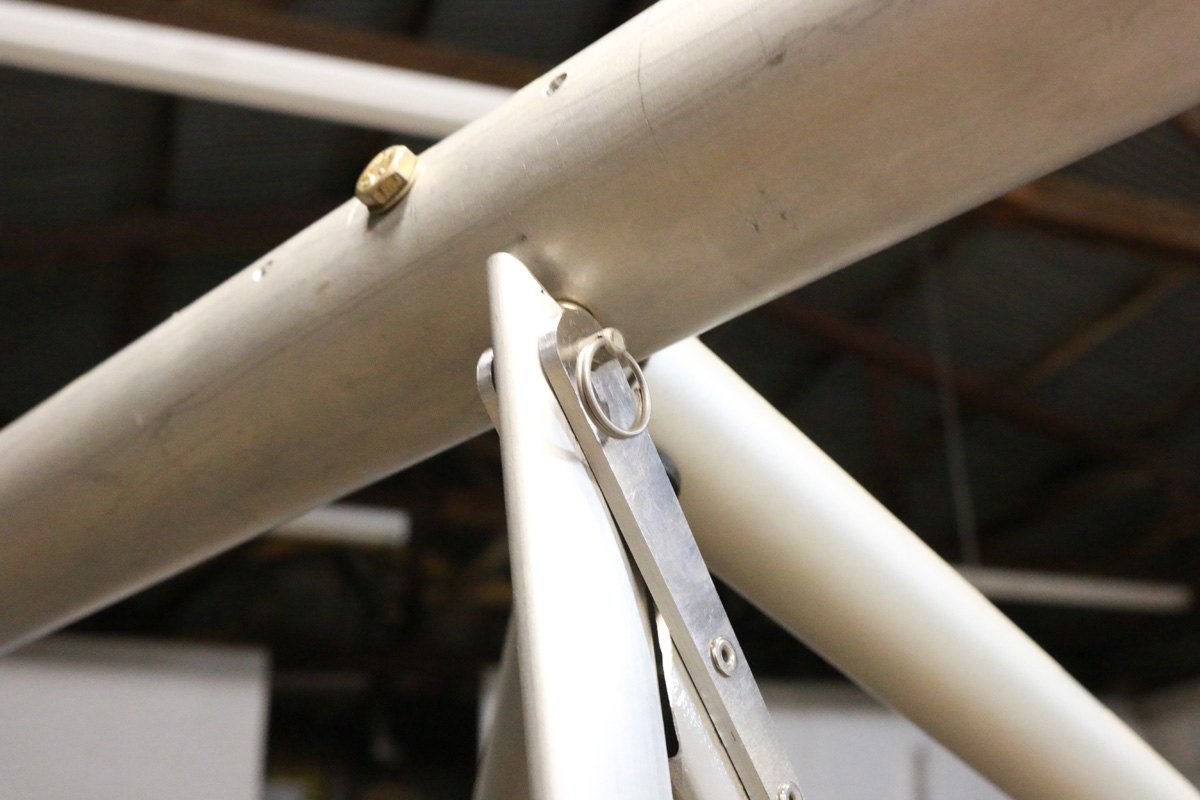
Adding decals
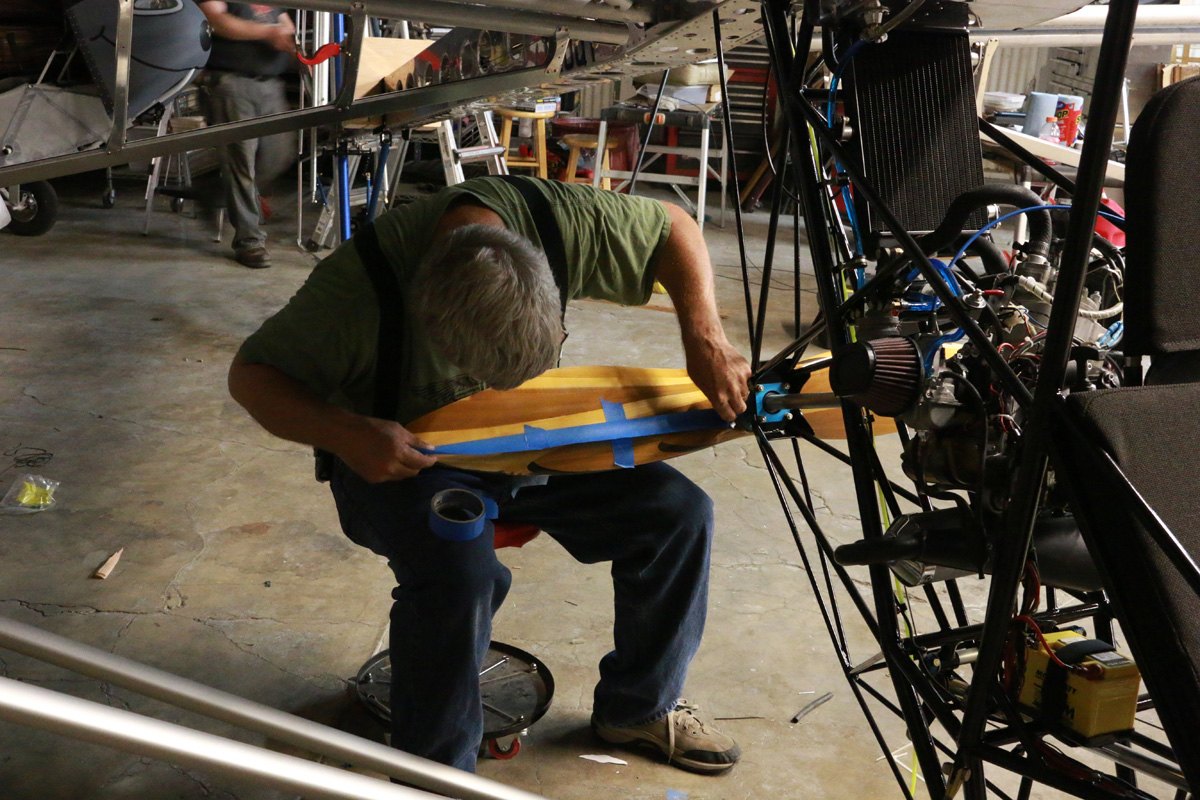
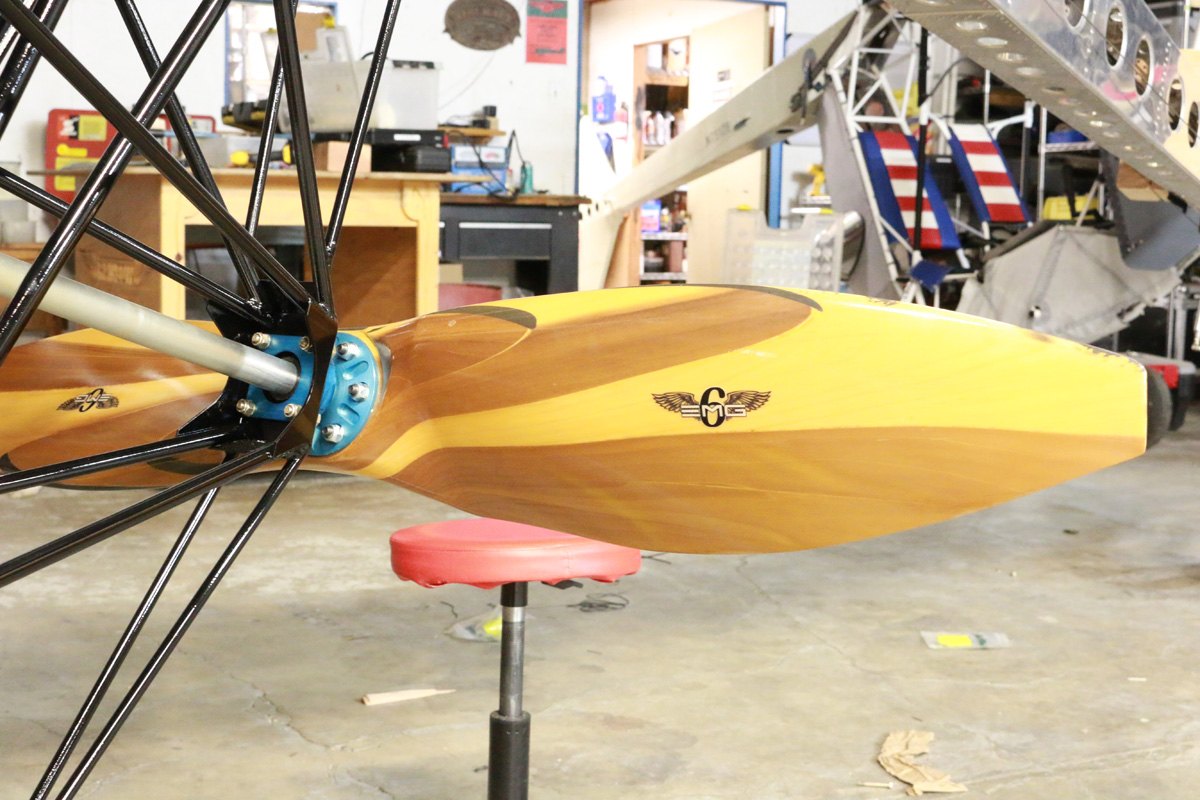
EMG-6 decal
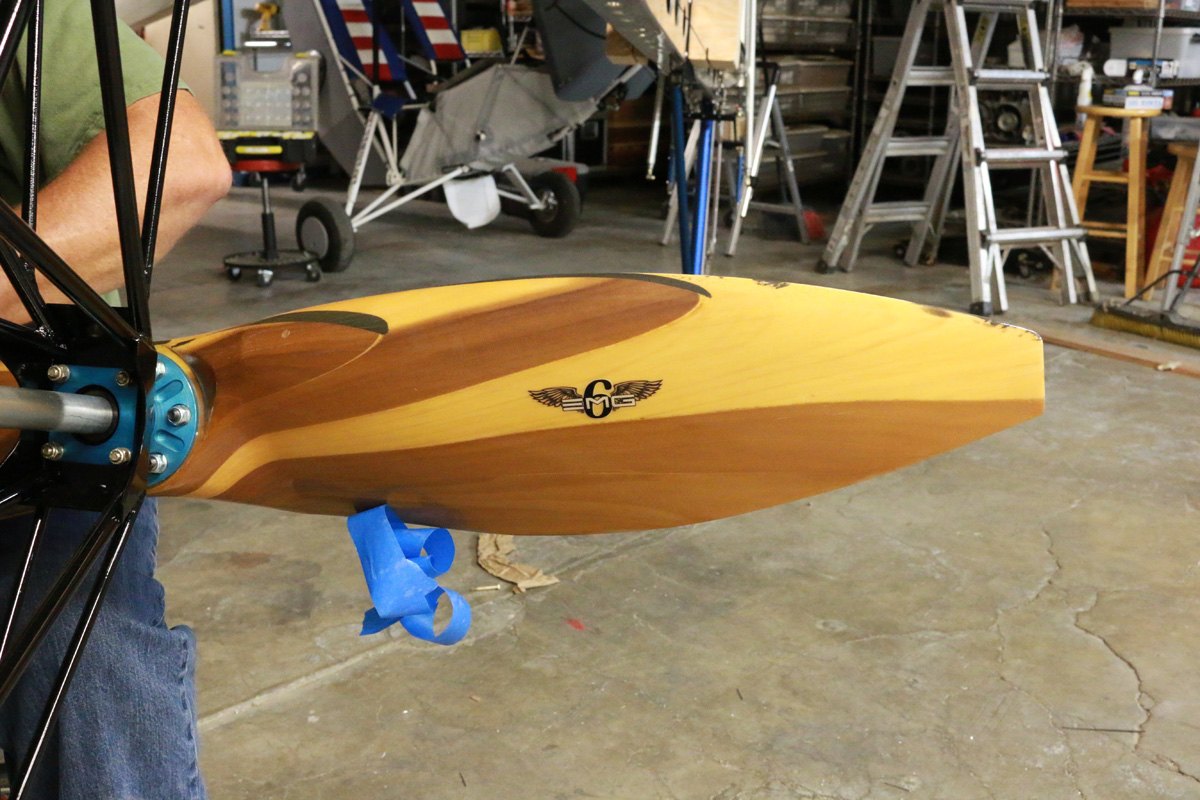
Prop decals
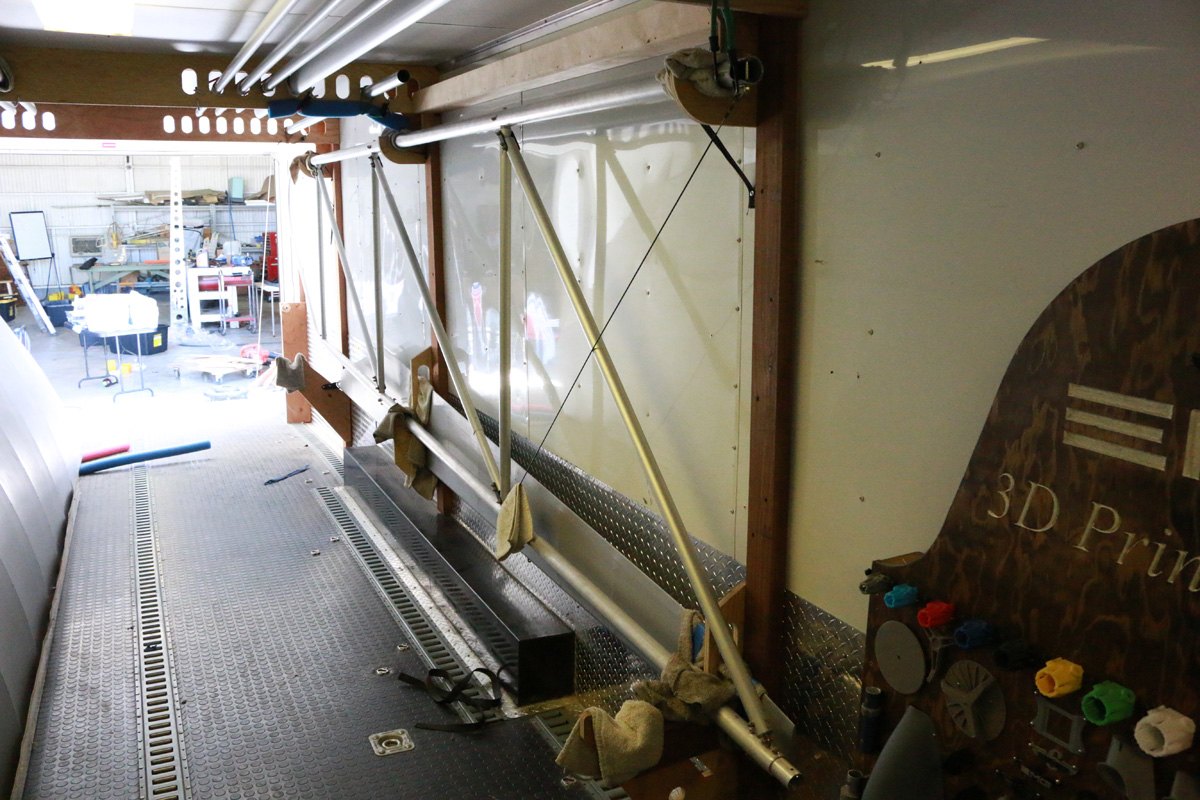
Loading the trailer
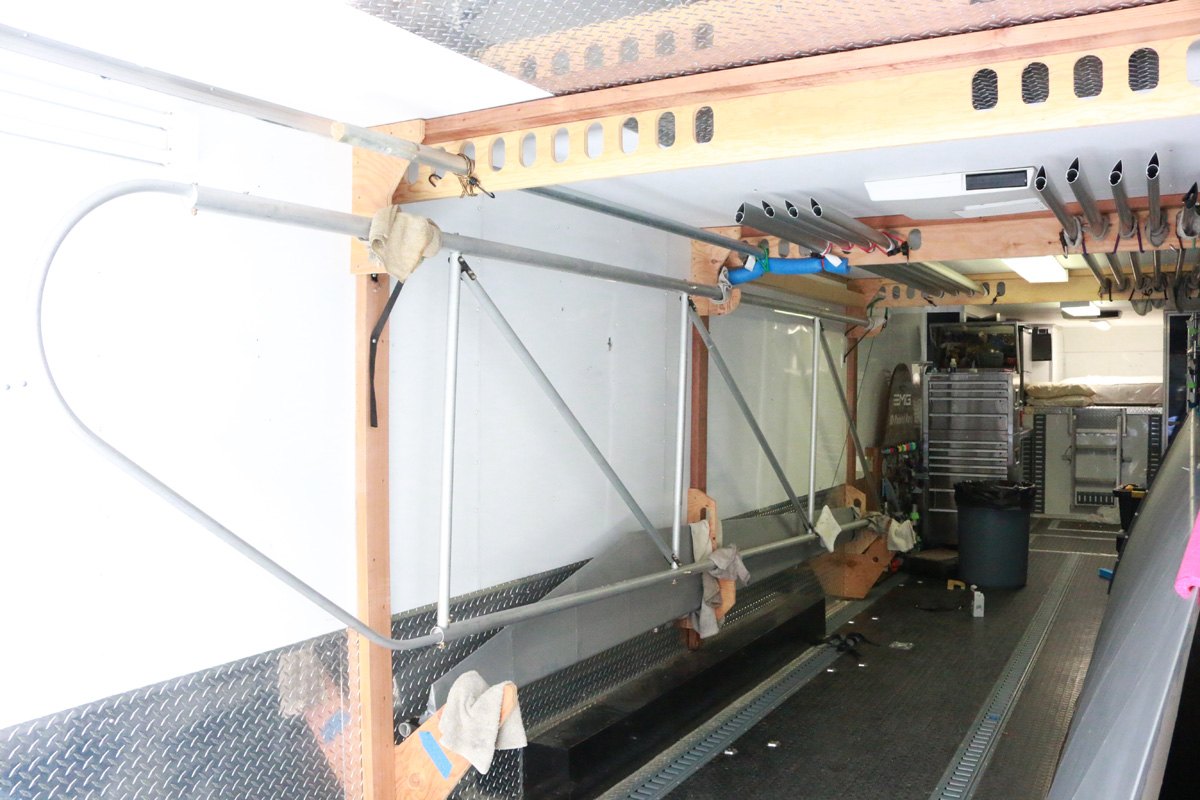
Mounting the wings.
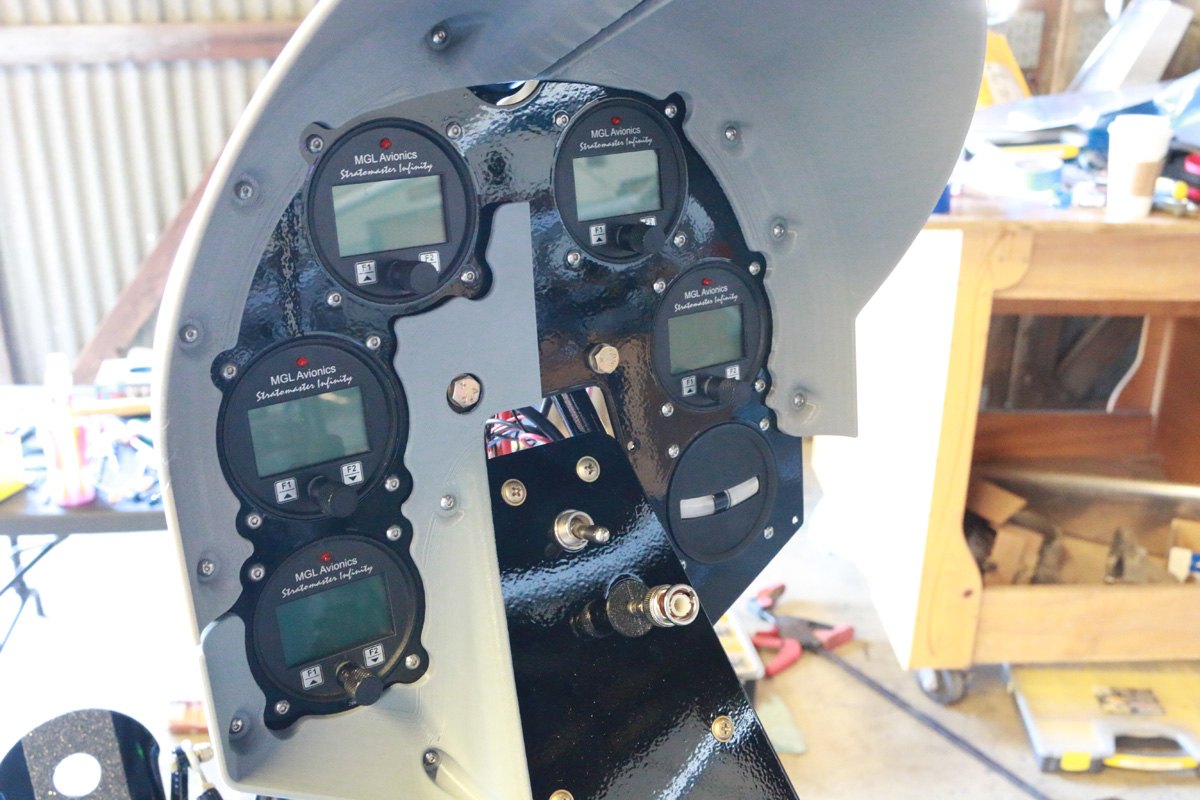
3D printing the lower left instrument panel
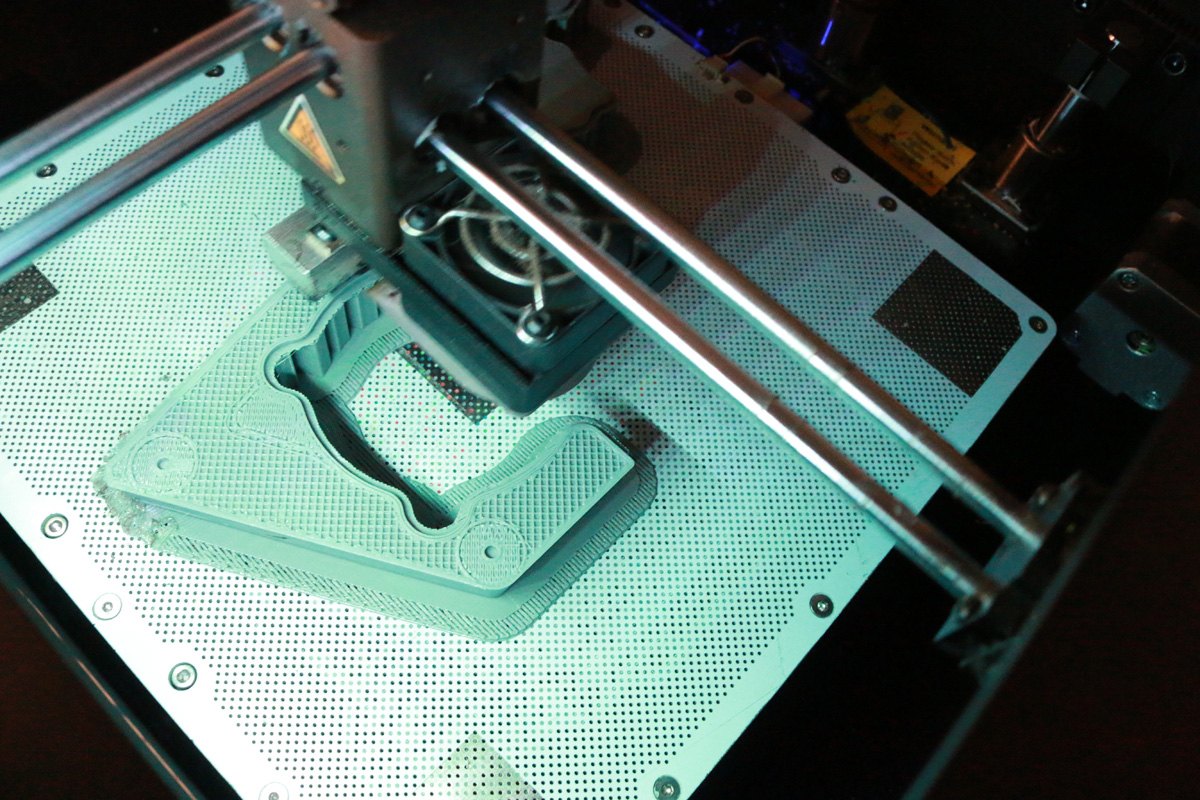
Lower left instrument panel addition
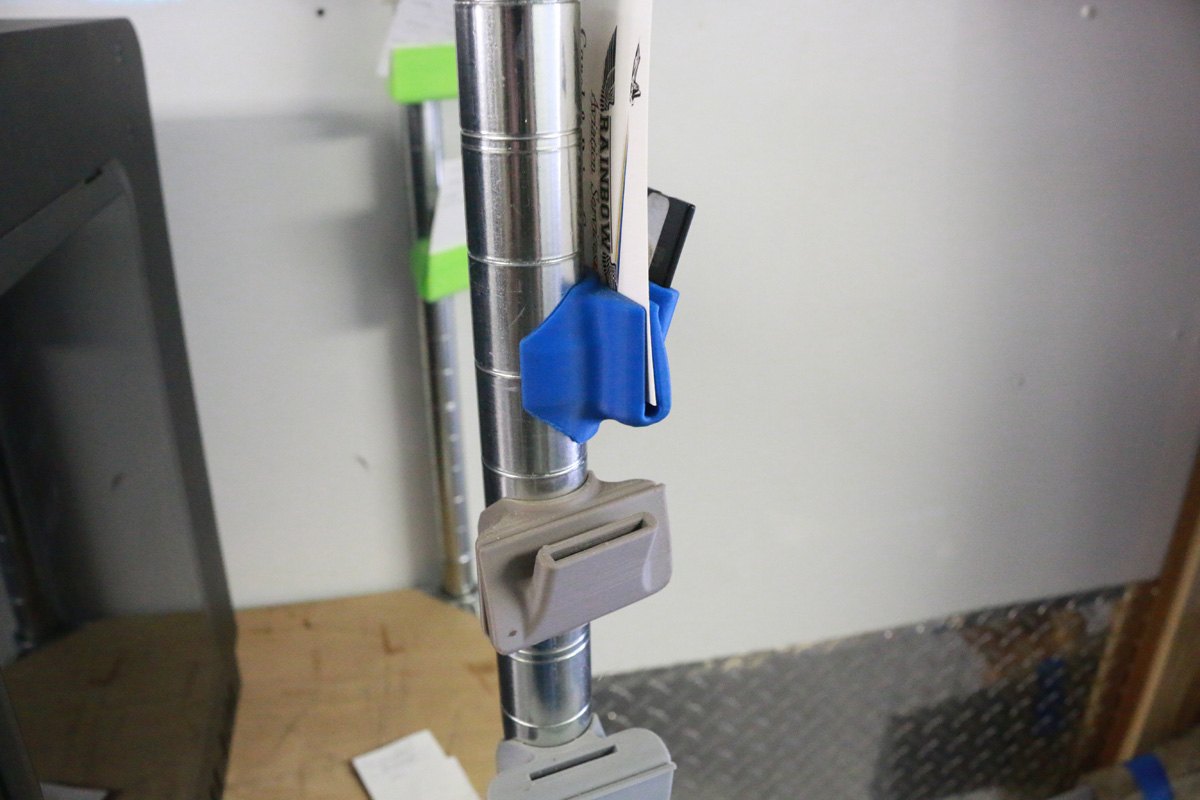
SD cardholder
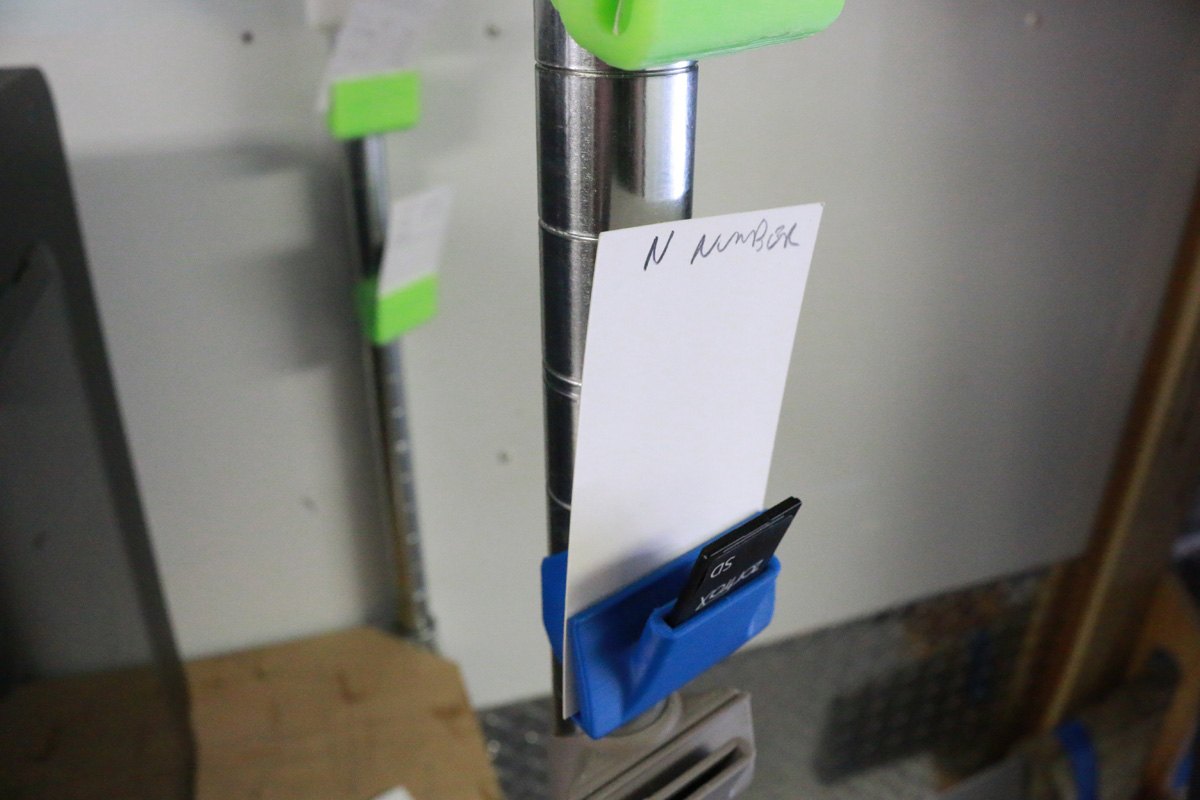
SD cardholder
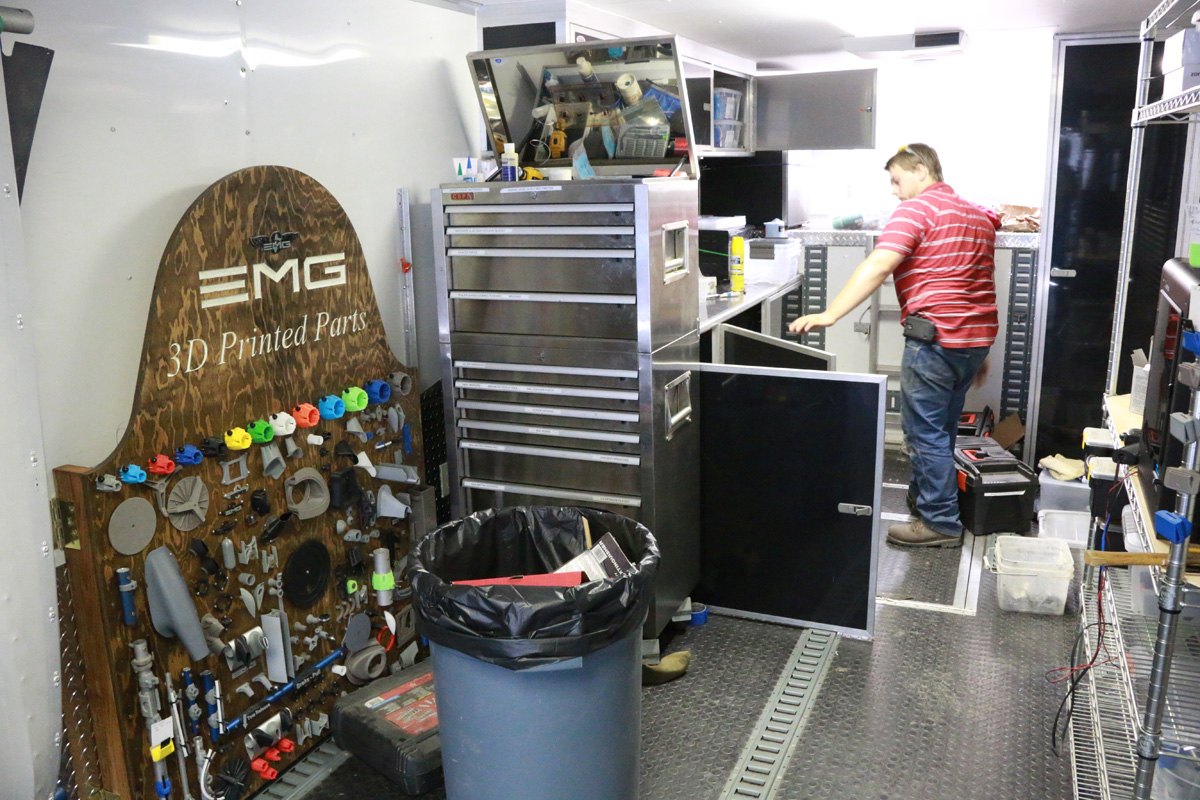
3D printed parts
July 13, bleeding the brakes
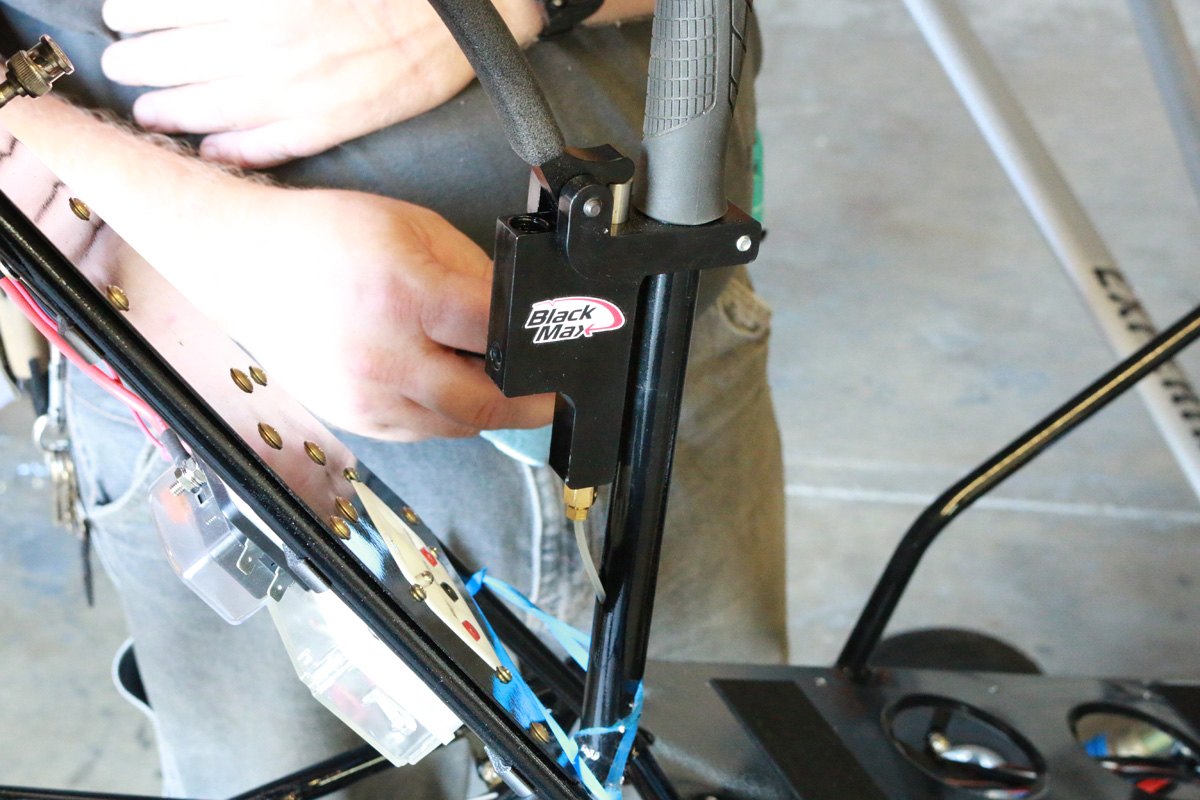
Brake master cylinder
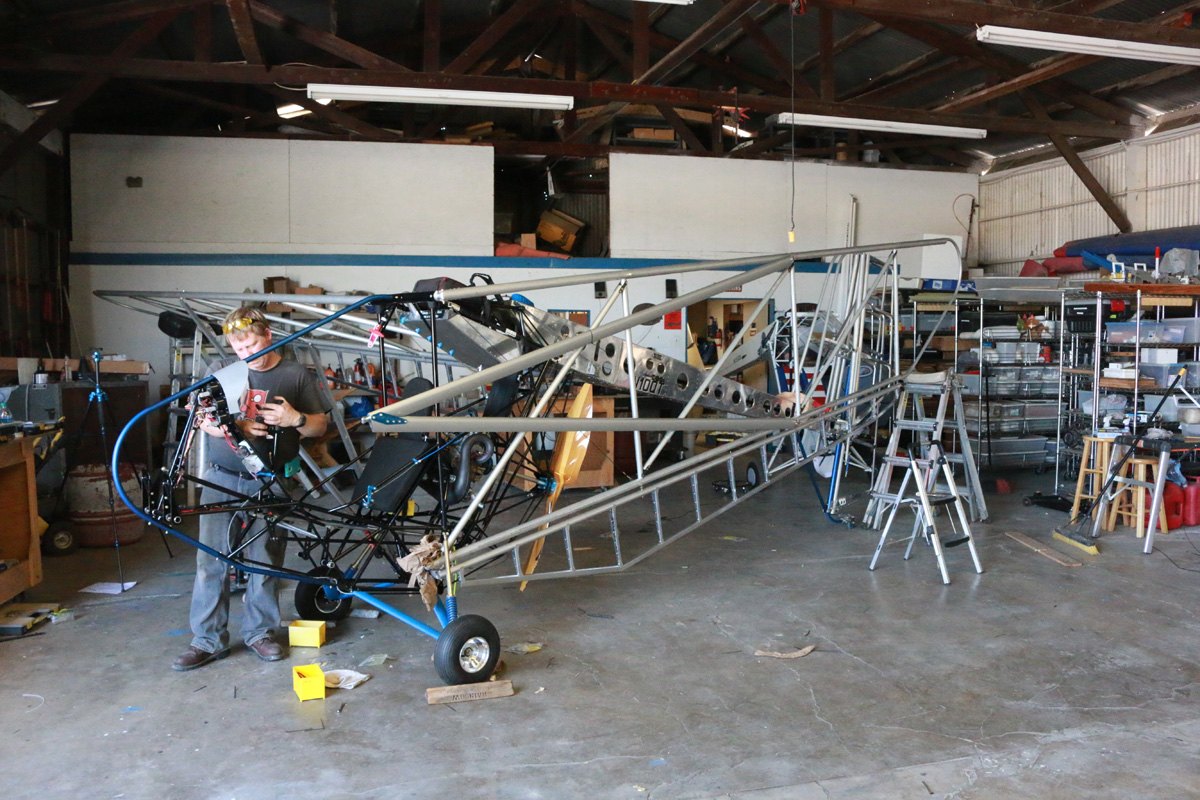
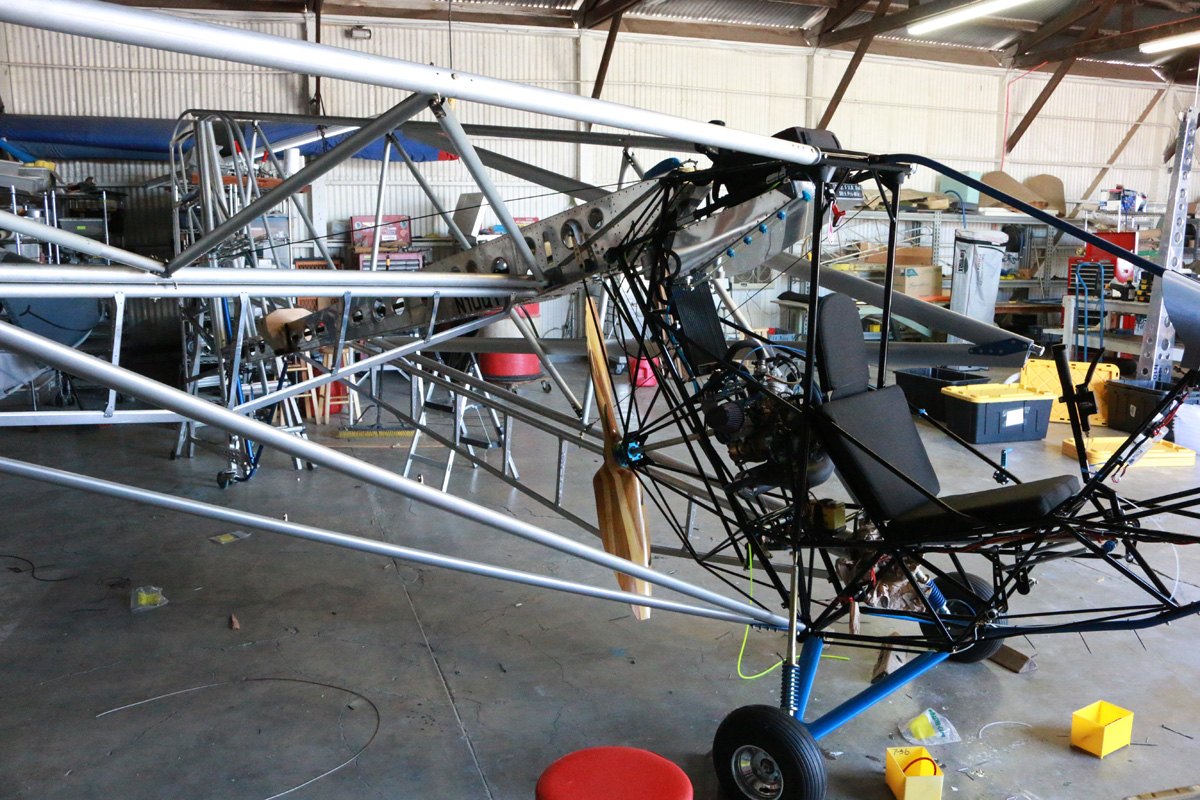
Wing fold system
Loading up.
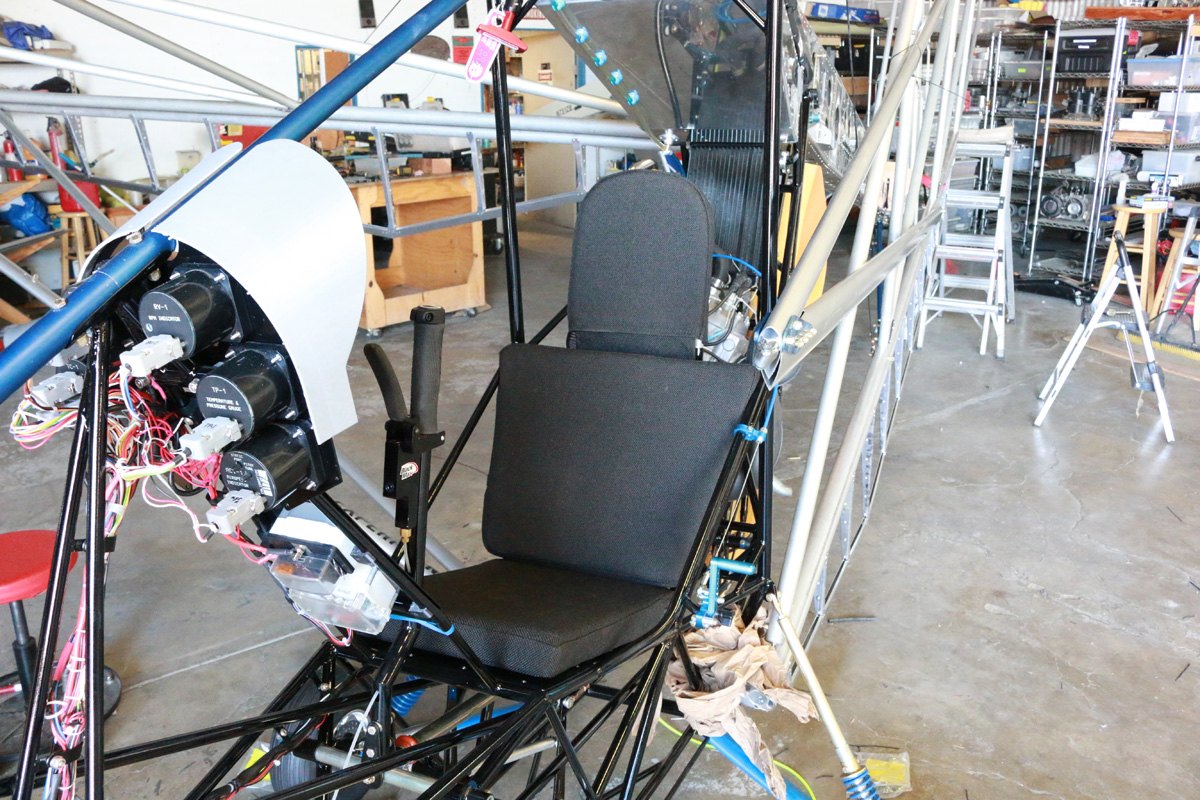
Upholstery
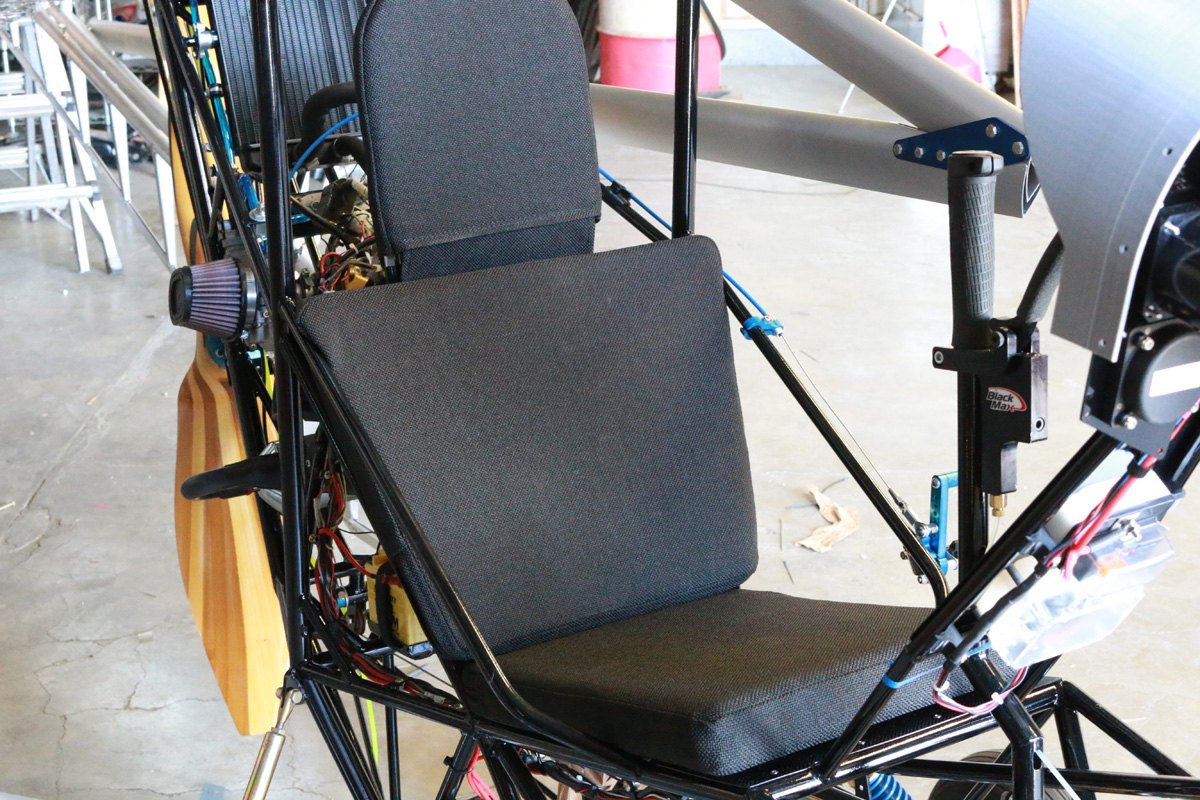
Seat cushions
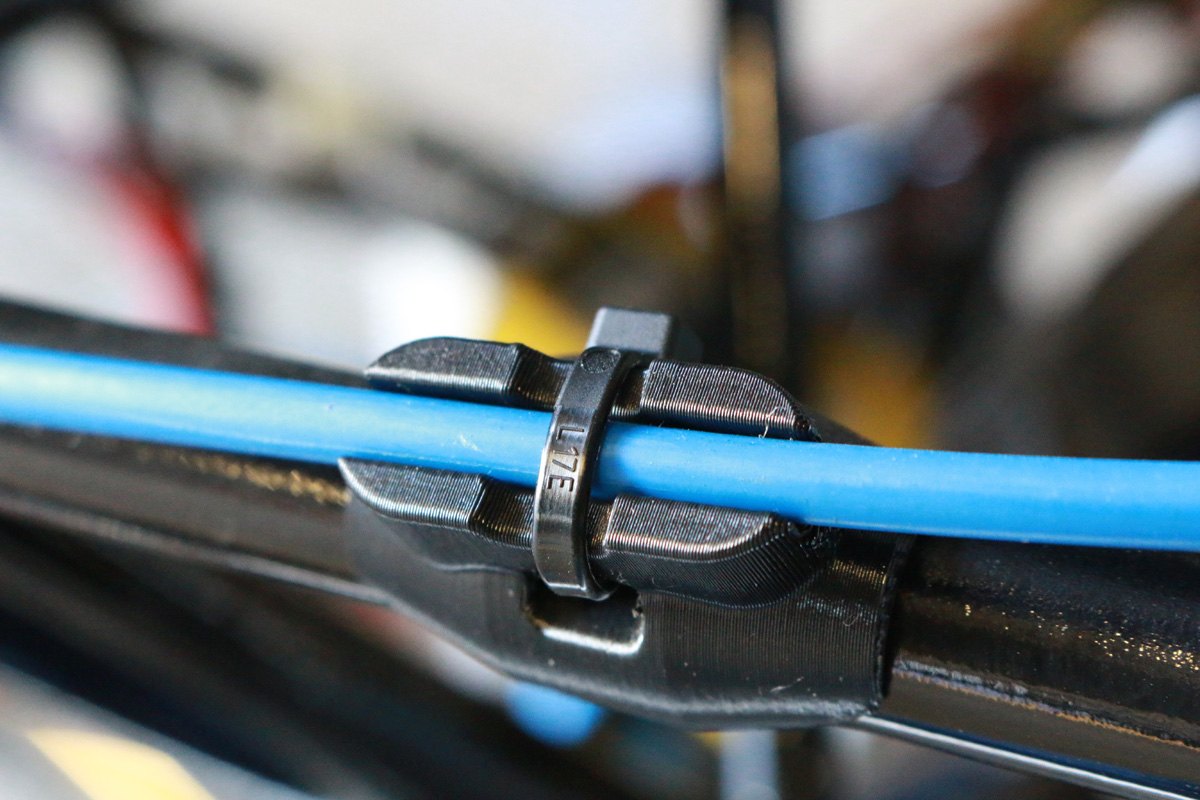
Throttle cable clamp
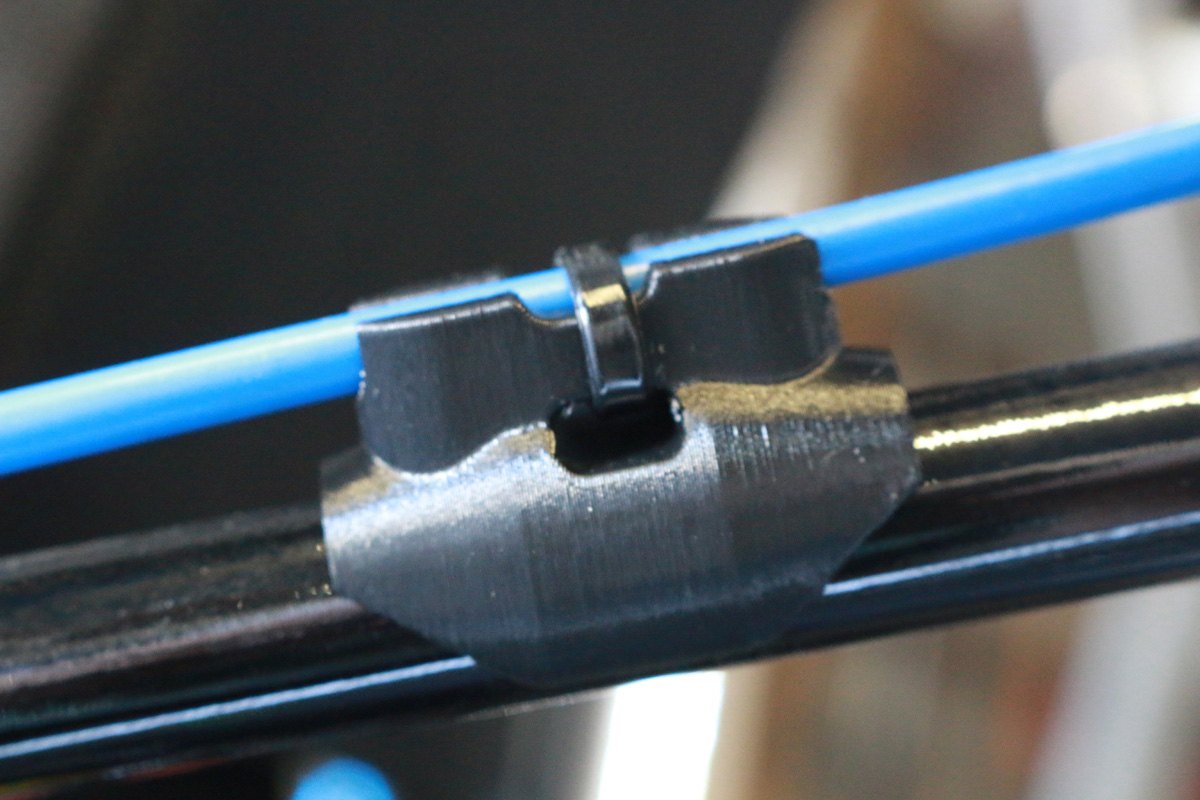
Throttle cable clamp
Brake lines.
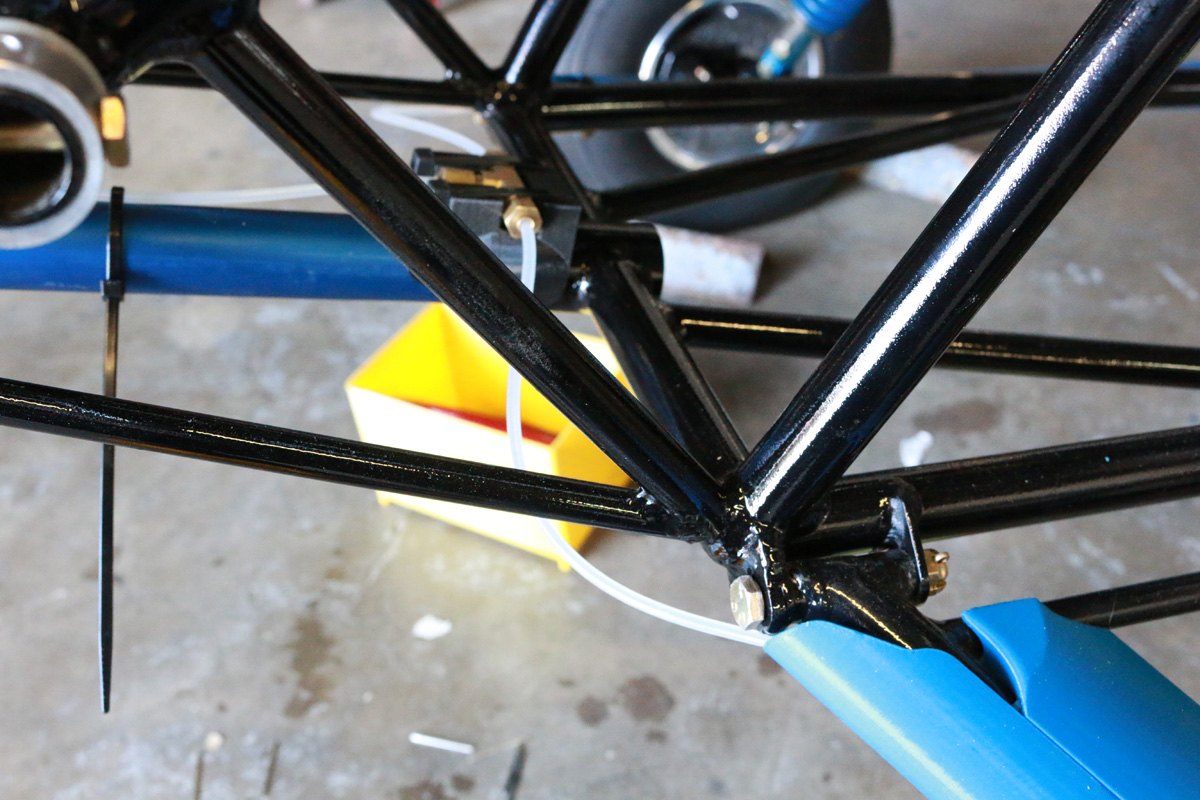
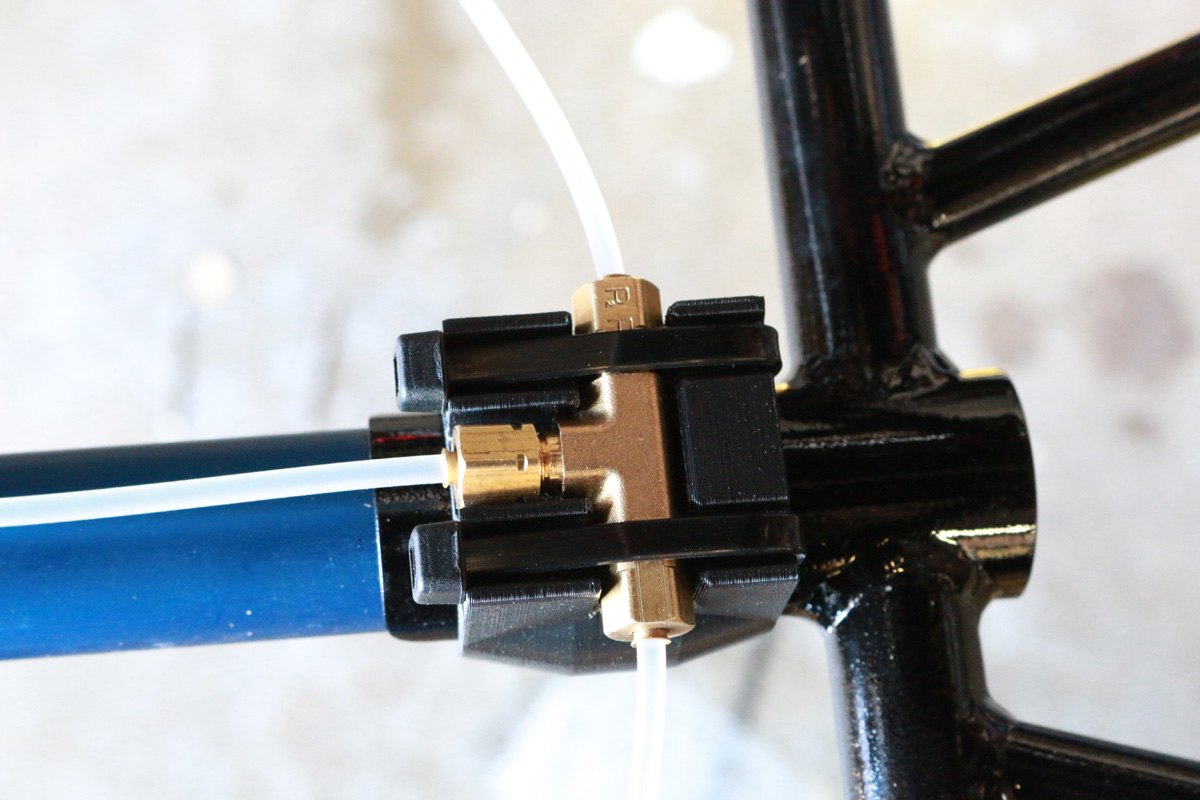
Brake line T fitting
July 12, wing fold
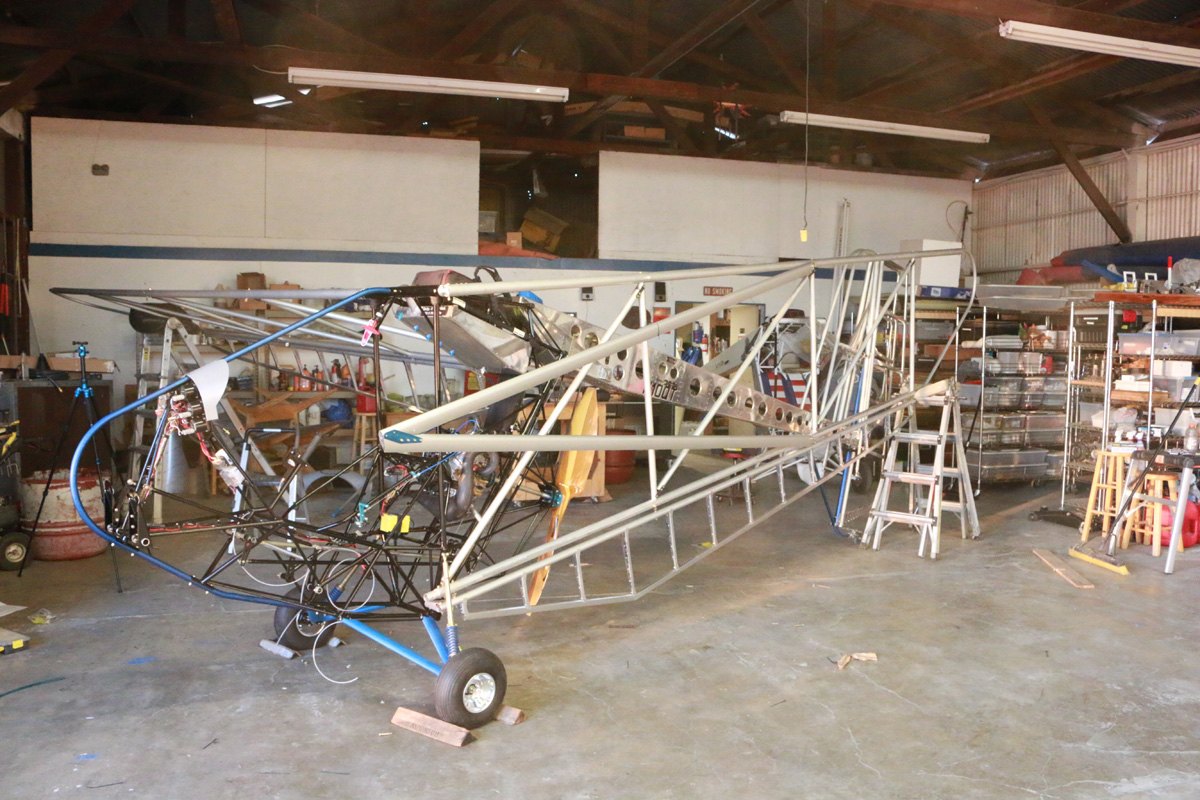
Wing fold bracket.
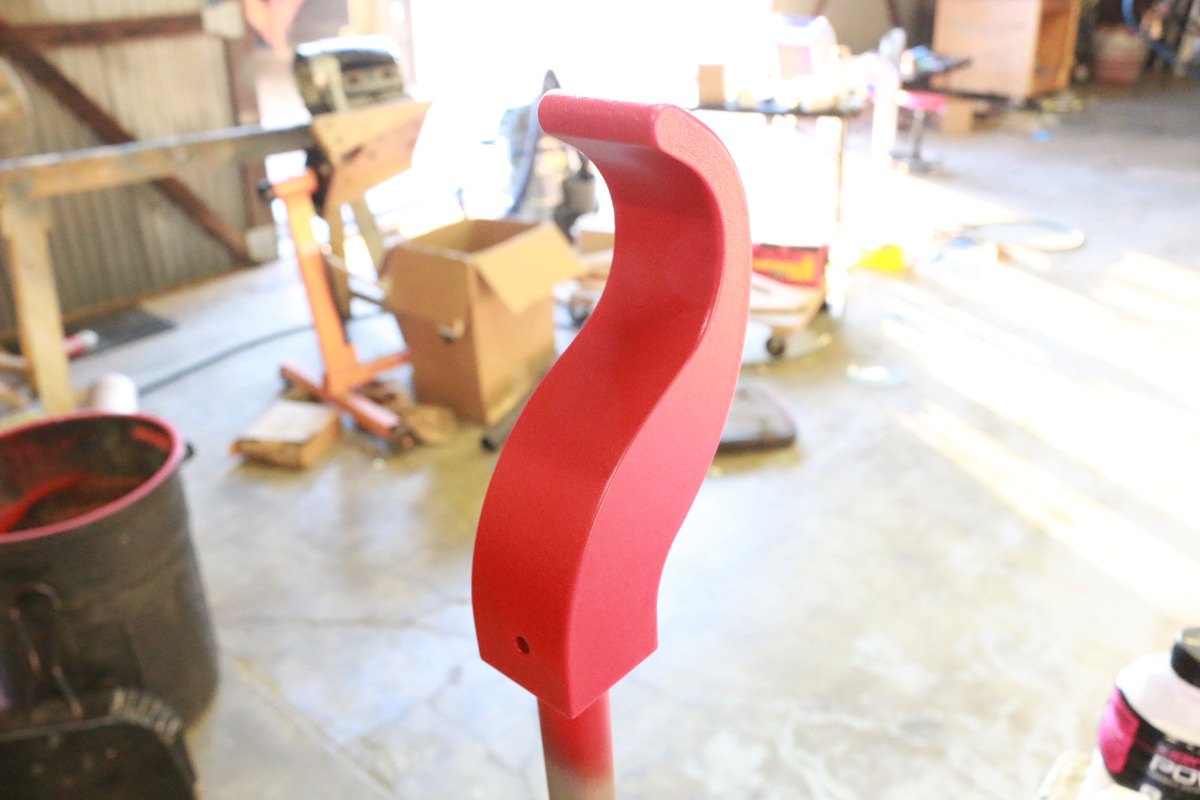
Wing fold saddle
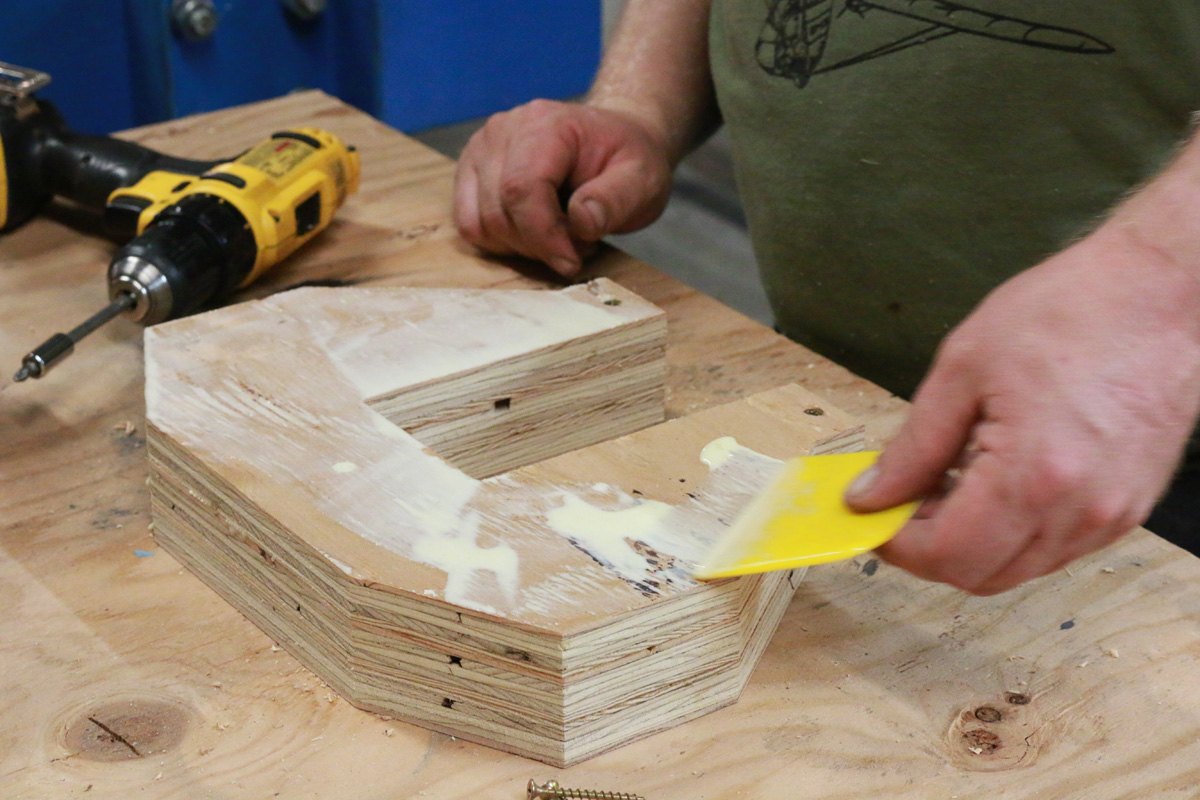
Wing fold settle
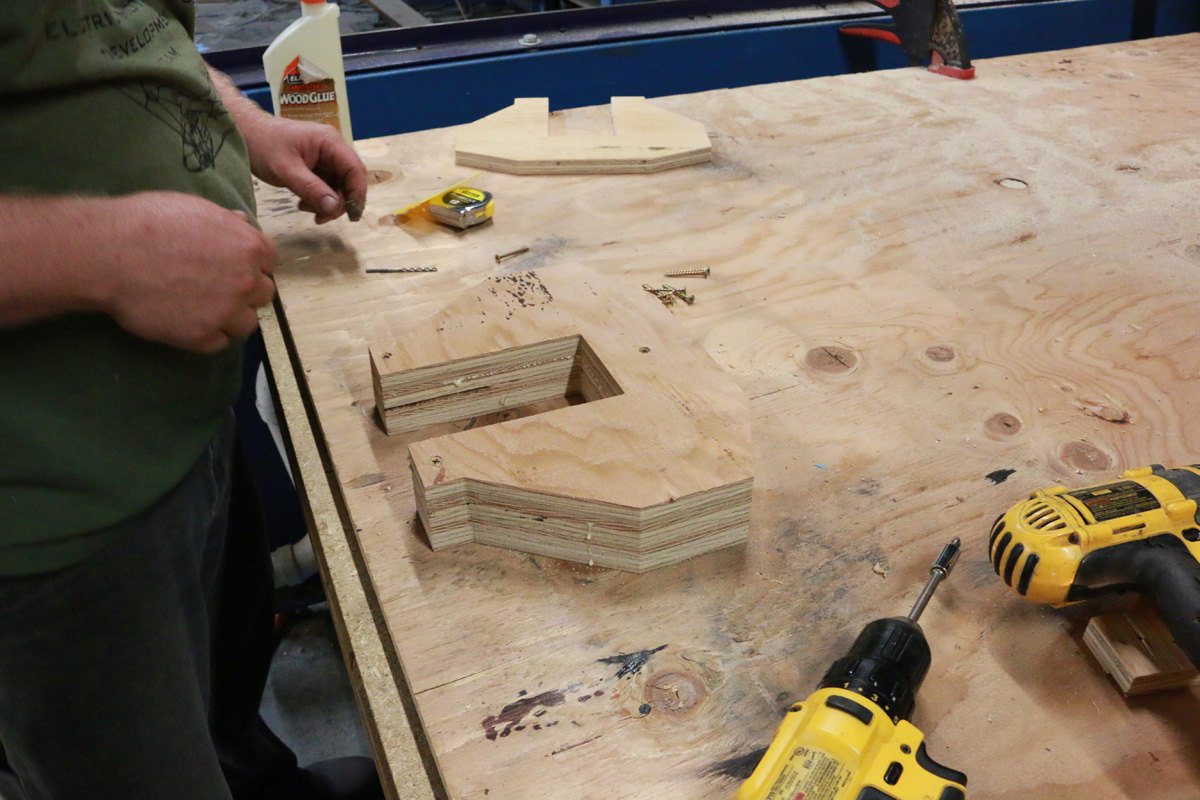
Loading the trailer
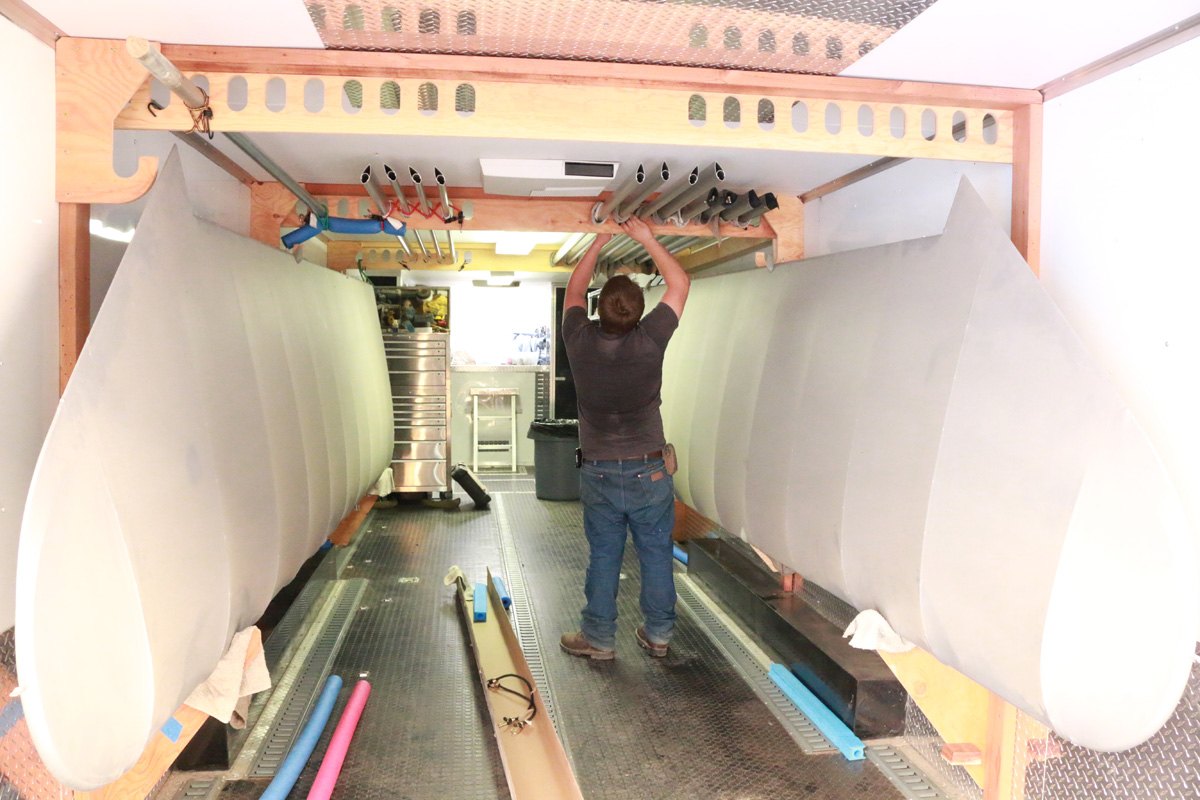
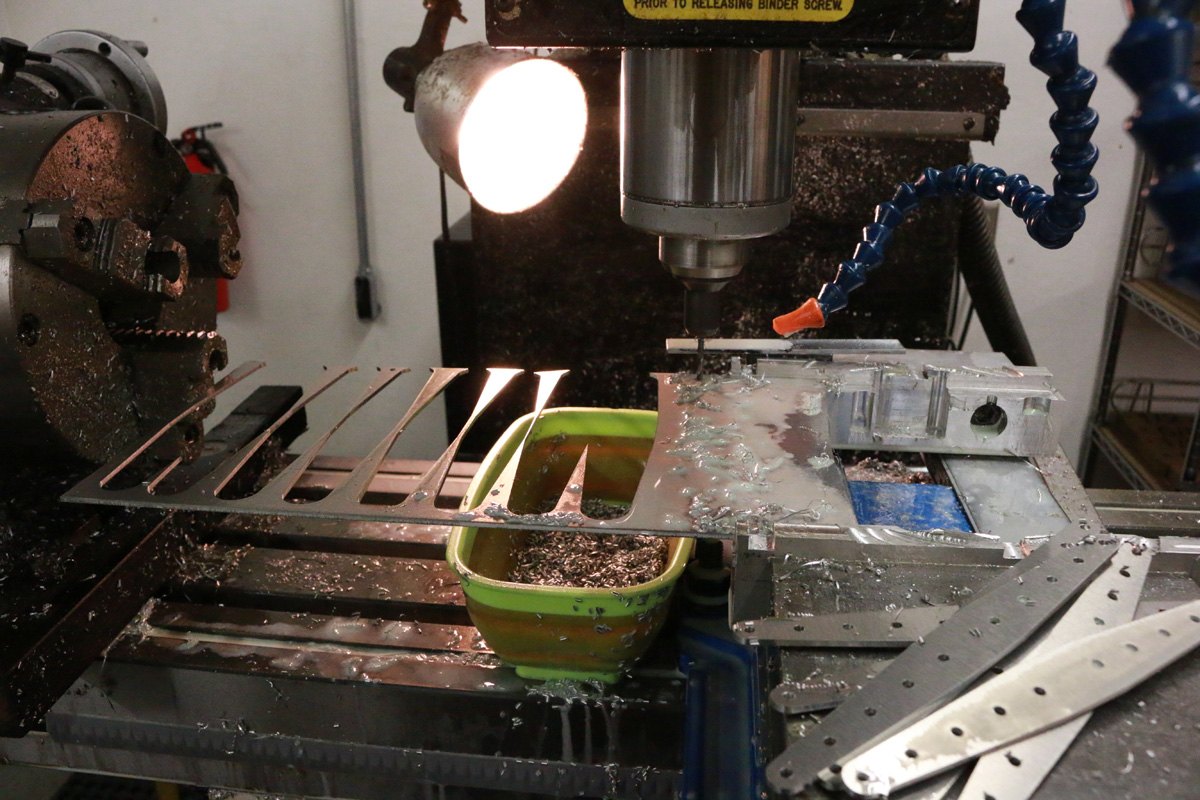
Machining parts
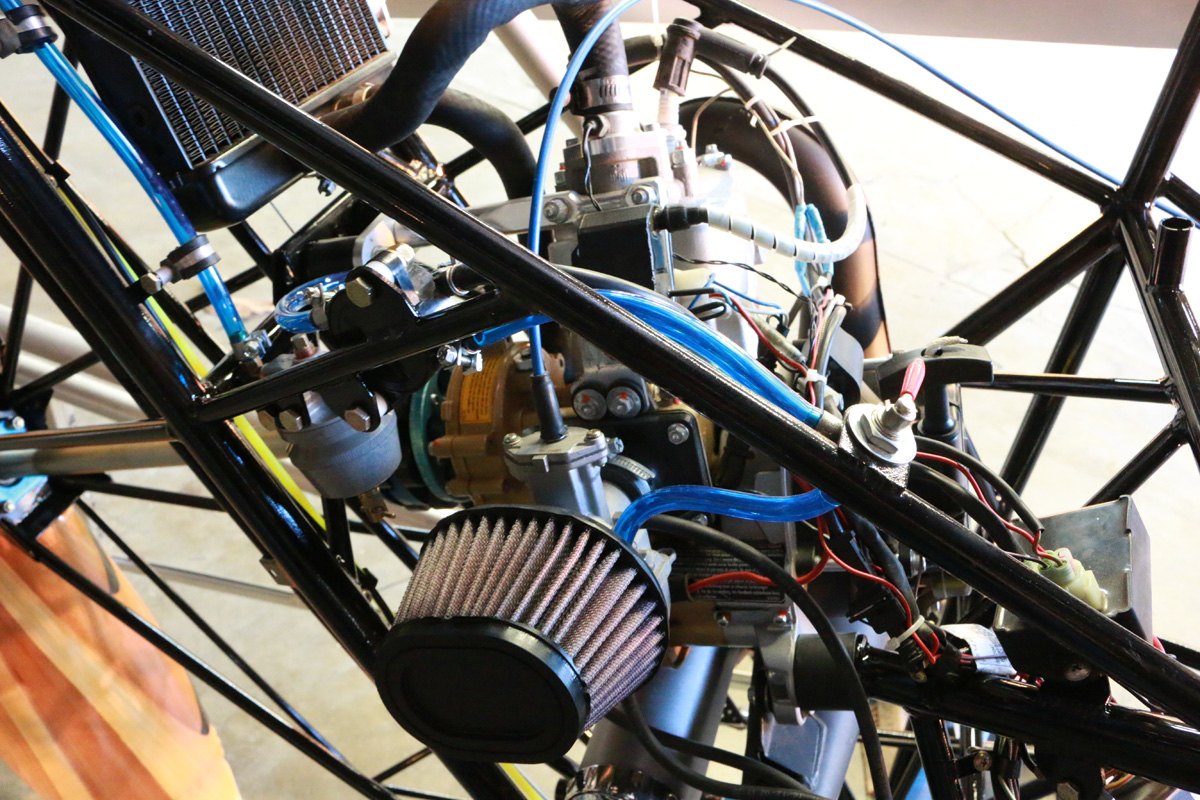
Polini installation
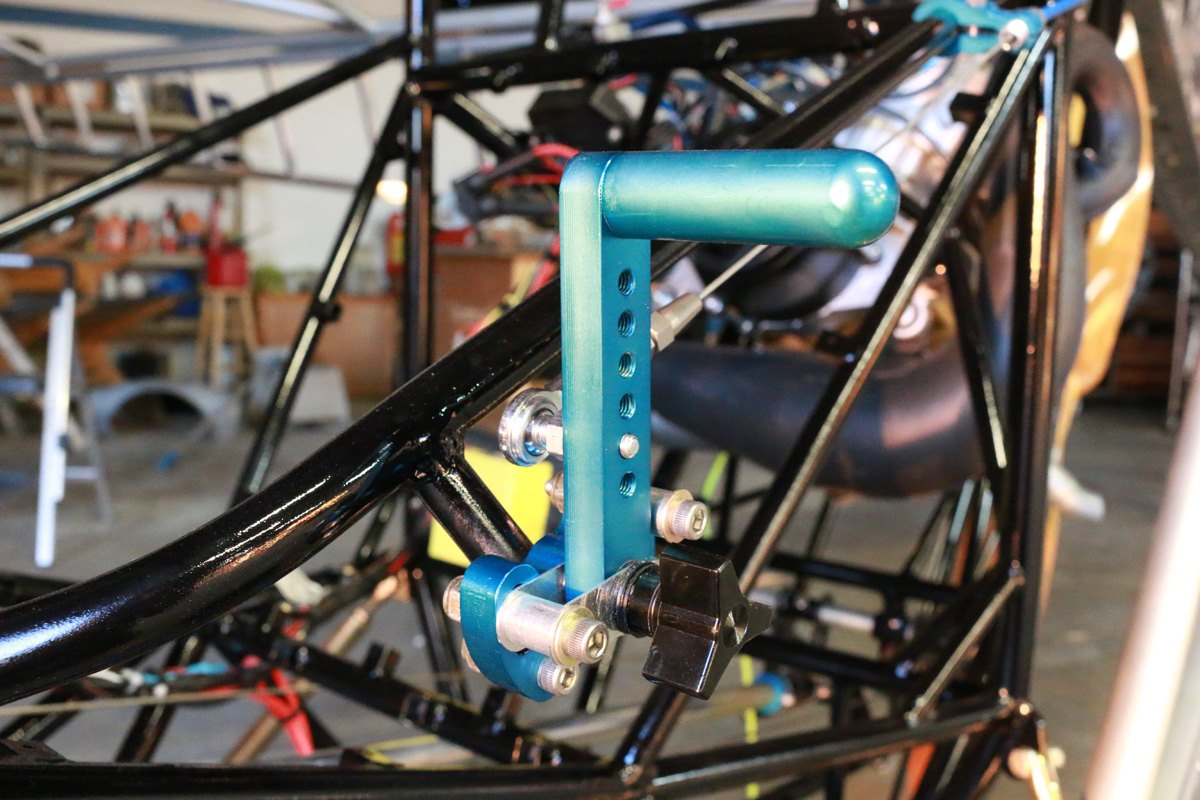
Throttle assembly
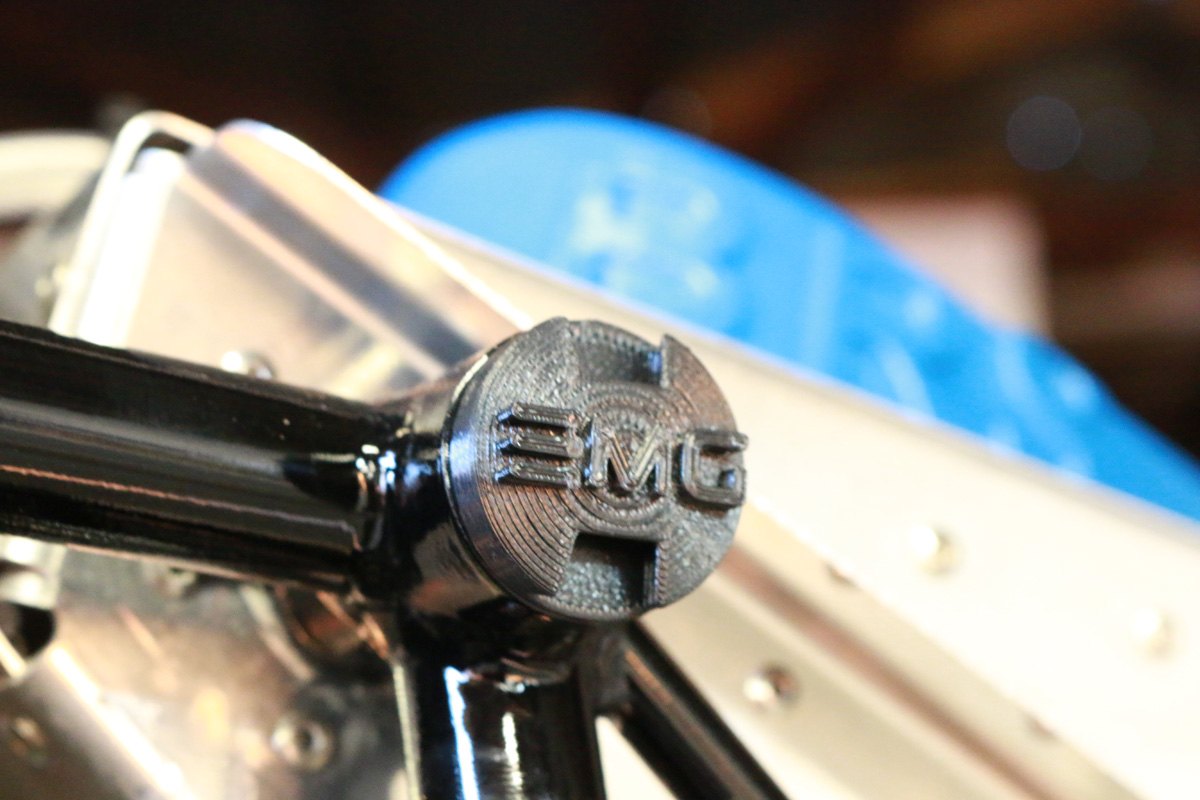
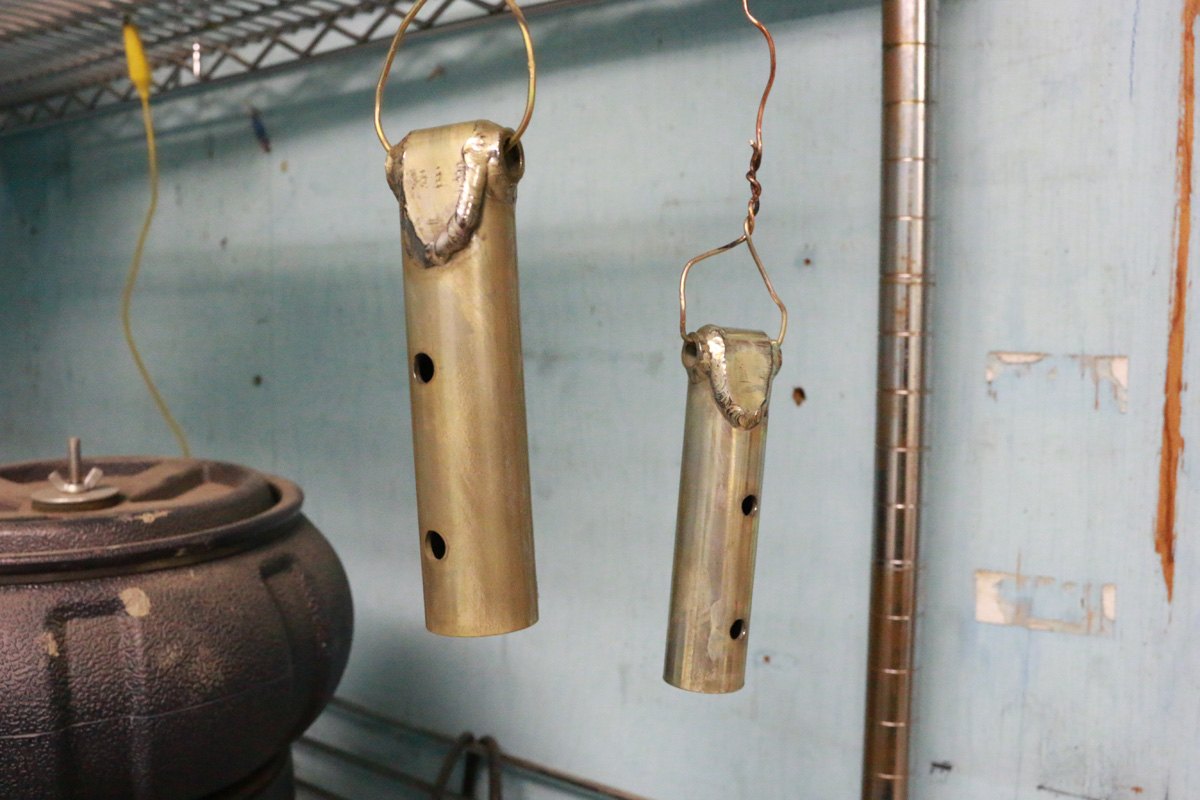
Tube end caps
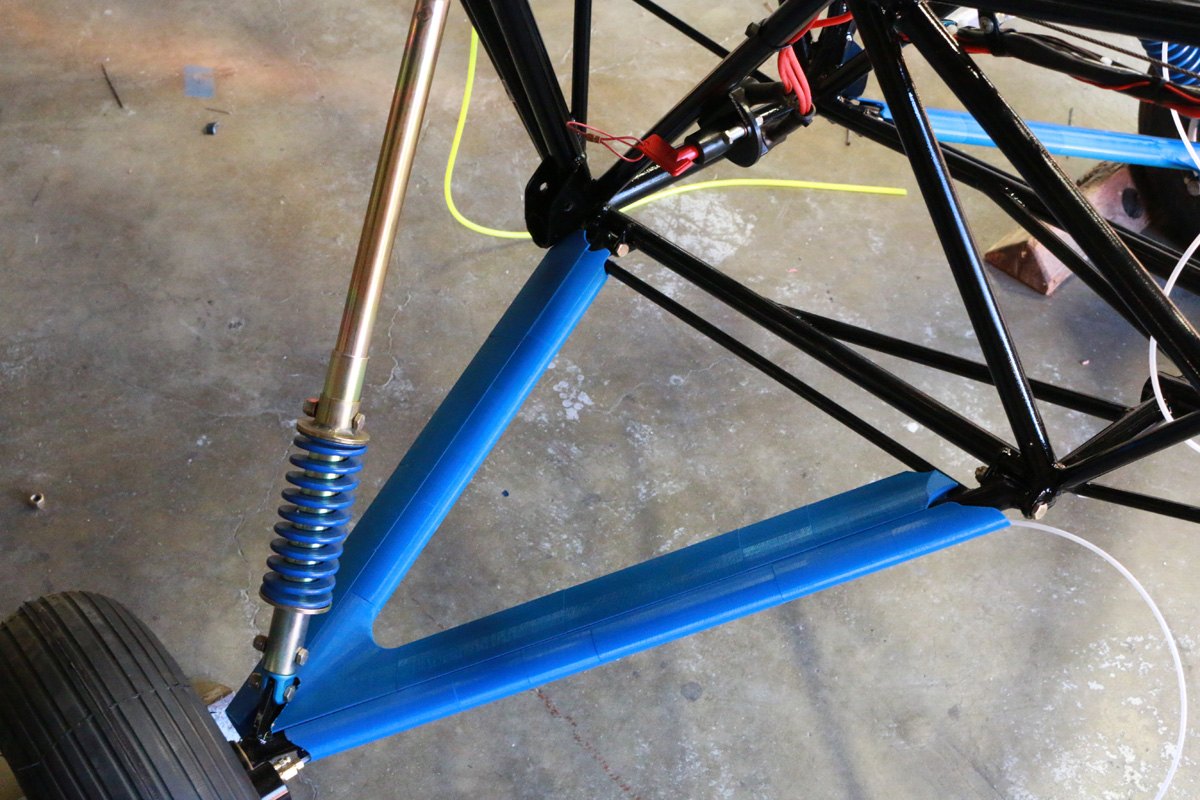
3D printed landing gear fairings
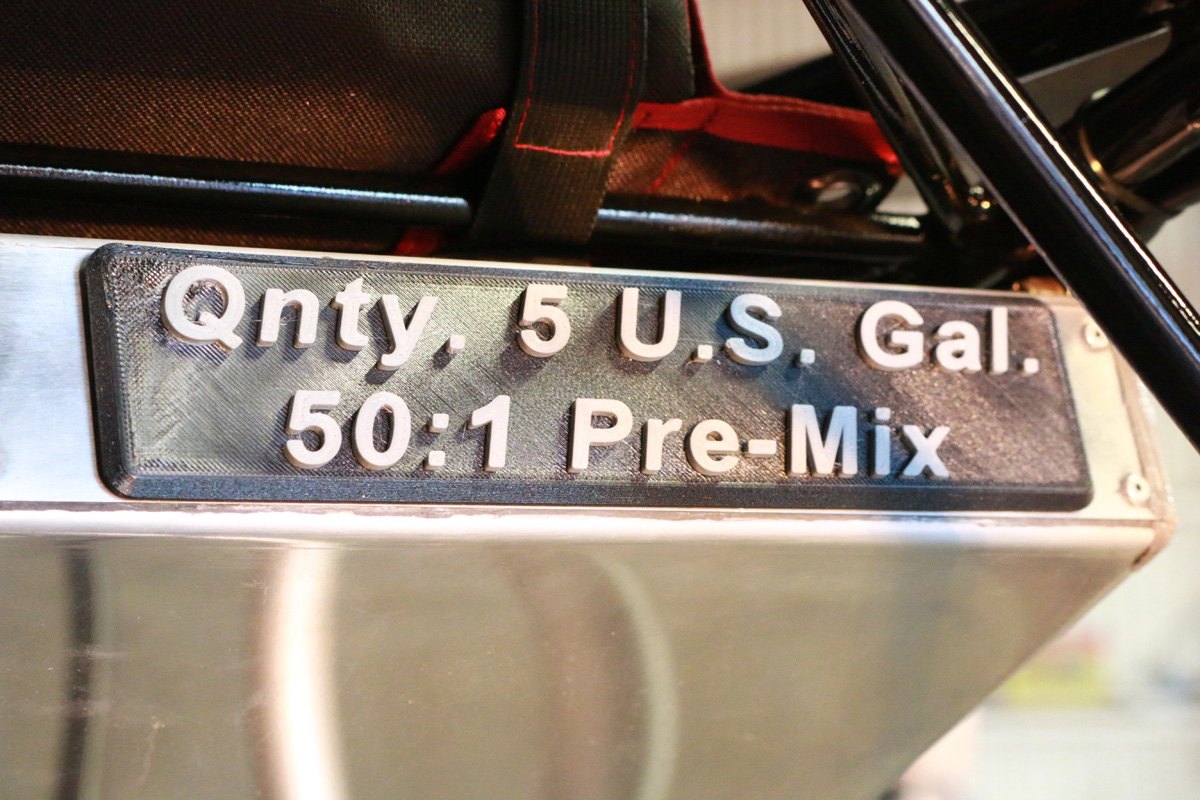
Fuel quantity and type placard
Lift strut attach fittings
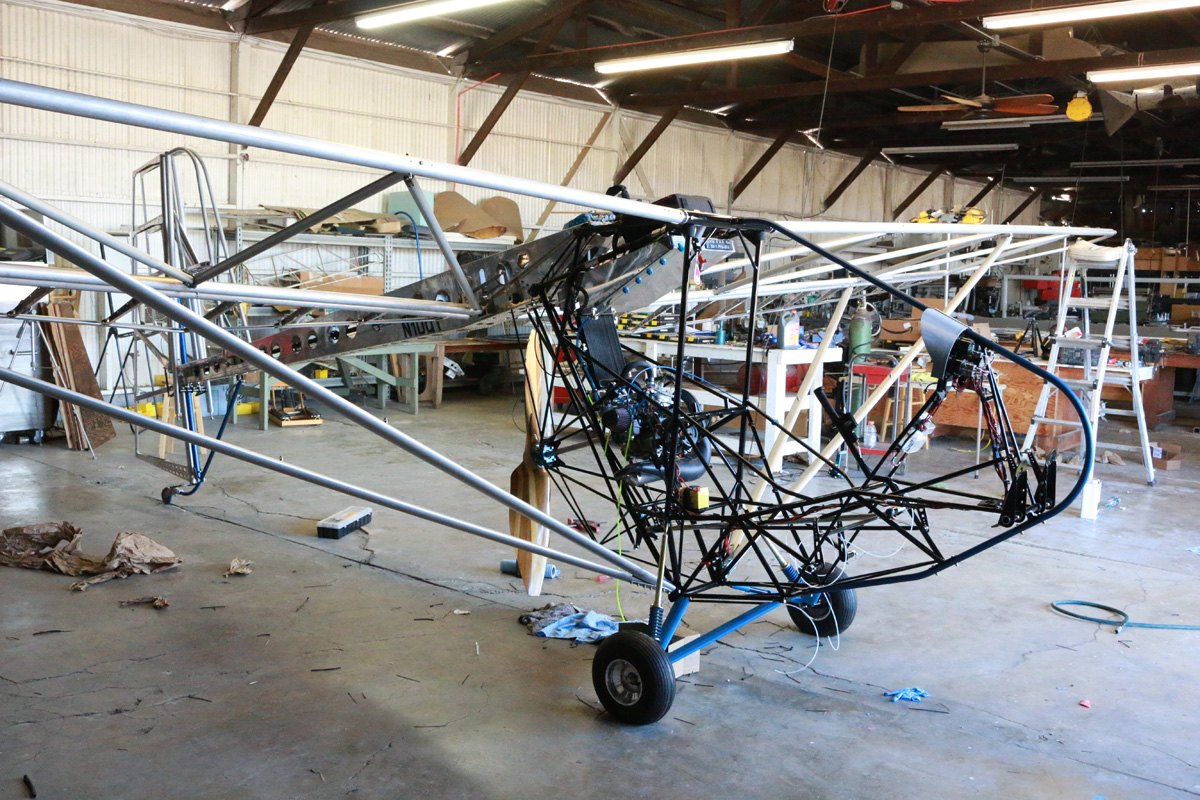
July 11 Aircraft Reassembly
July 9 ,Polini 250 re-installation
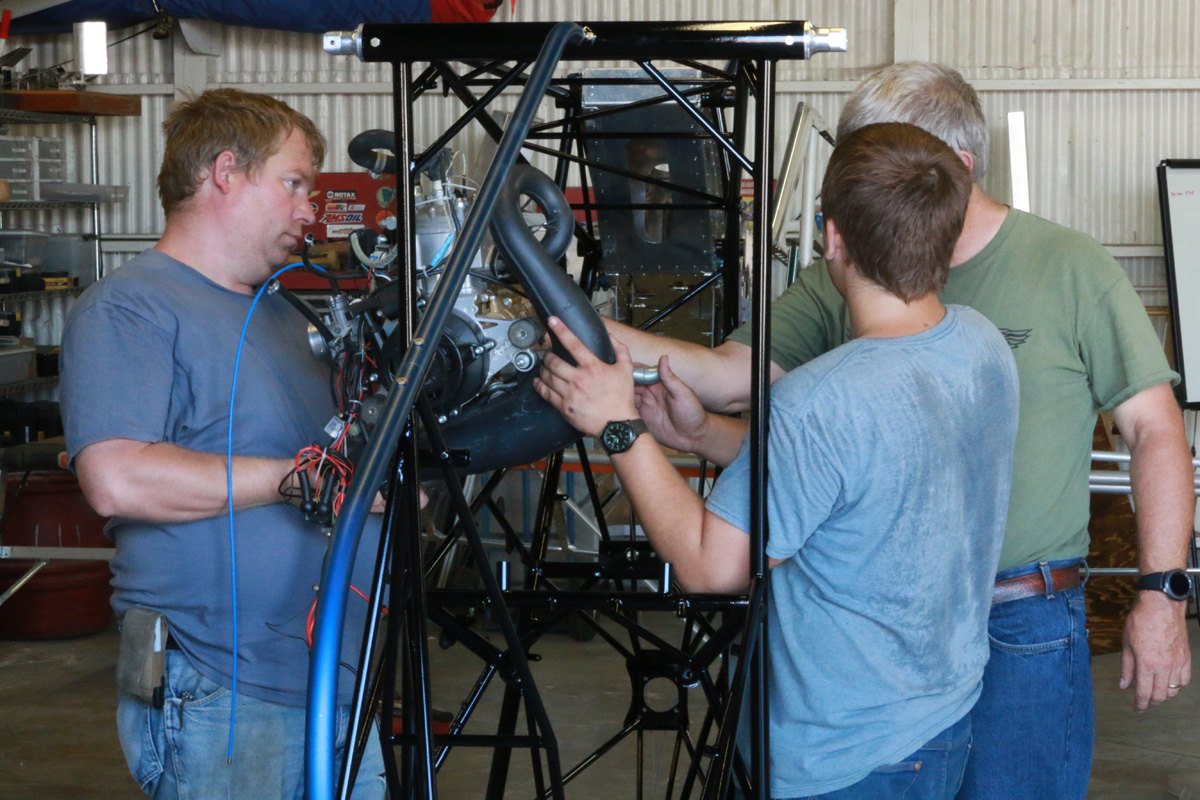
Polini 250 installation
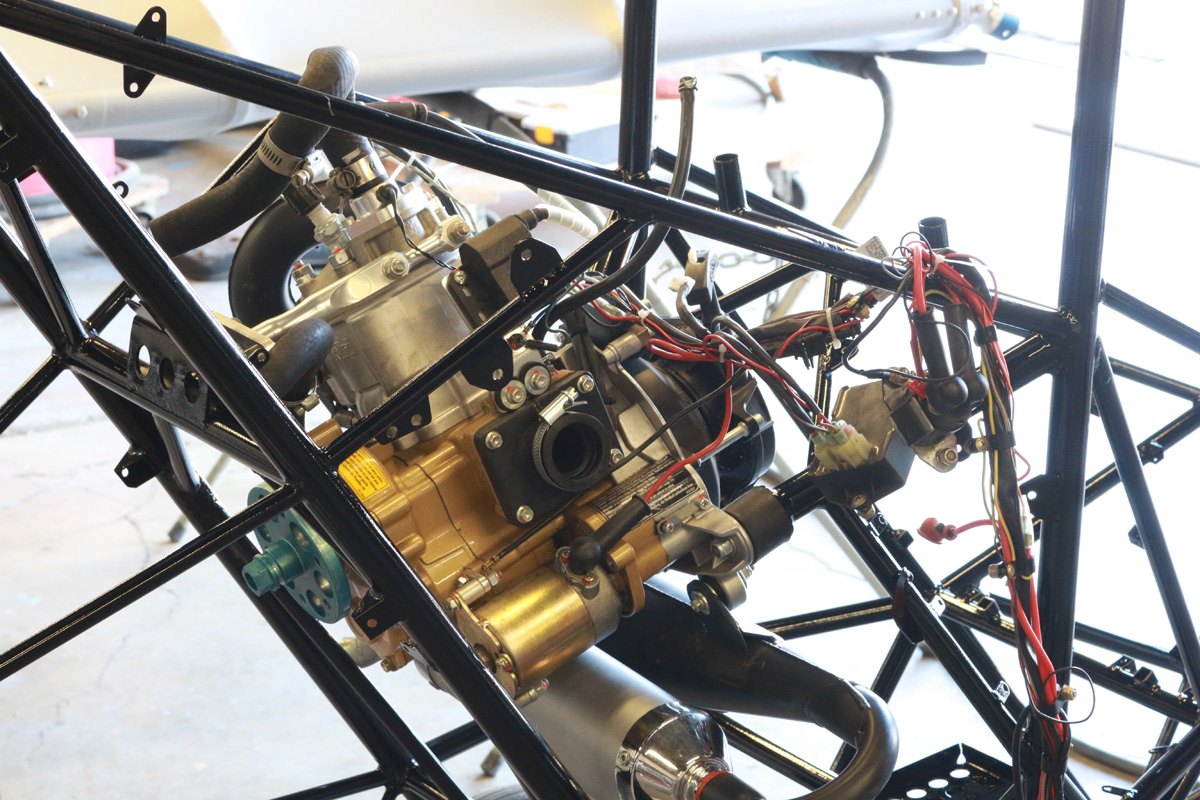
Wing fold fitting
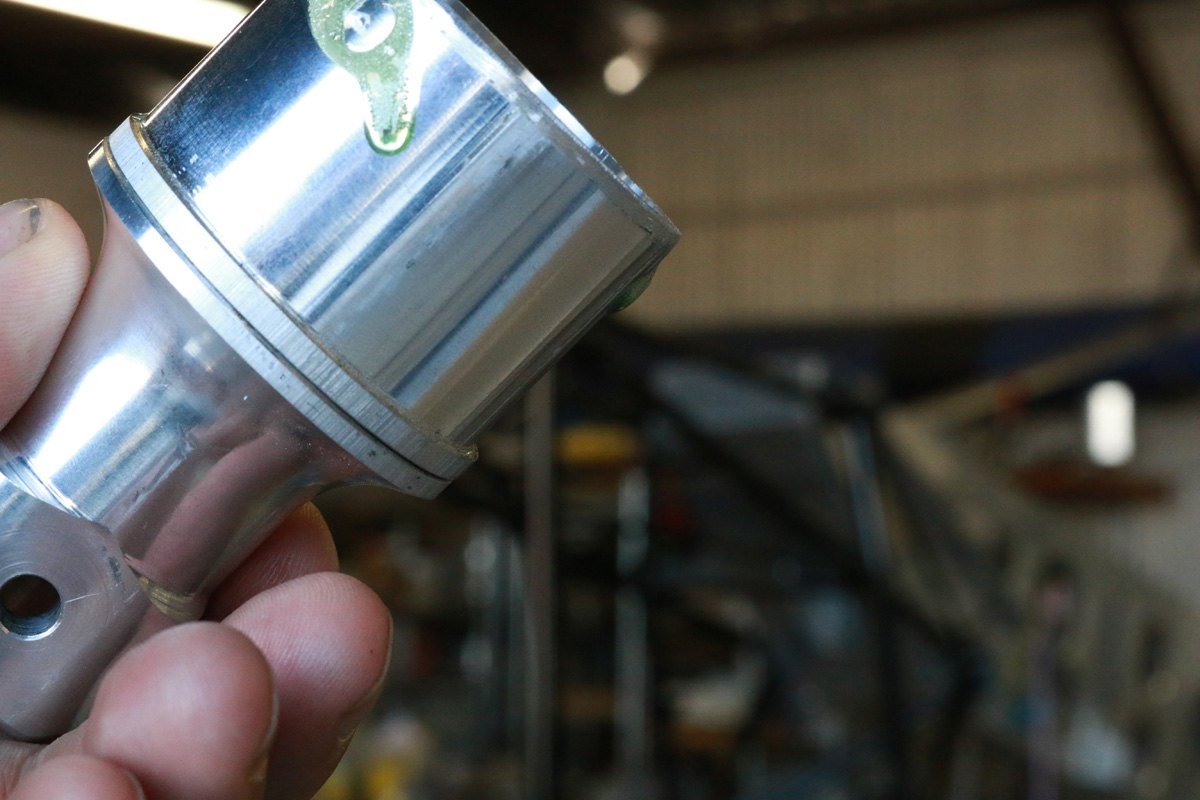
Corrosion X
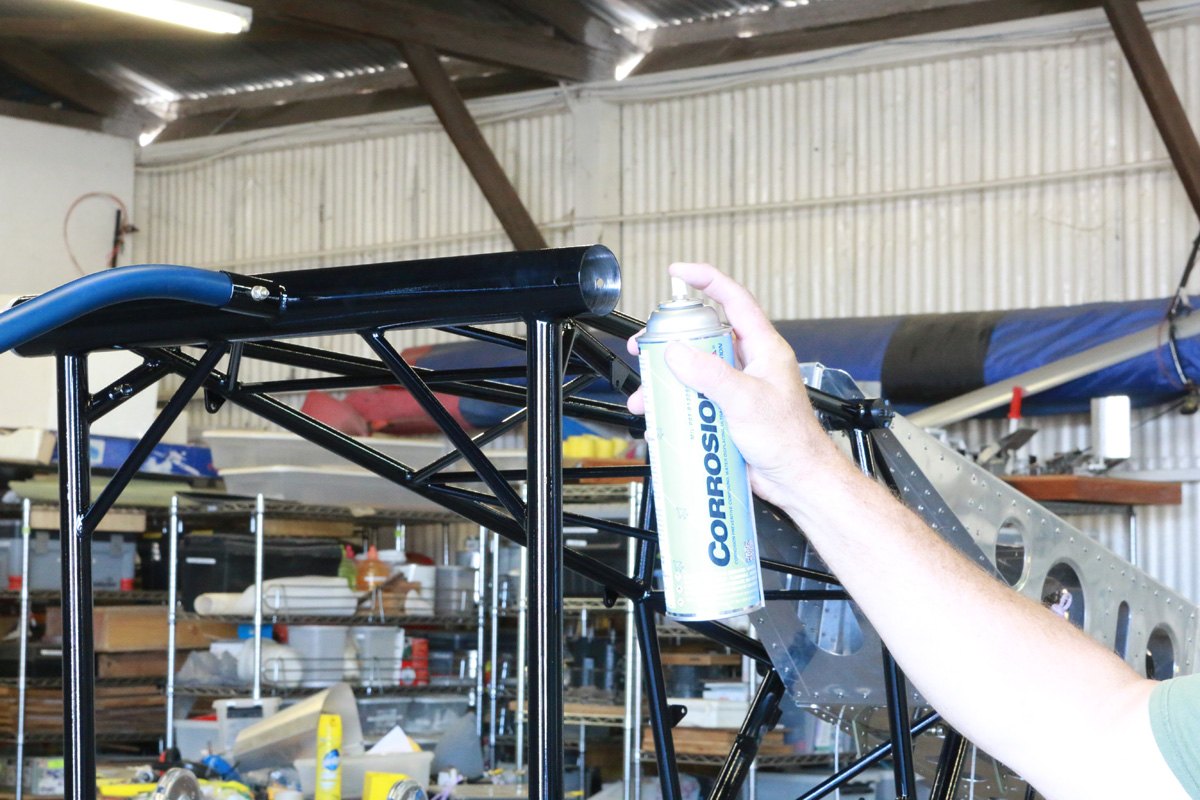
Wing fold fitting attachment
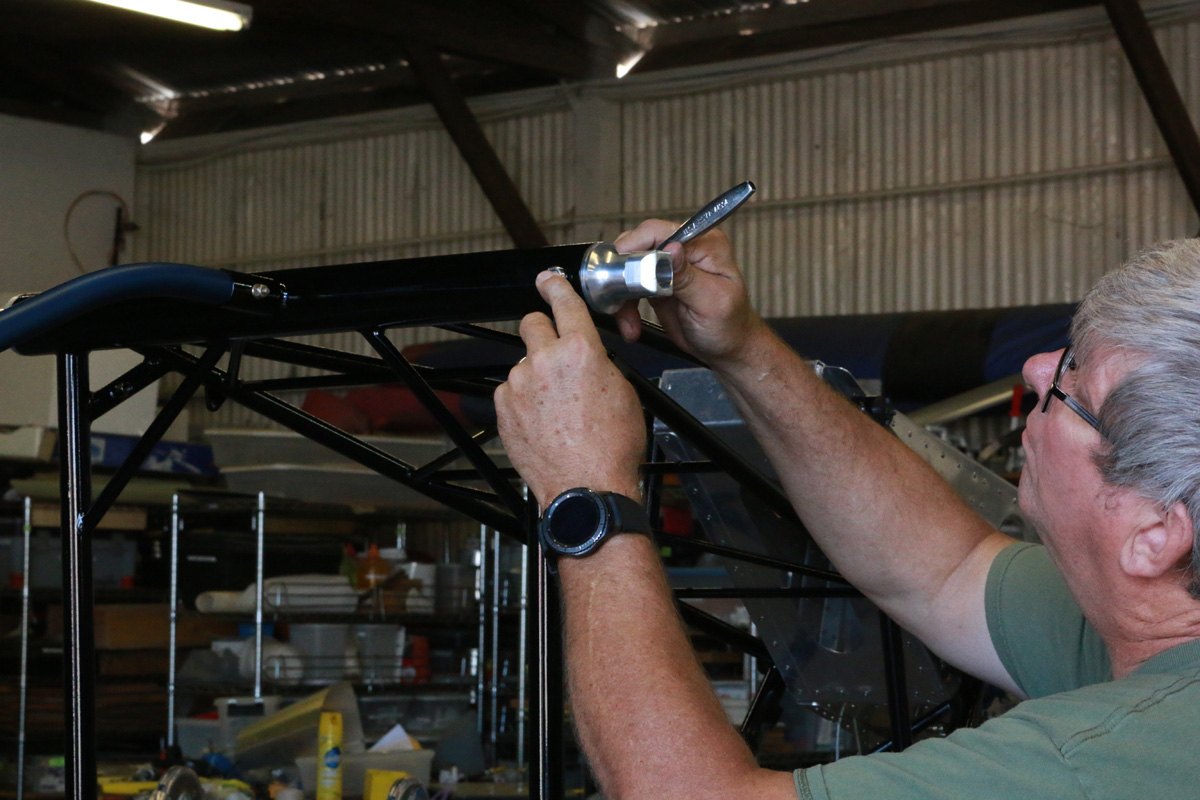
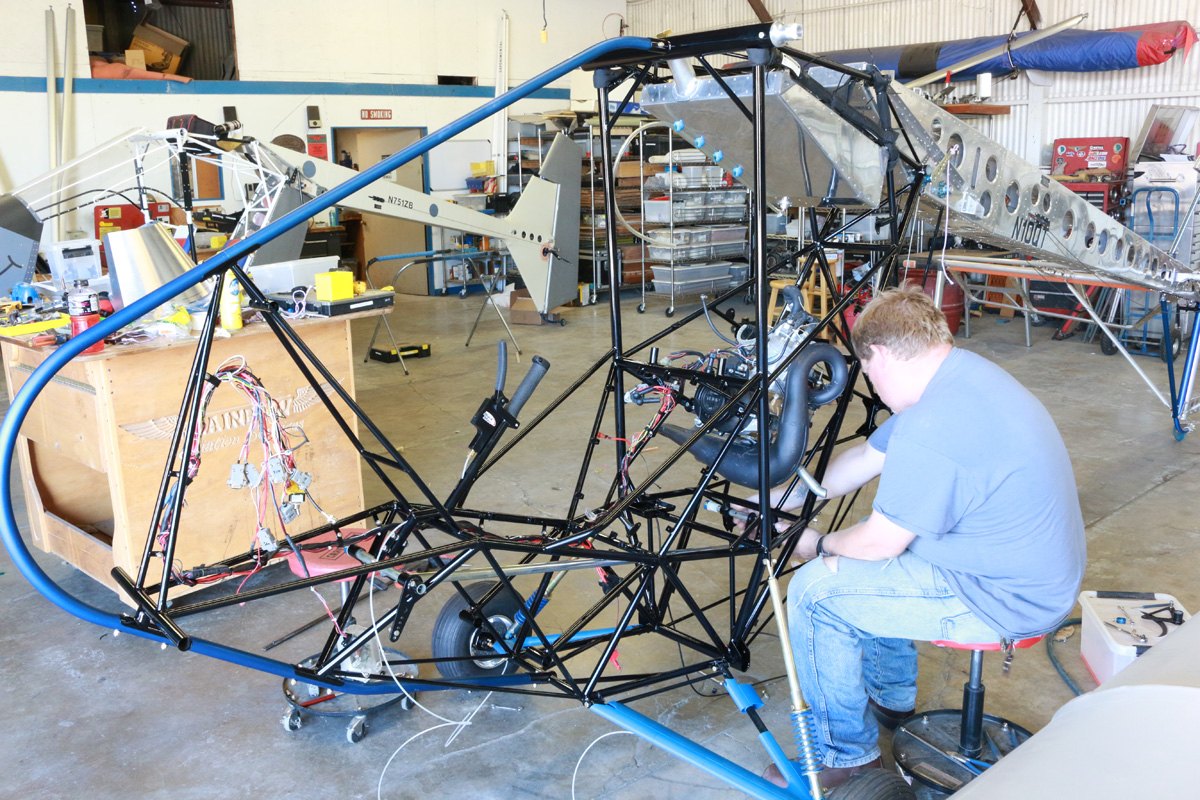
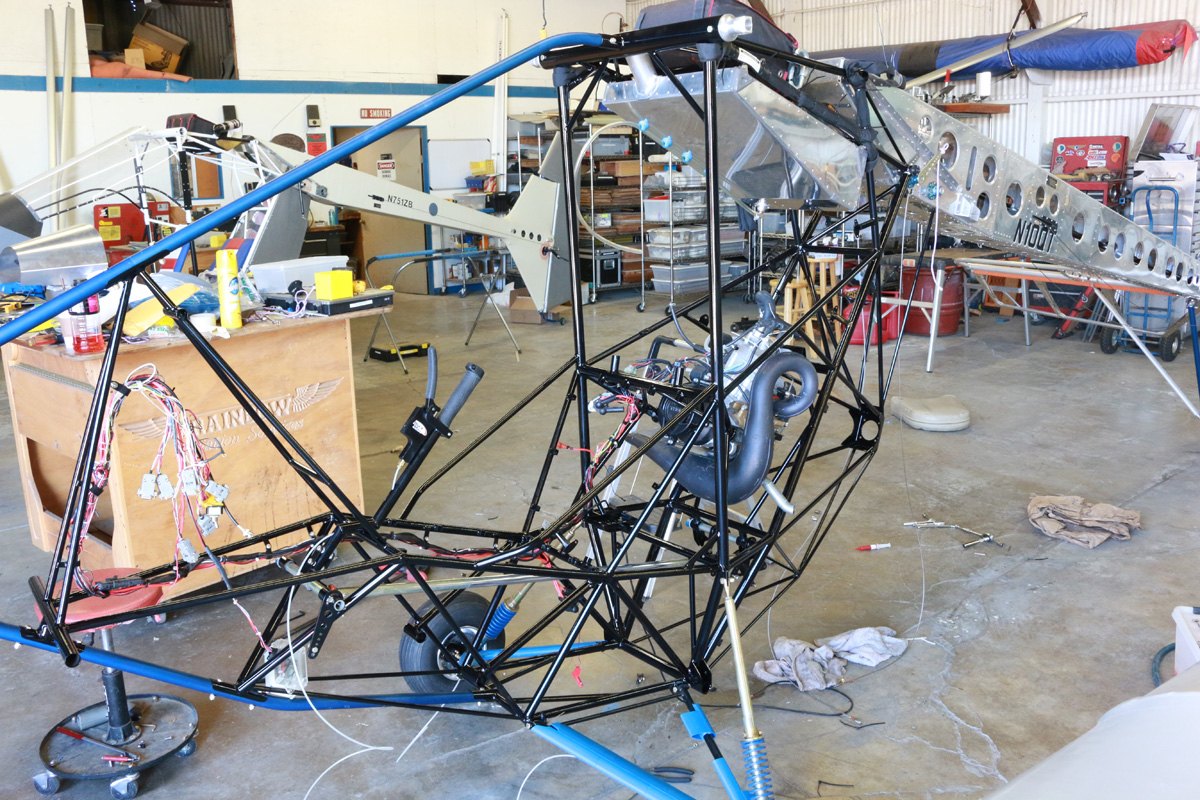
Wiring harness reinstallation
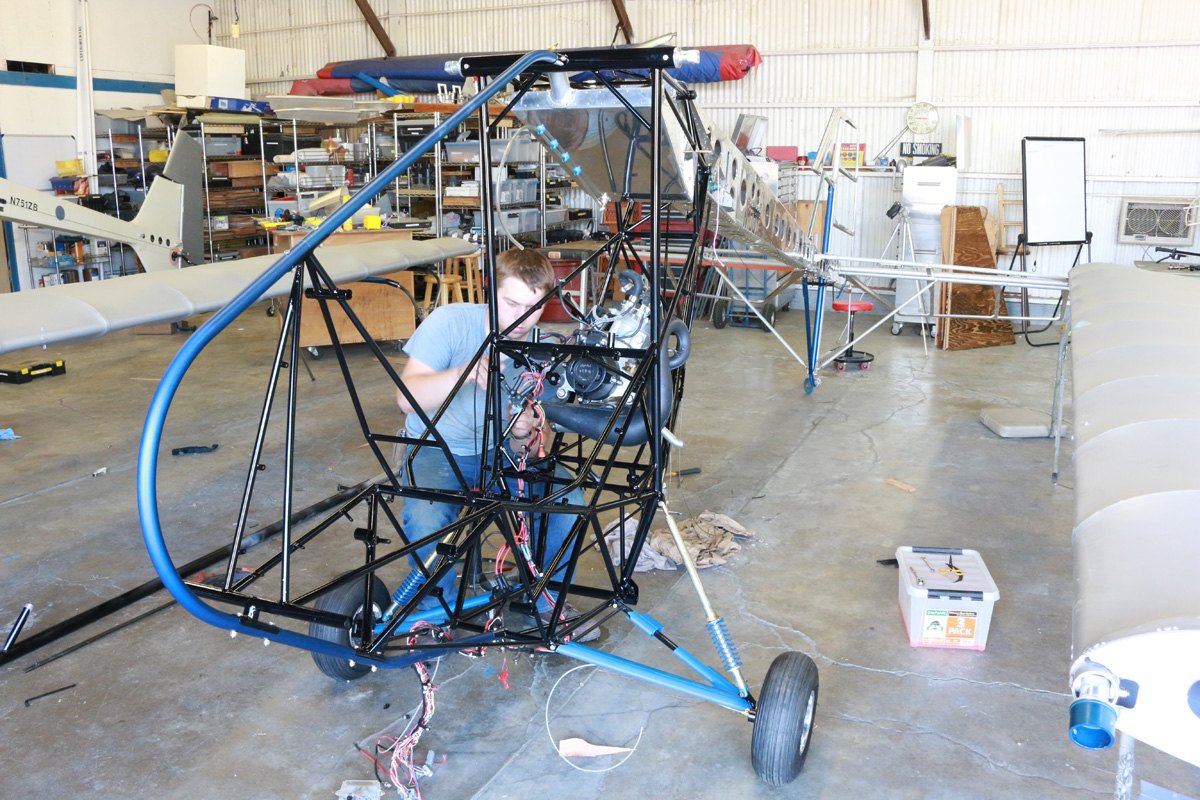
Wiring harness installation
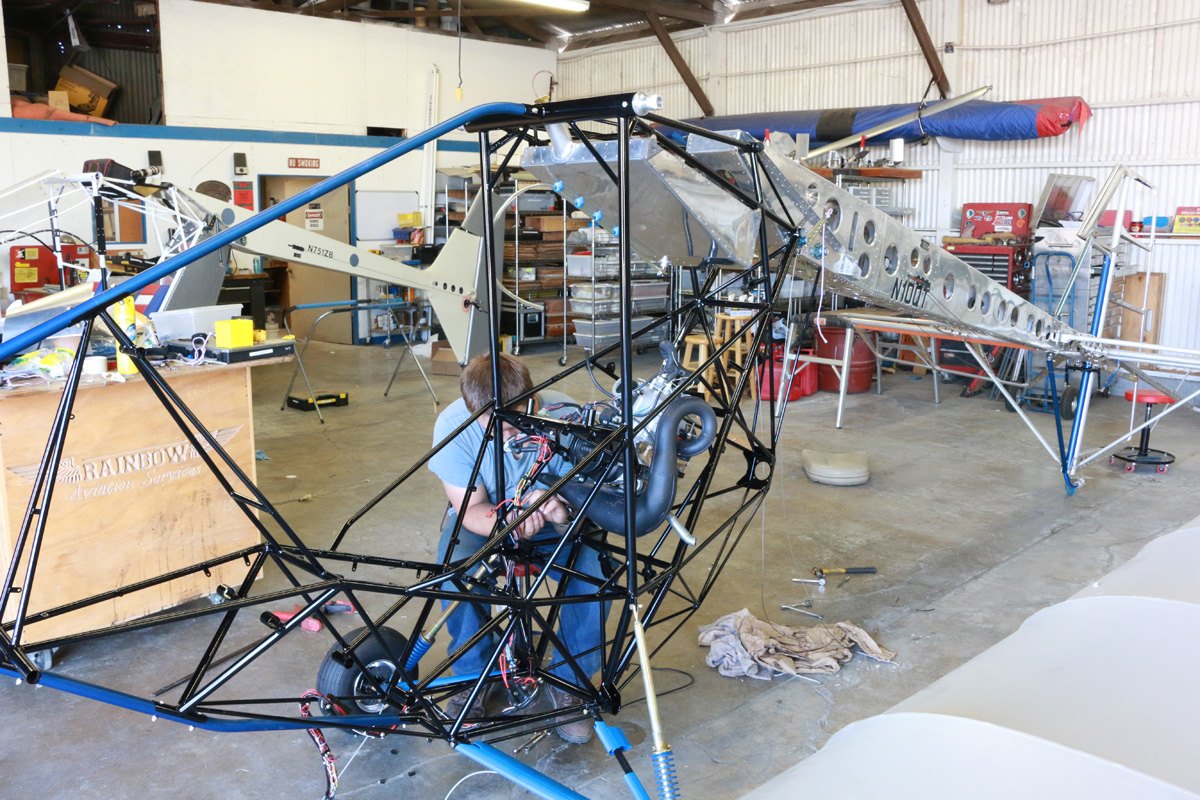
Wiring harness attachment
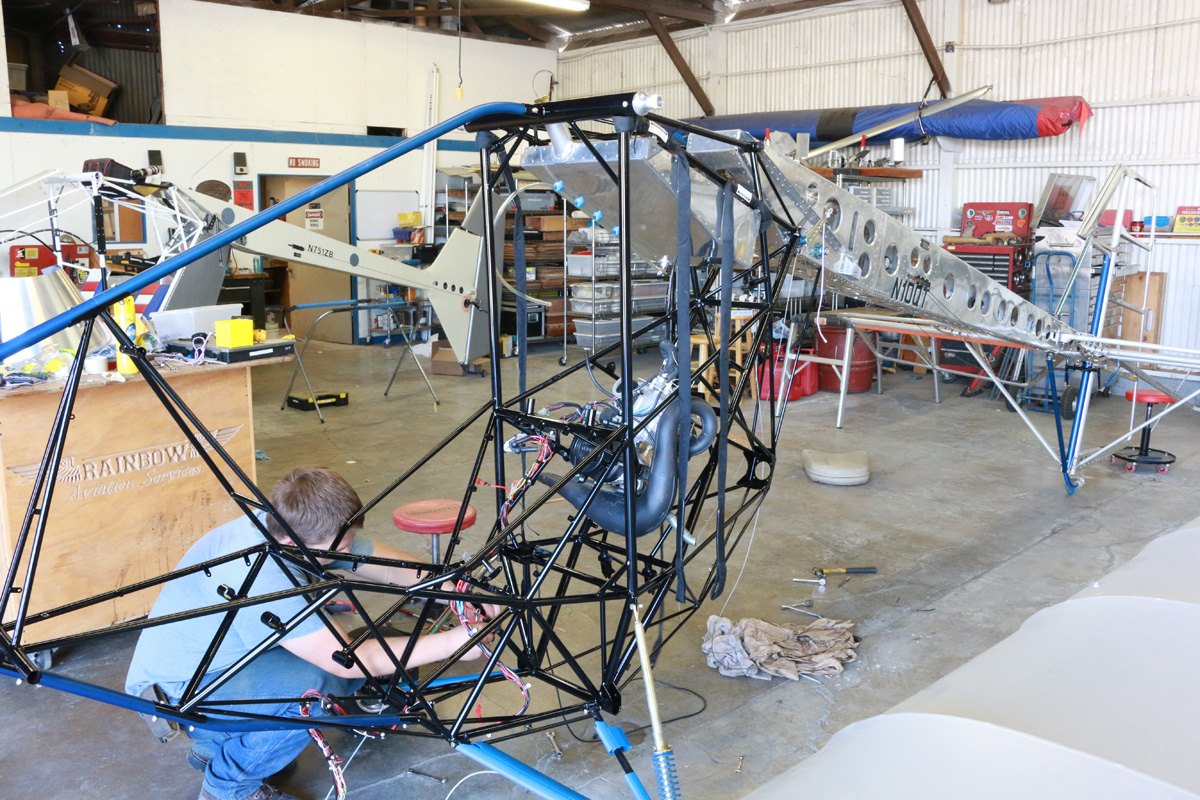
Wiring harness progress
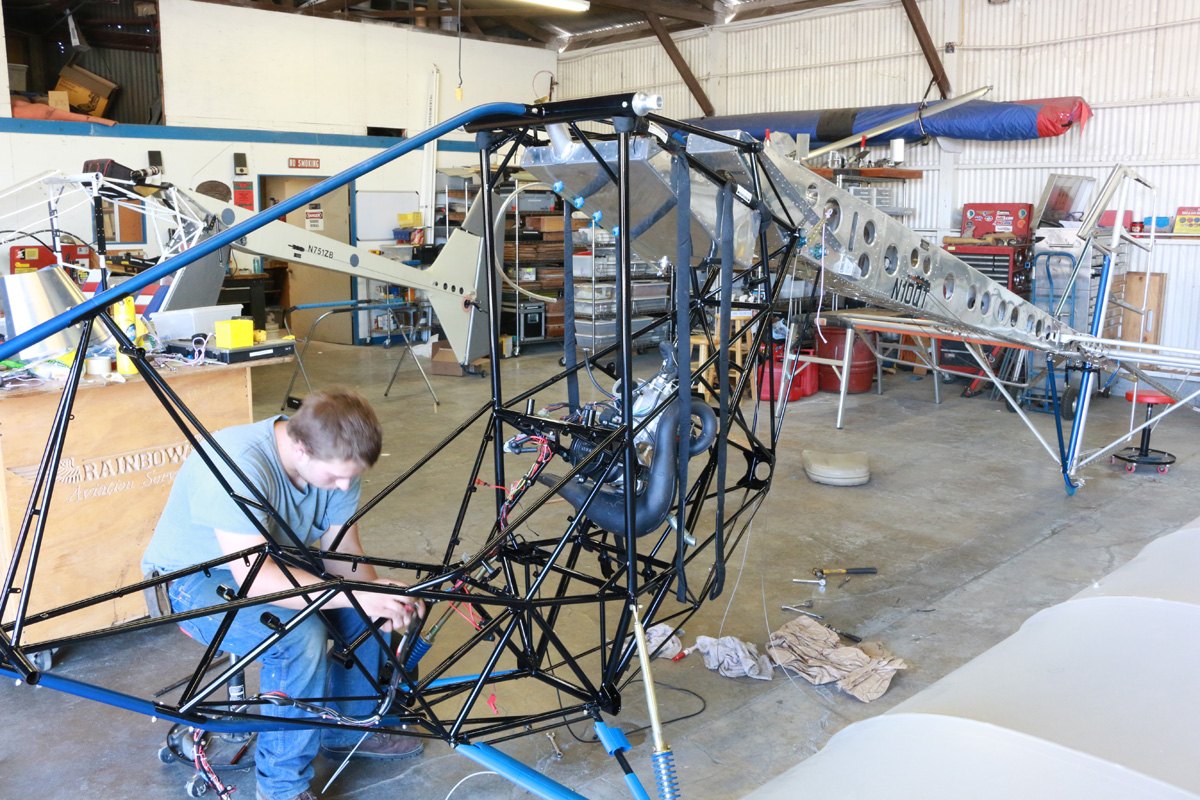
Engine installation
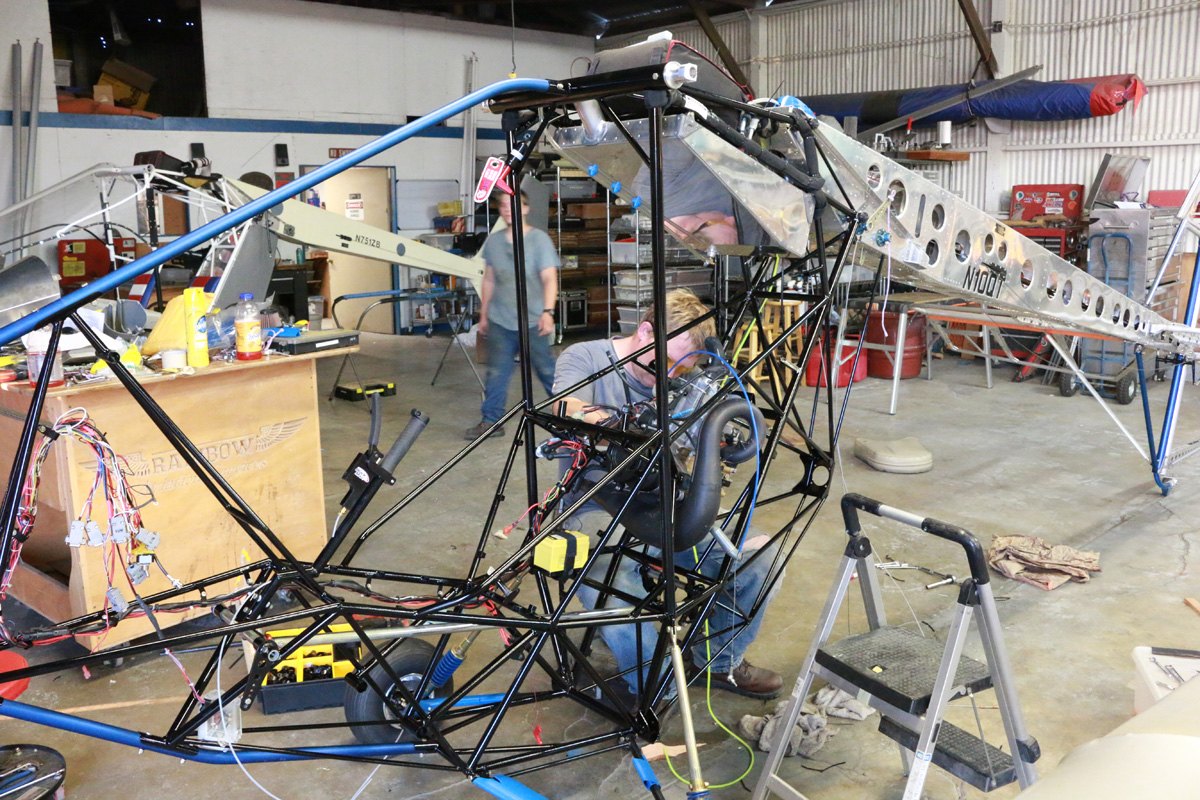
Control system installation
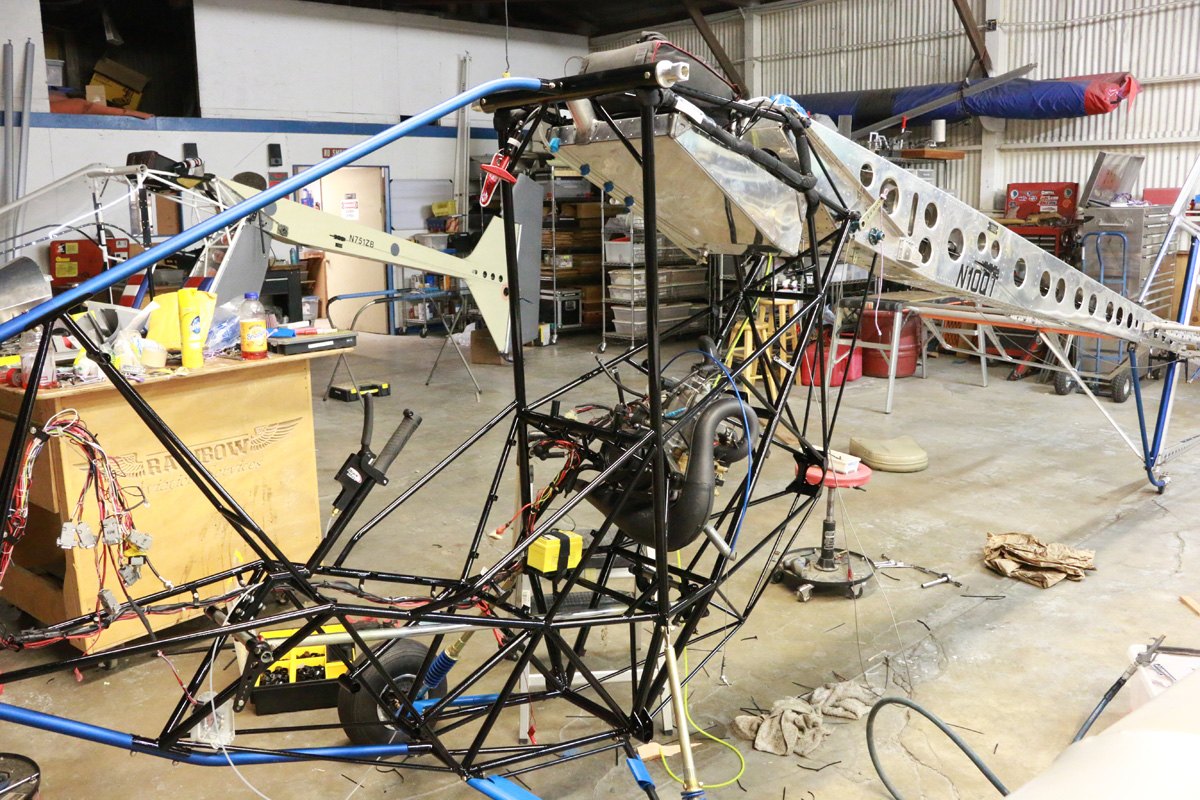
Painting
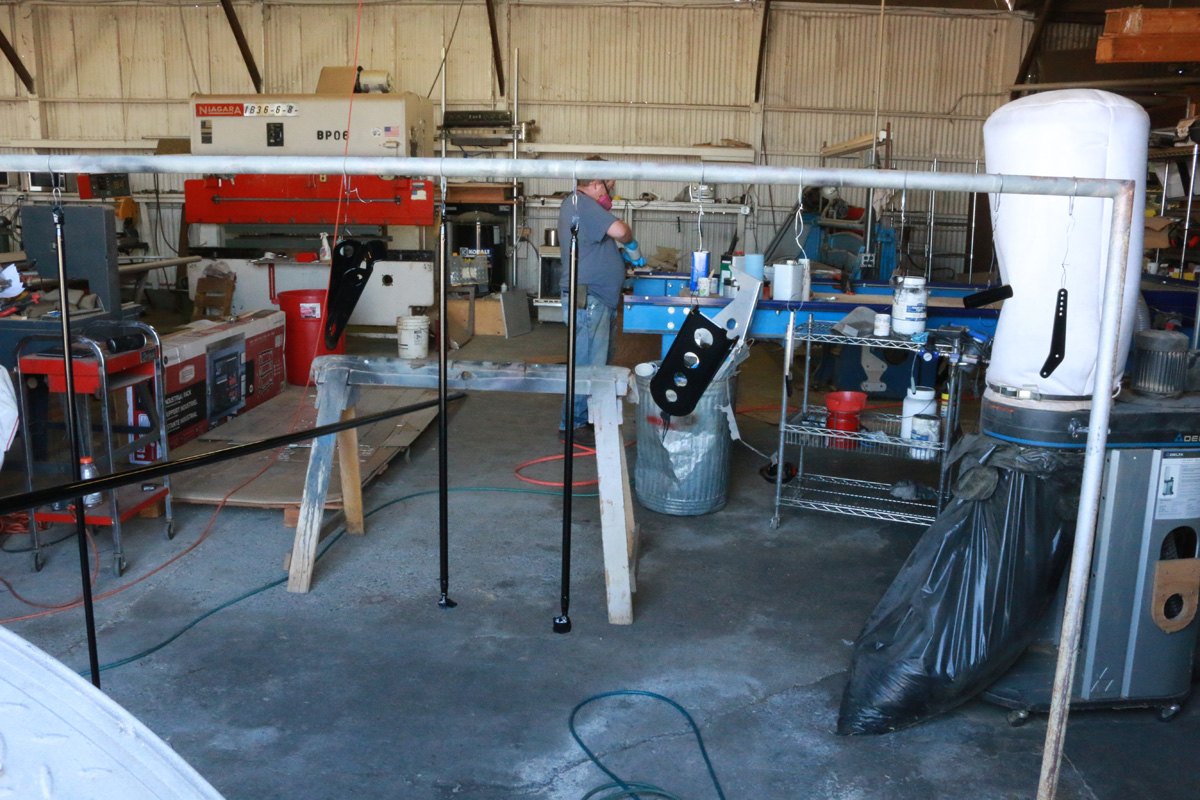
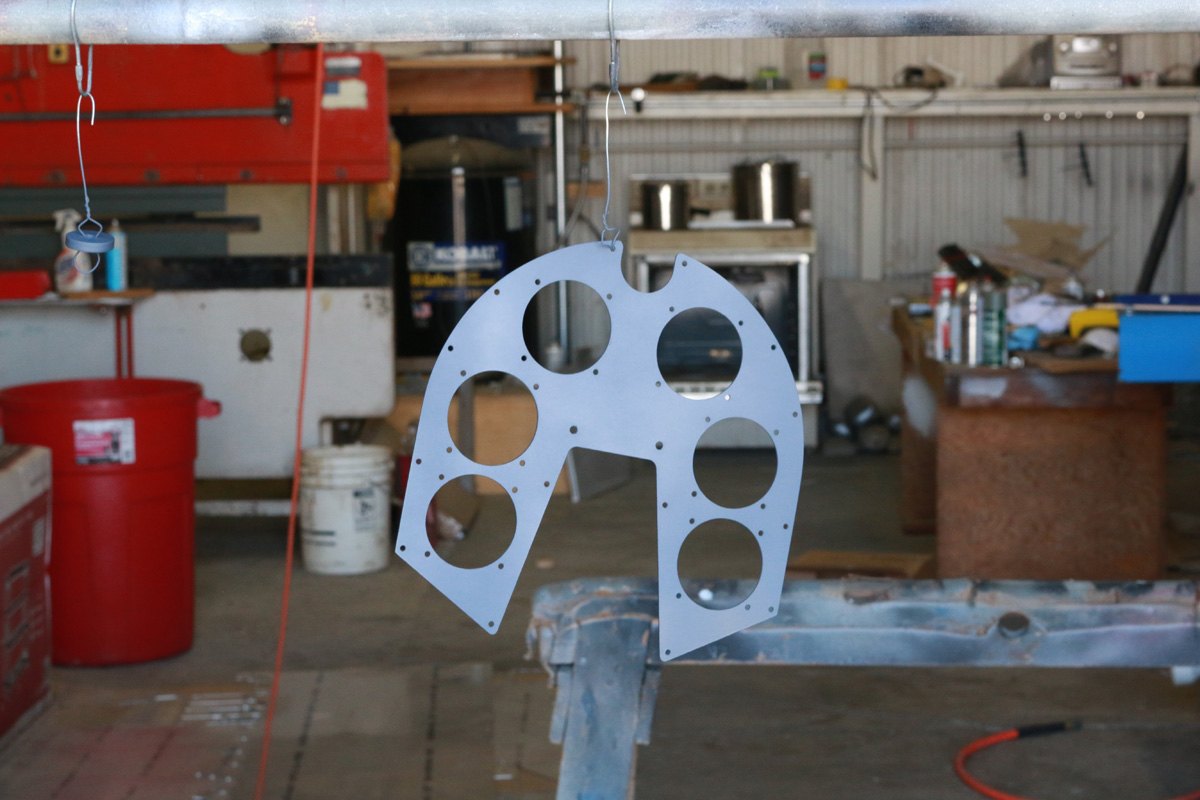
Instrument panel
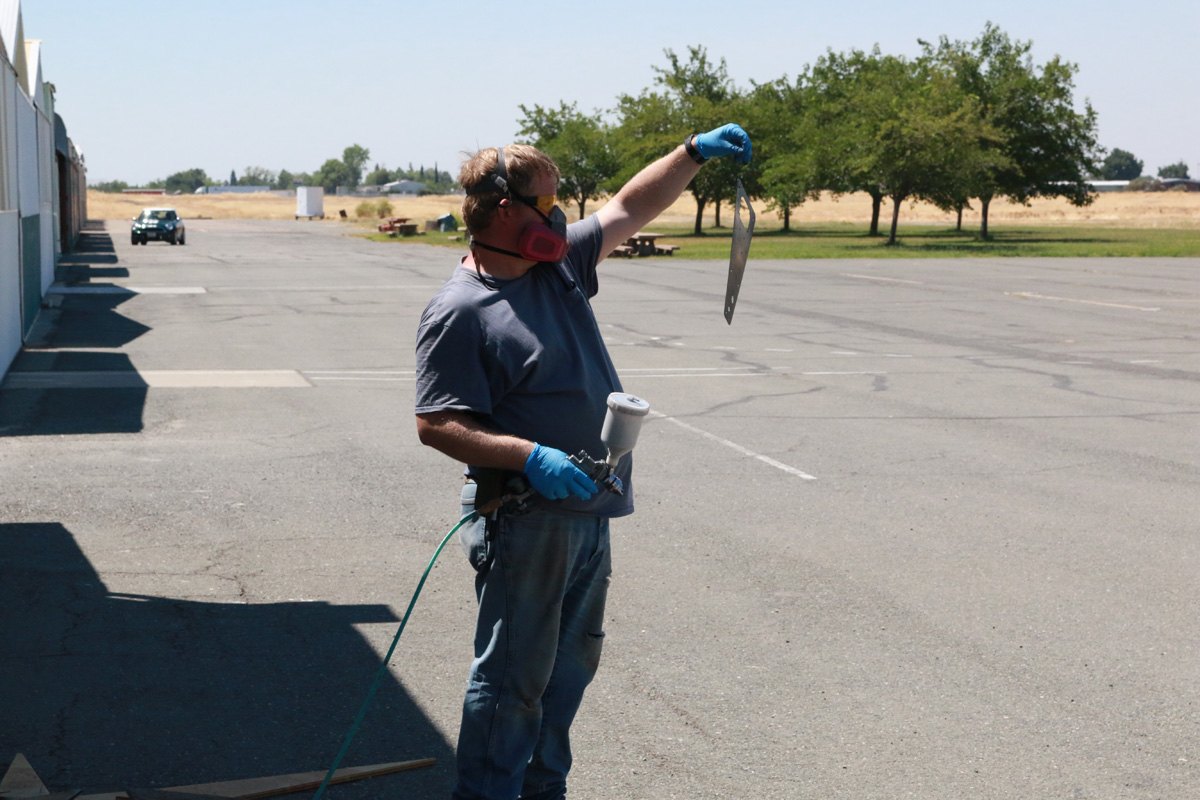
Instrument panel
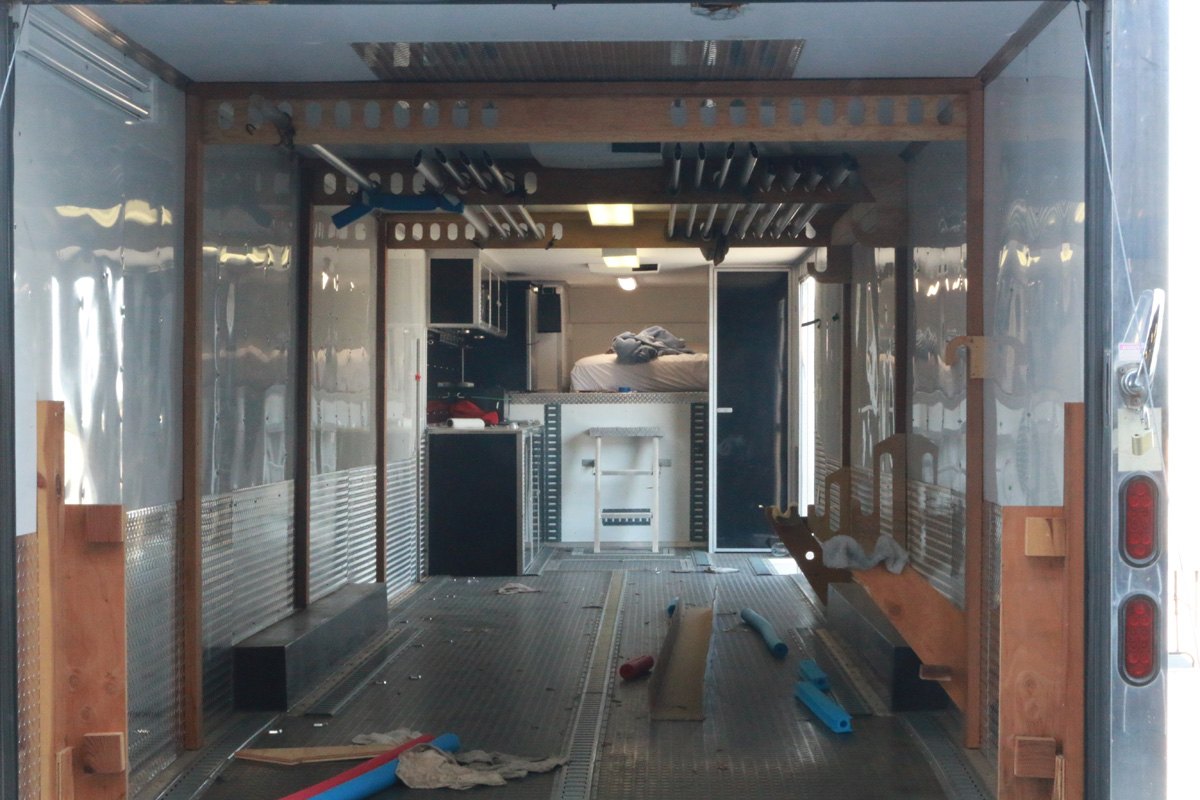
Trailer preparation
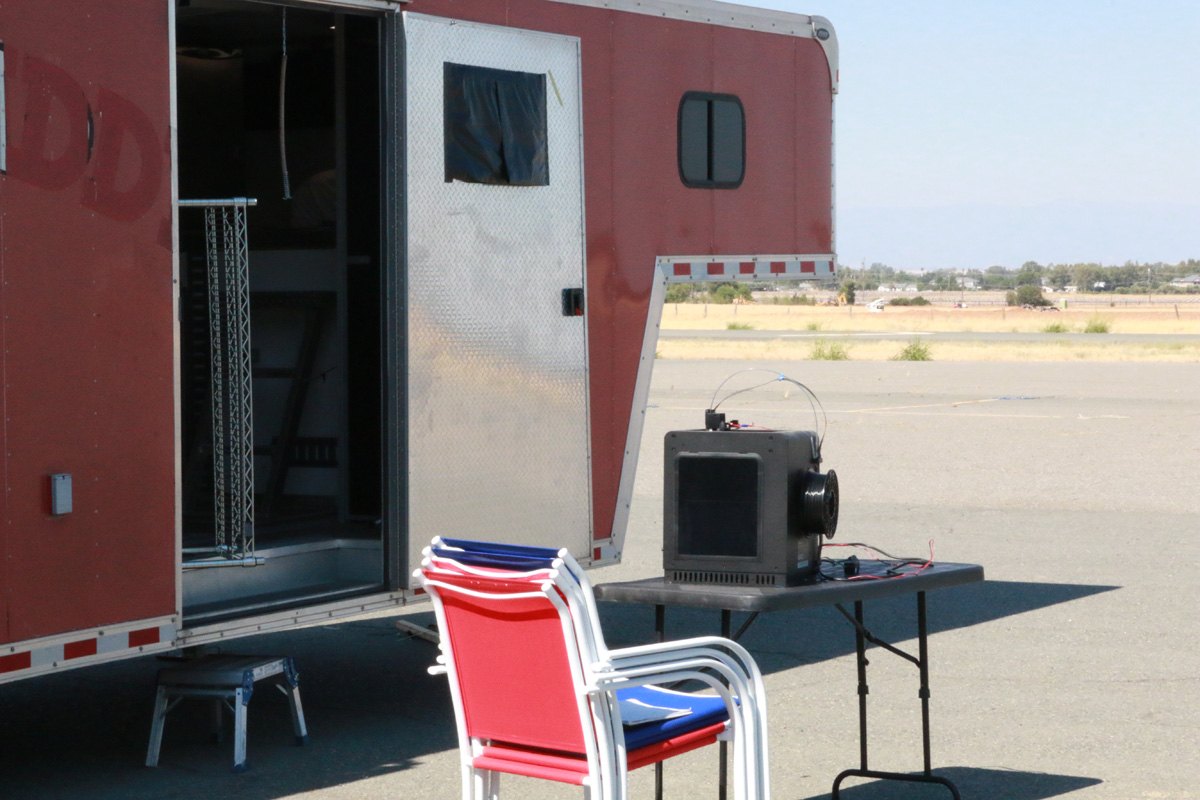
Loading the 3D printer
Control system installation
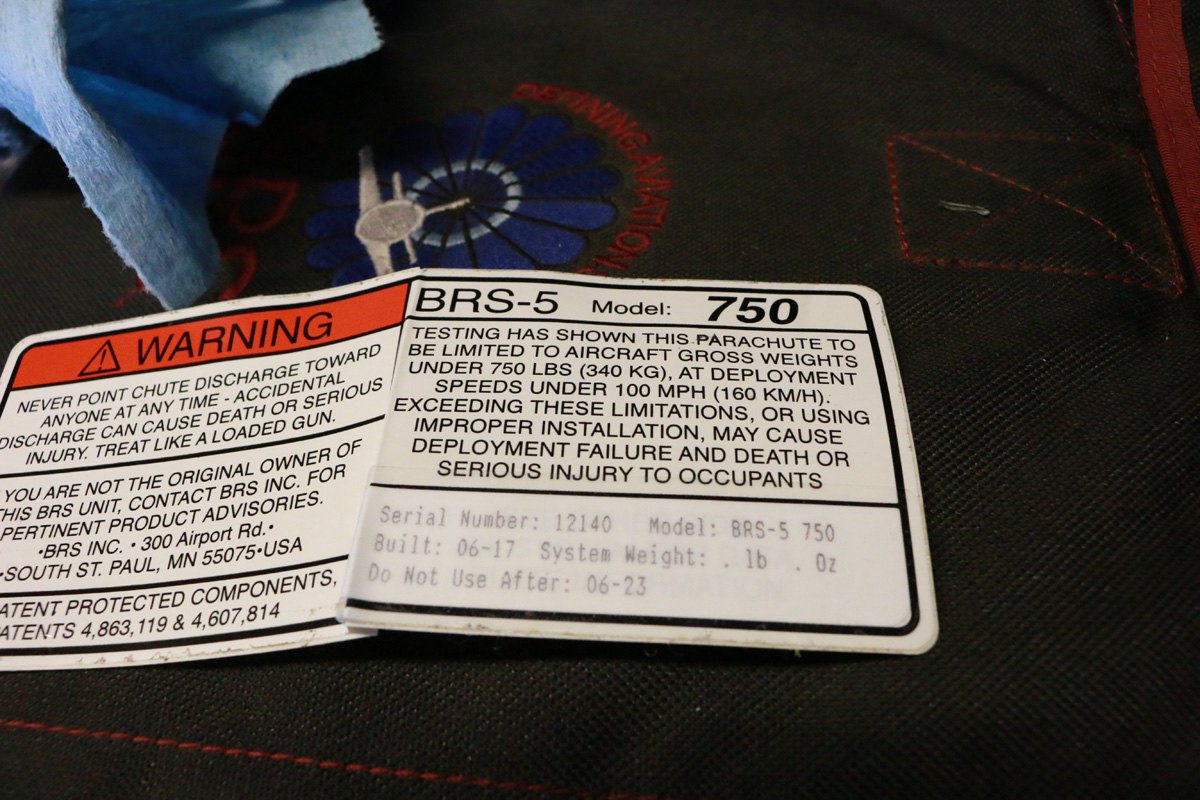
BRS parachute installation
BRS parachute
BRS rocket motor installation
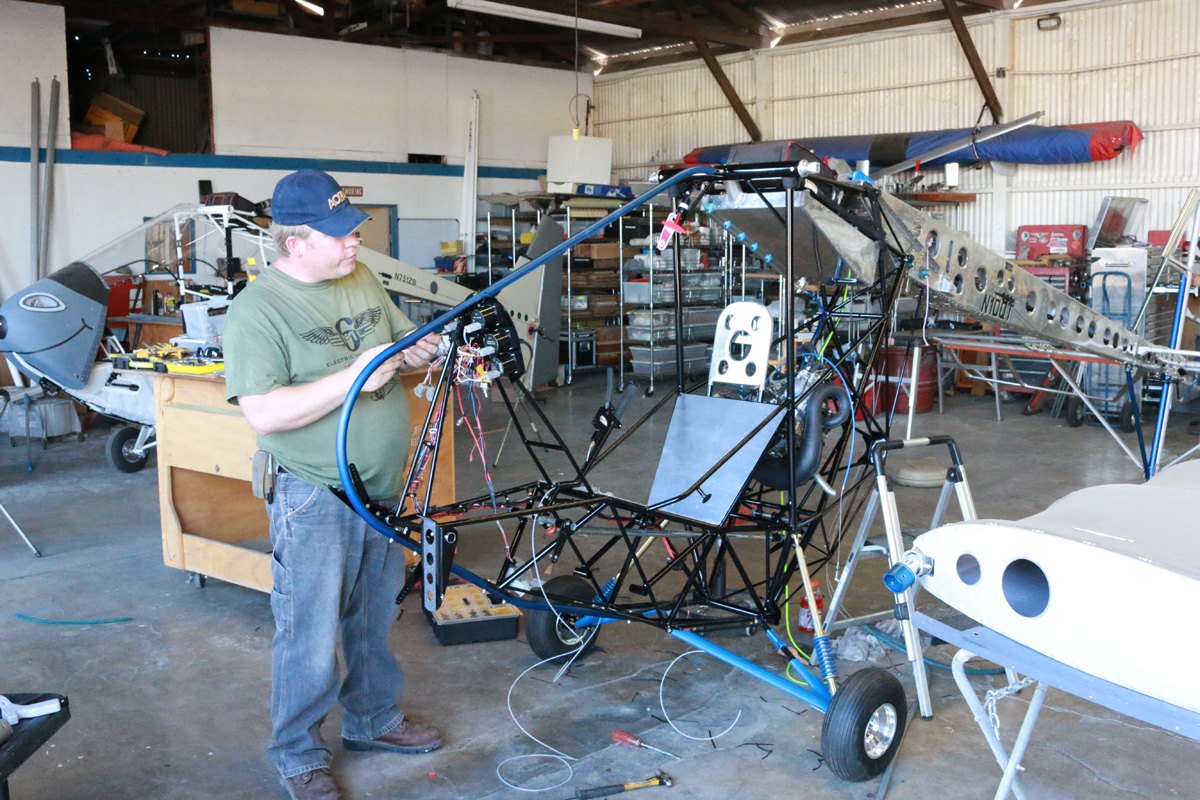
Instrument panel installation
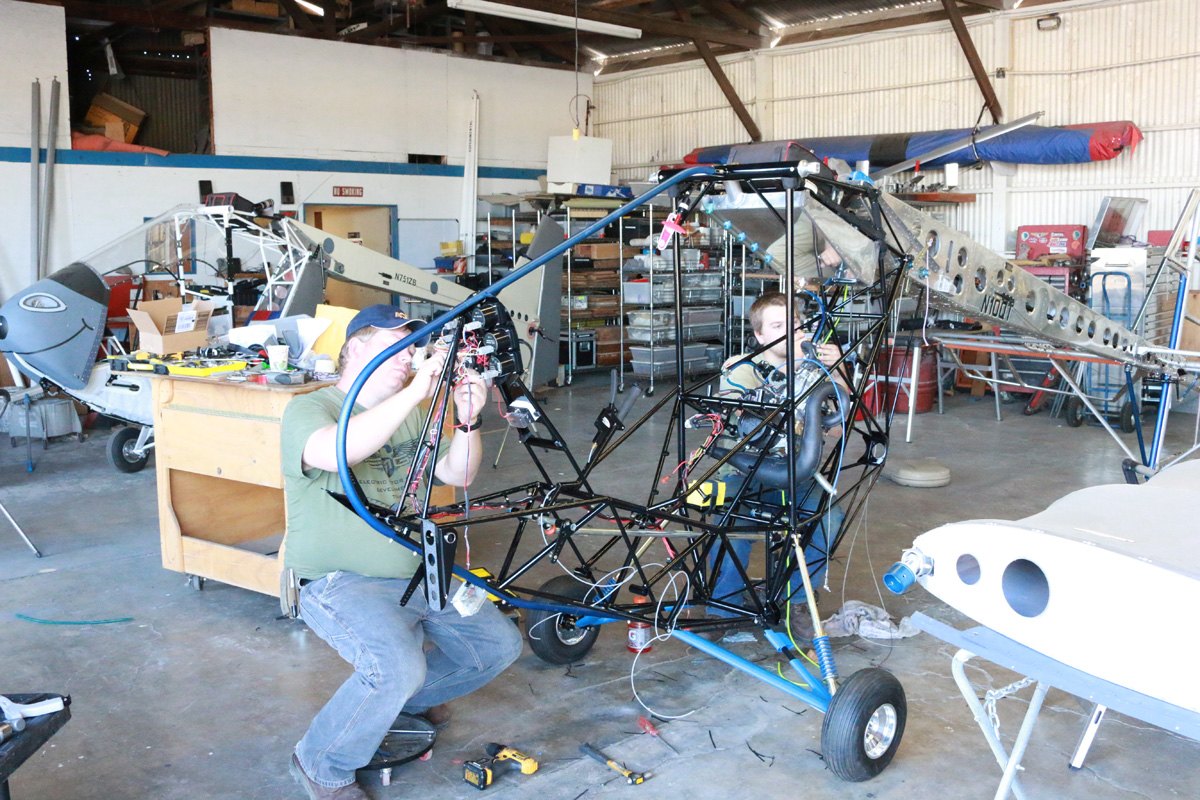
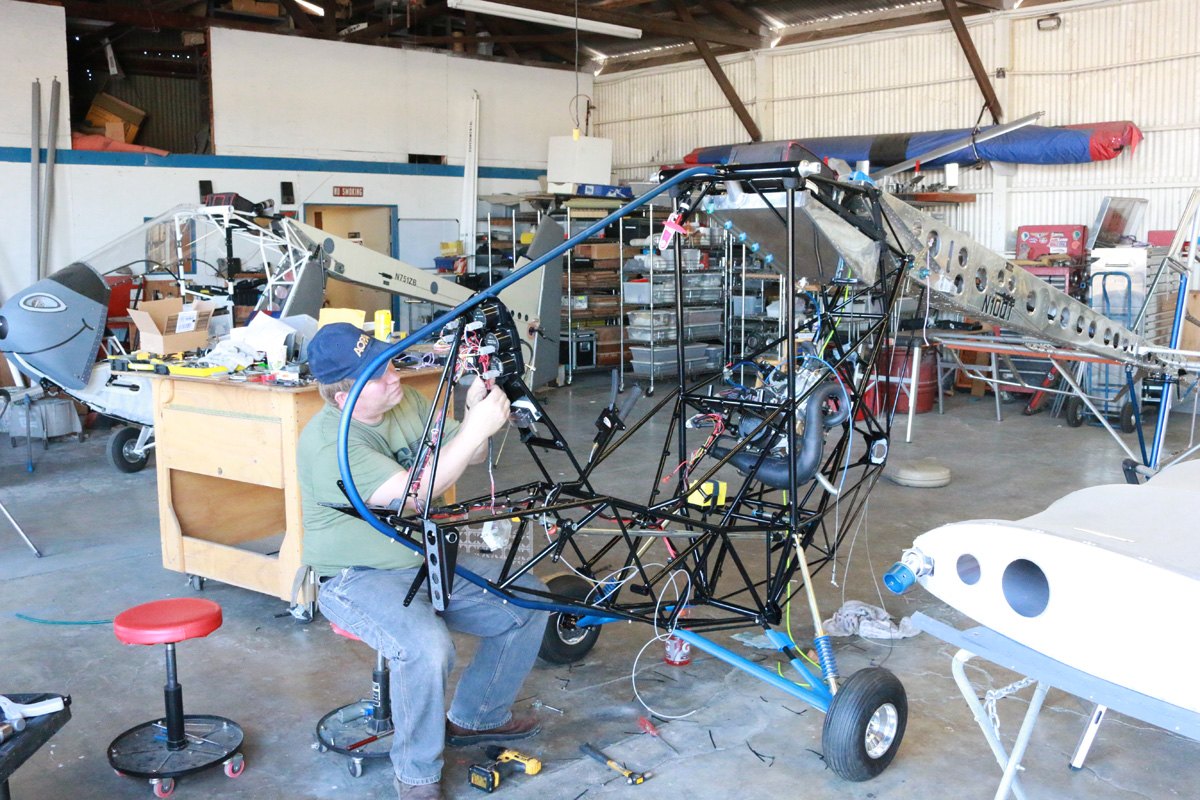
Lower instrument panel installation
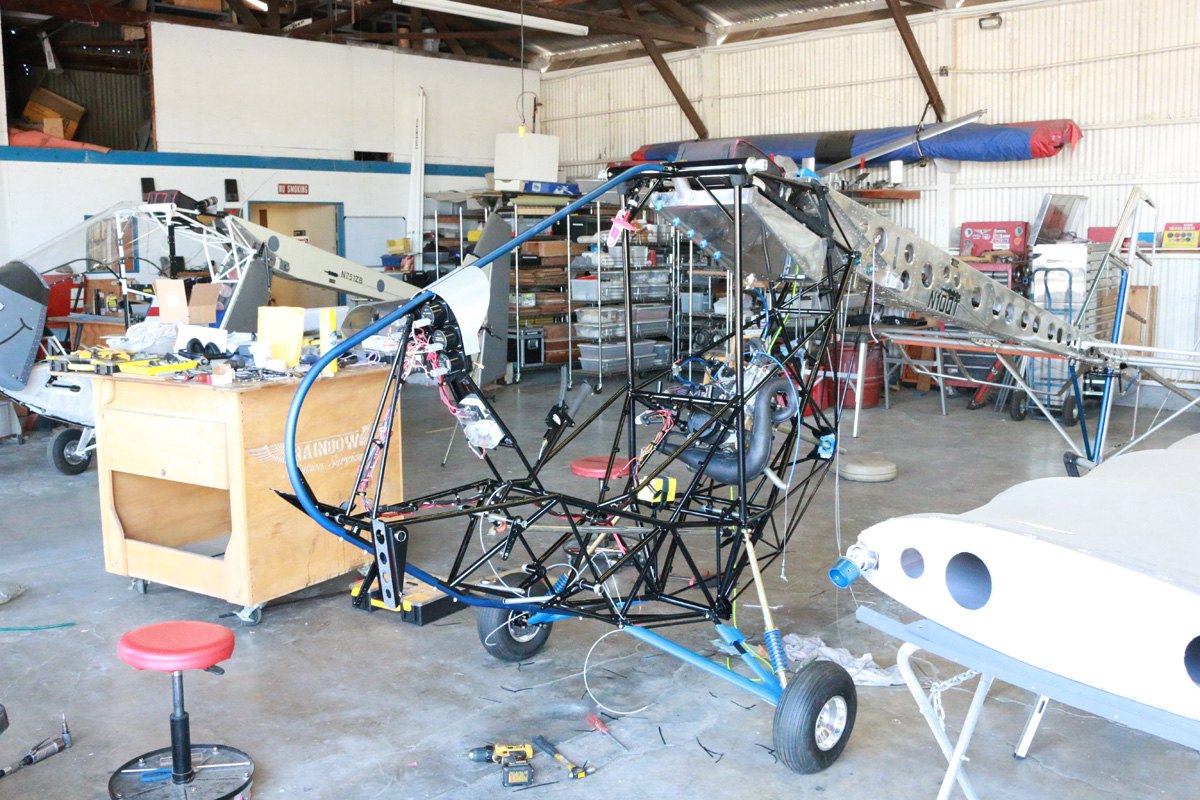
3D printed instrument panel covered.
Throttle assembly installation
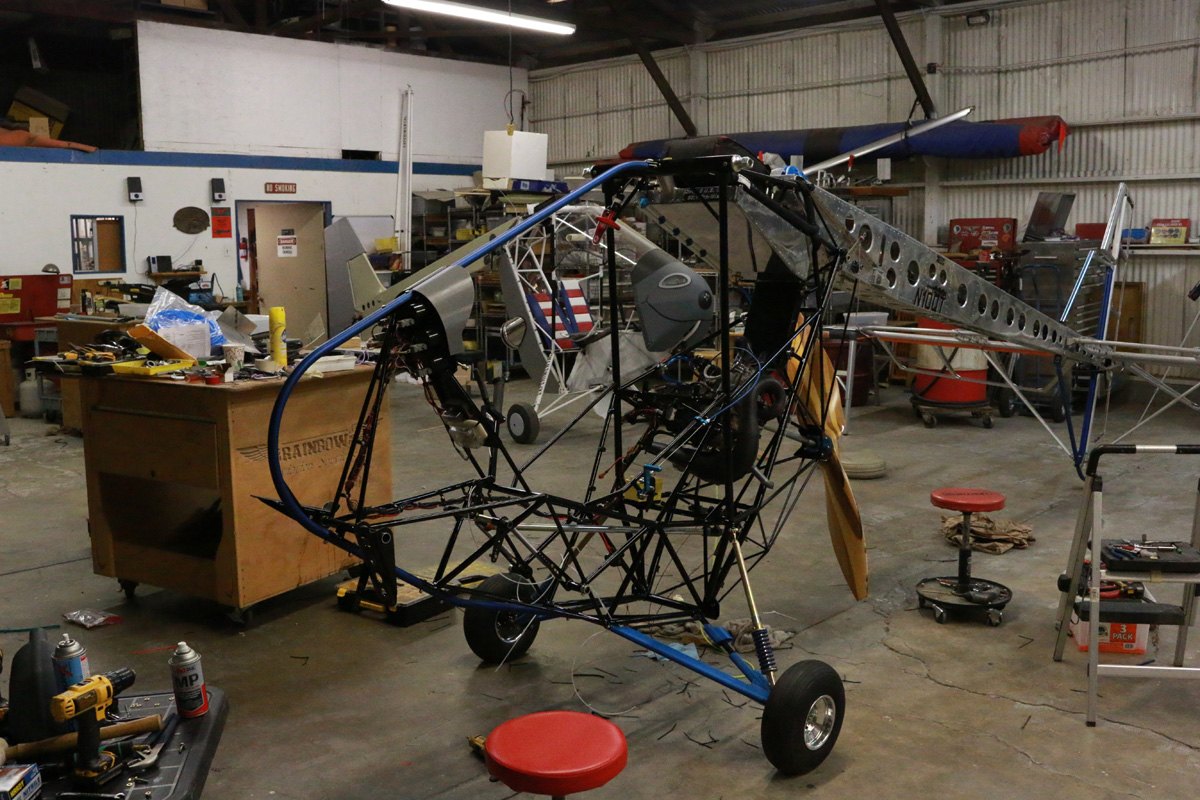
Wing reinstallation
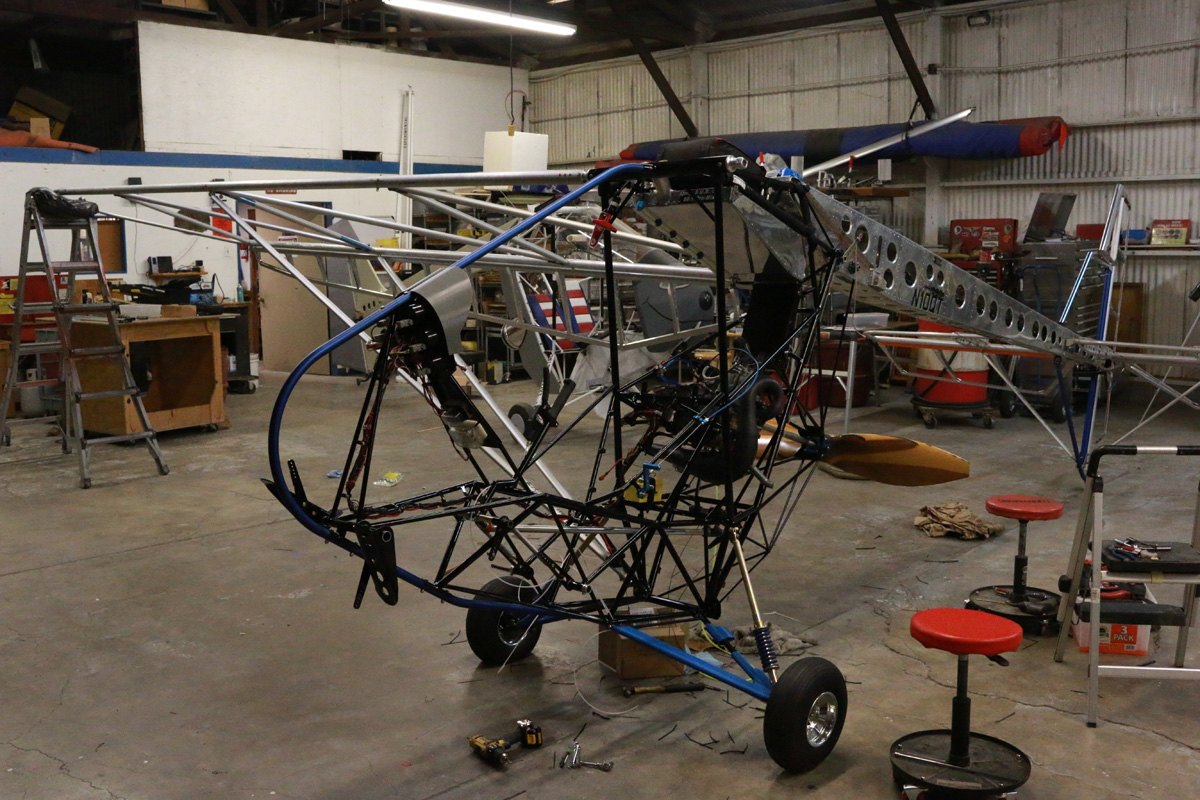
Both wings and struts install
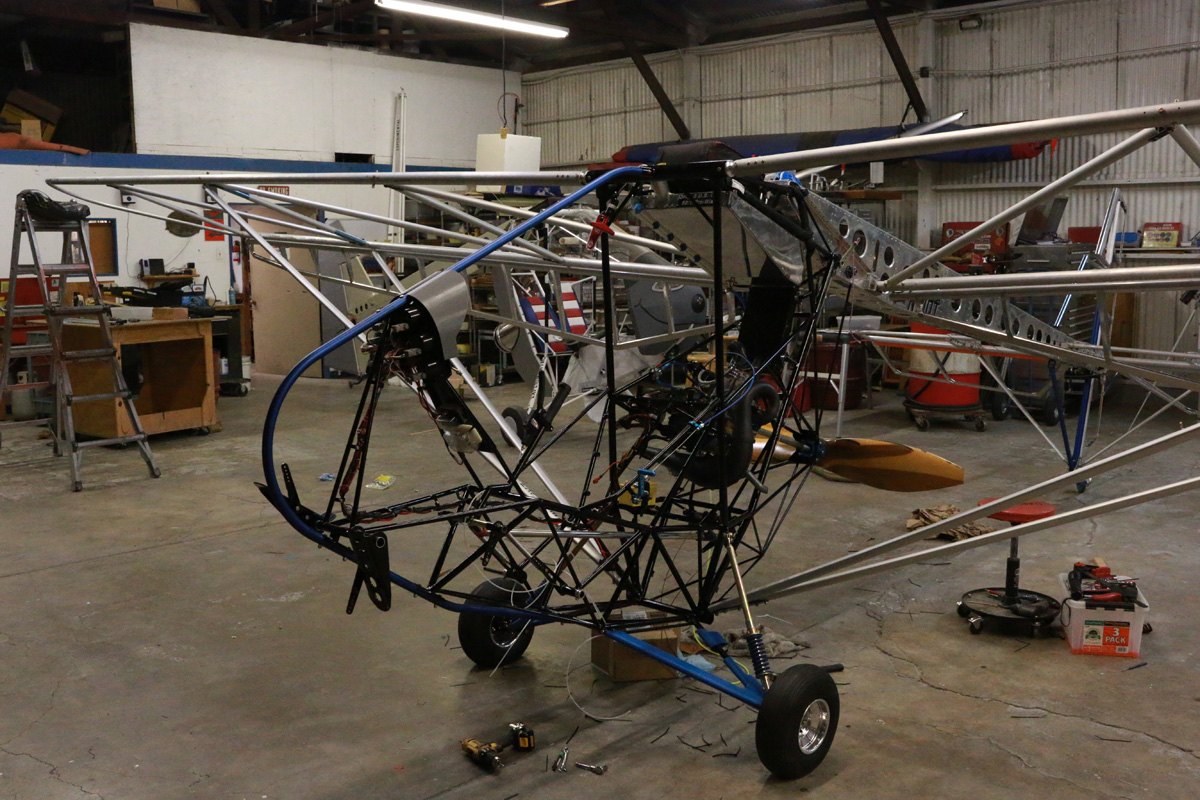
Cooling system installation
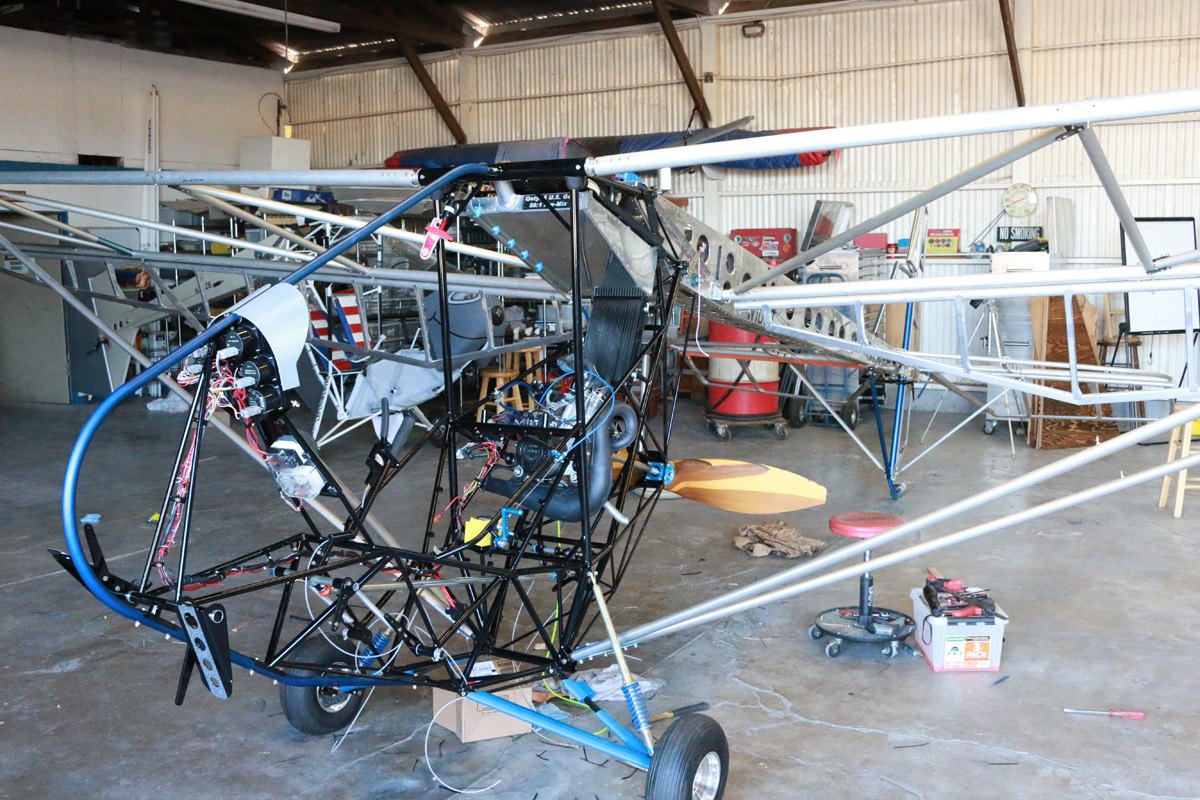
Cleaning up after the cooling system servicing
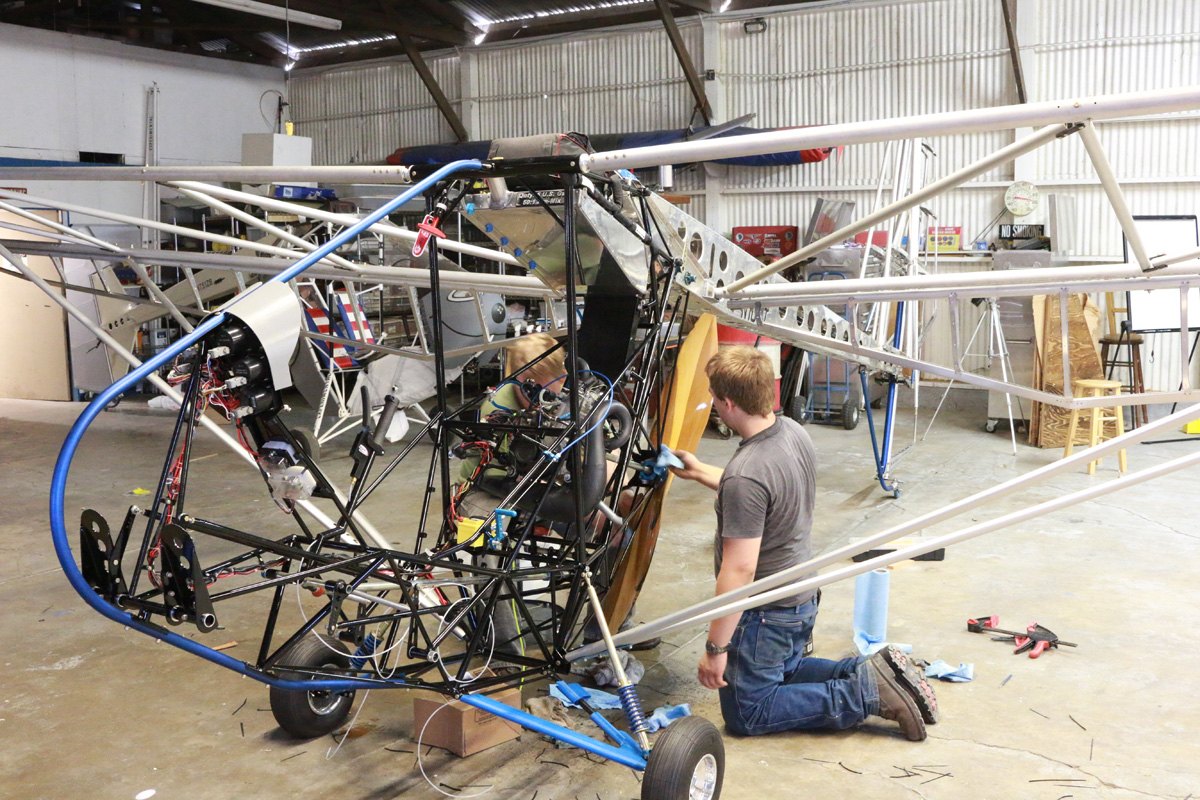
July 8 Midnight
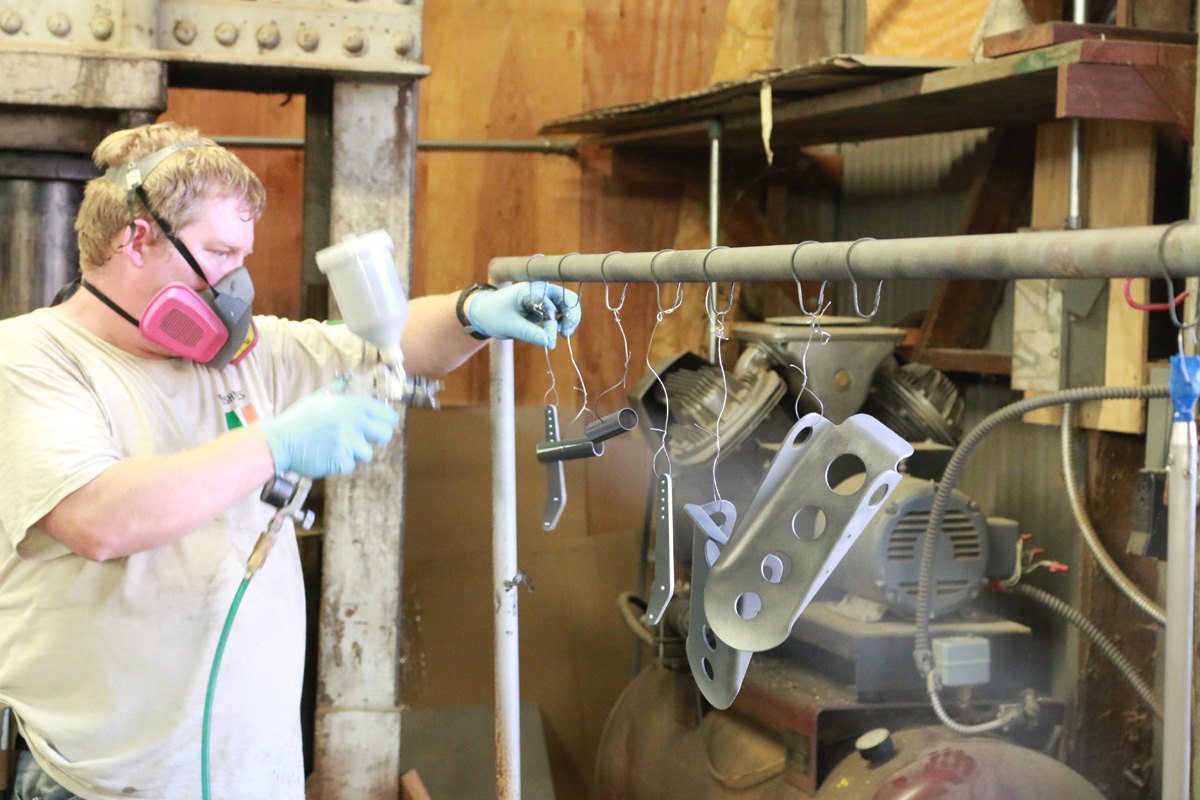
Painting parts
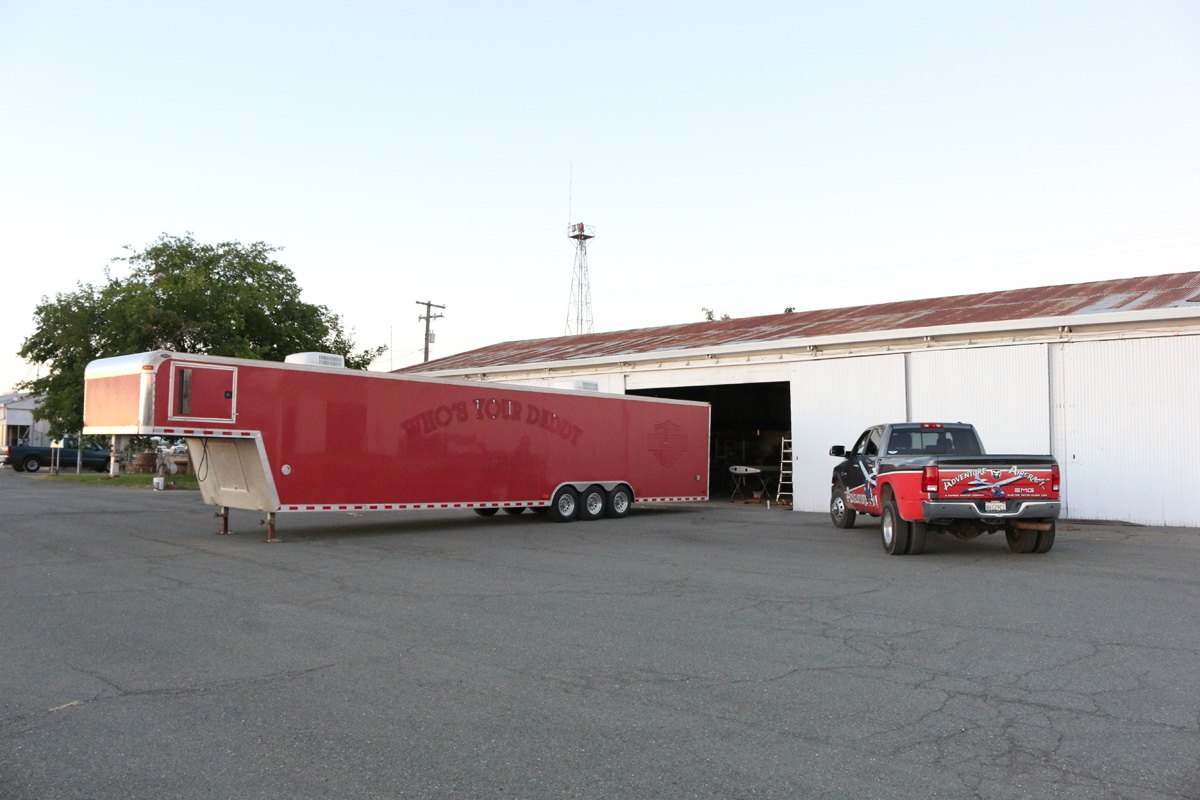
July 8 Loading trailer
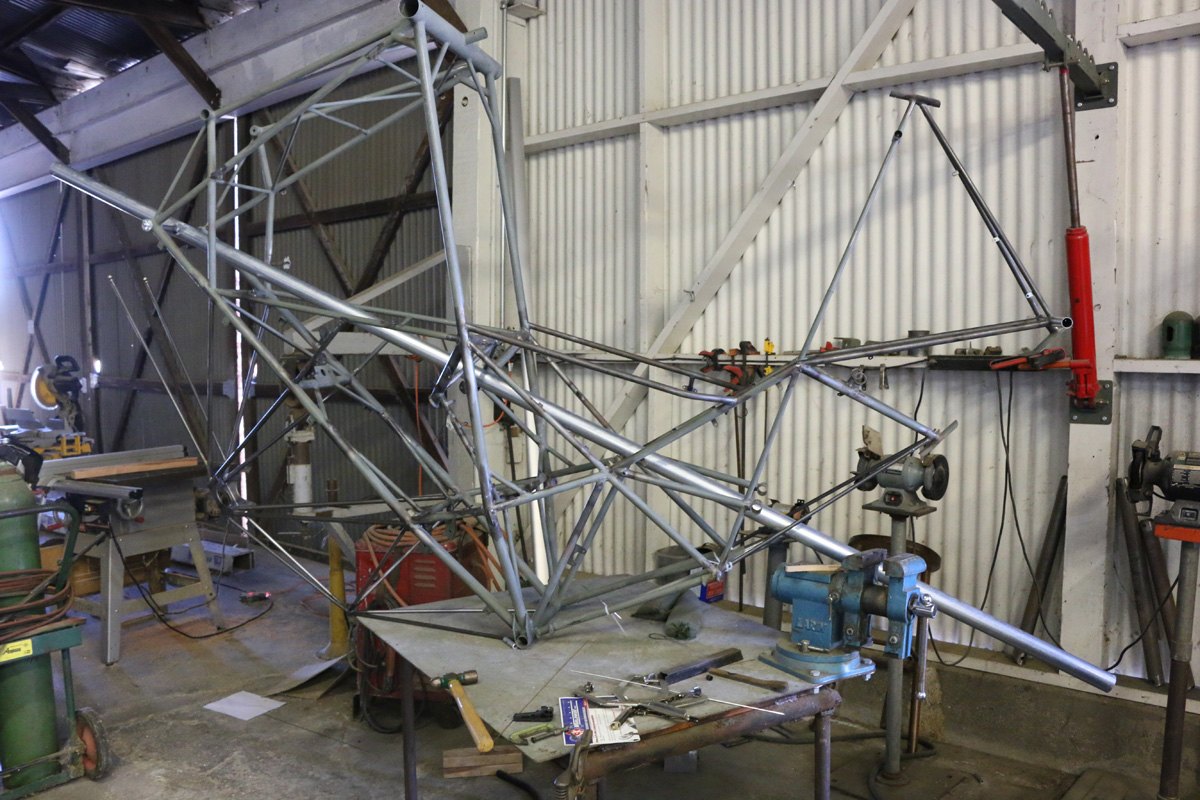
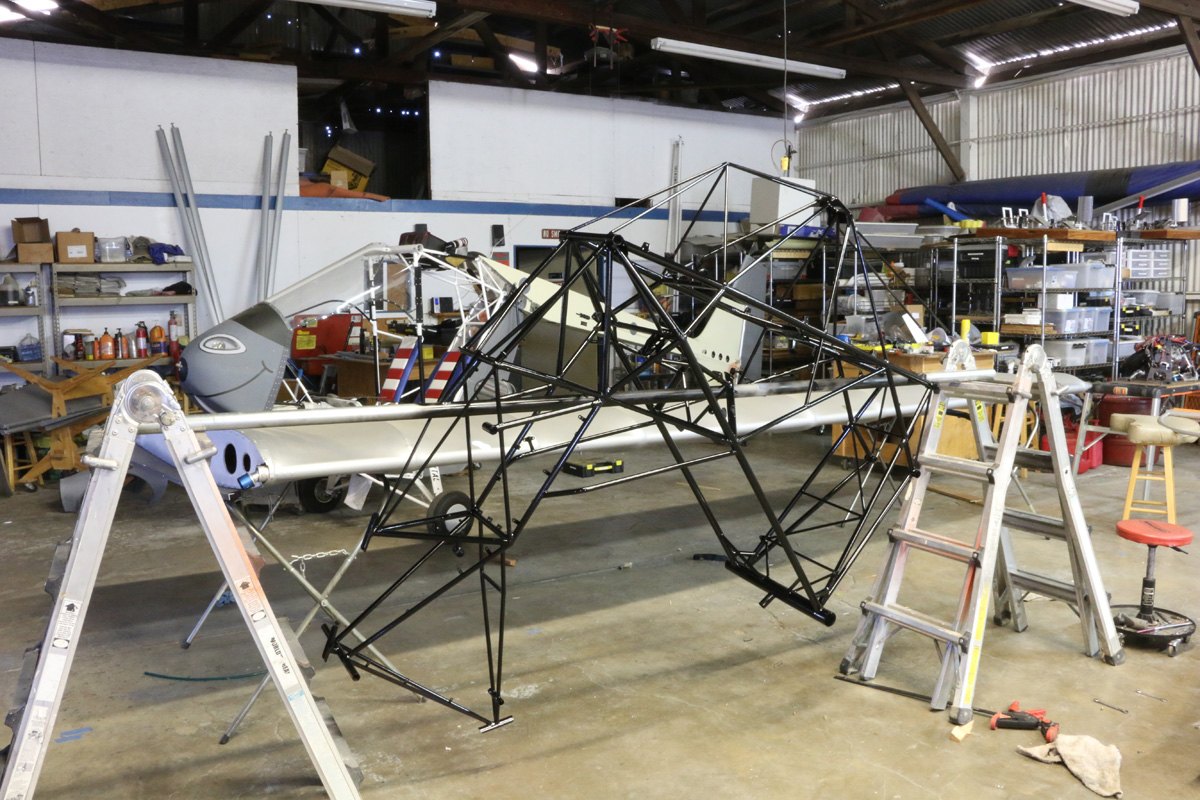
Finish welding on the fuselage frame.
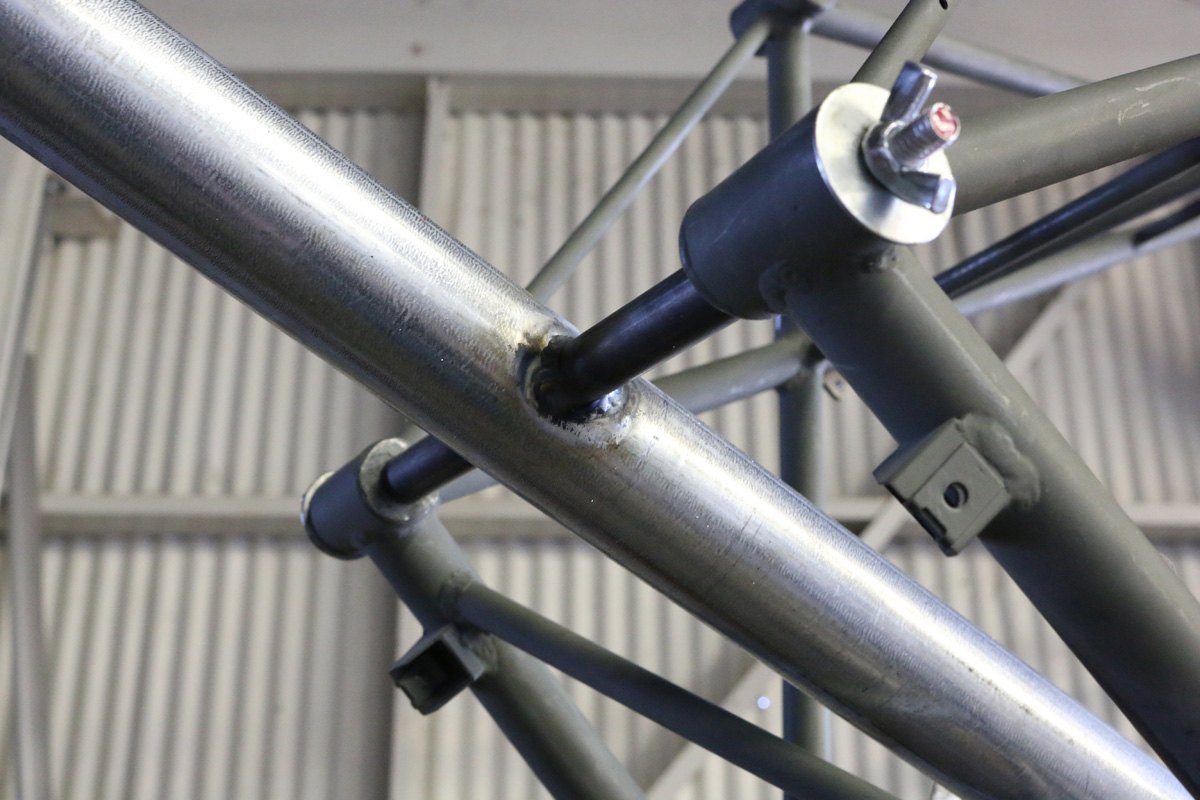
Frame skewer
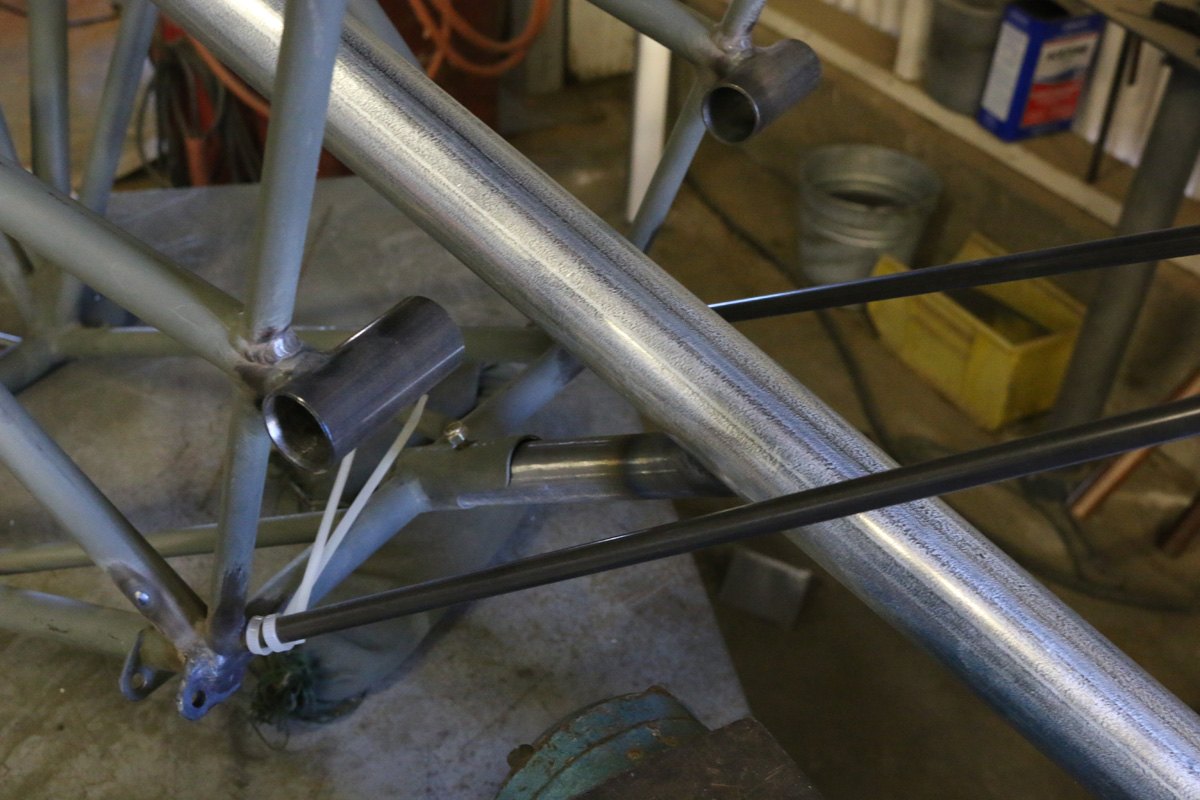
Frame skewer aft attachment
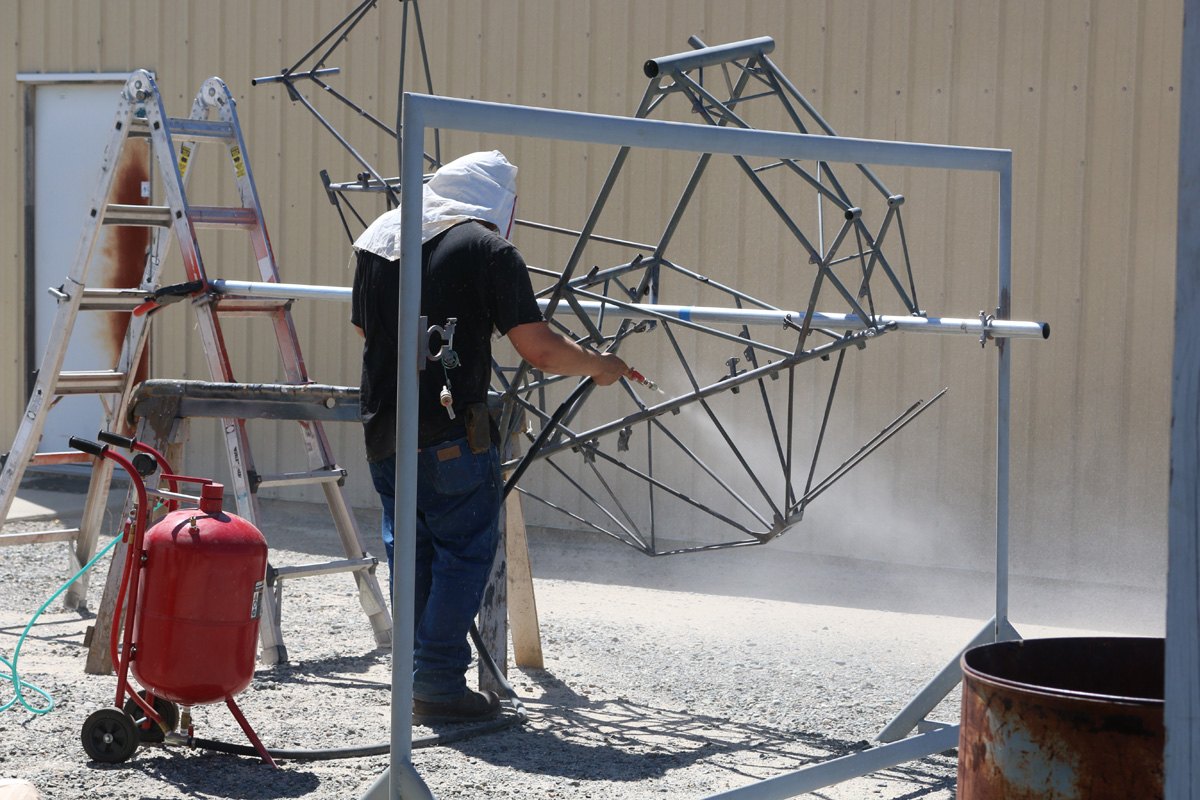
Sandblasting the frame
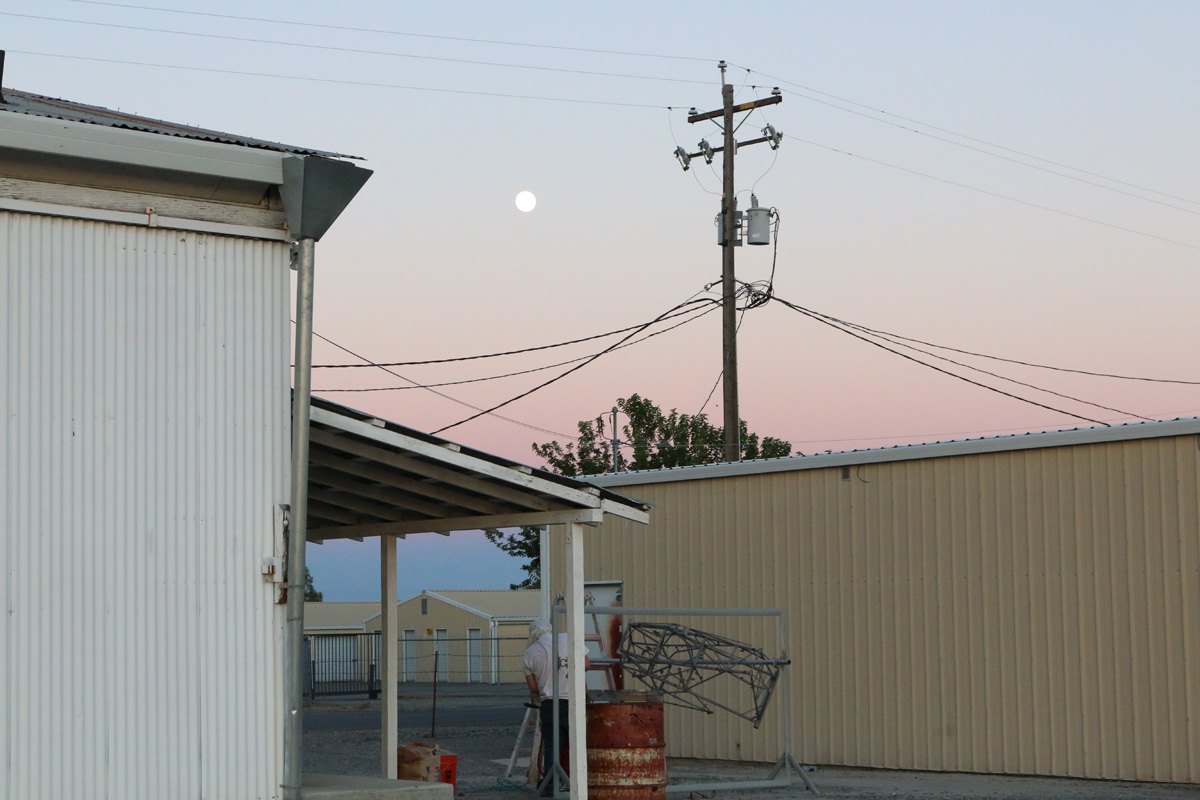
Late-night operations.
Prepping parts for primer and paint
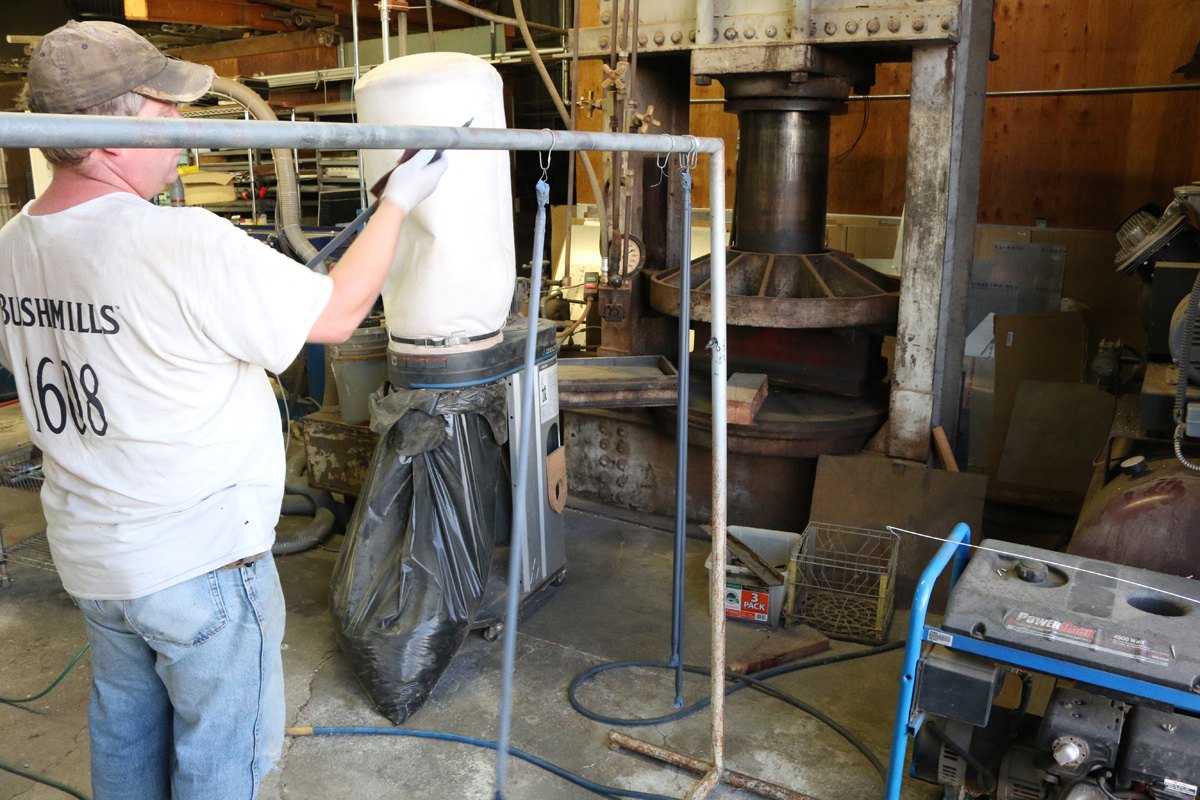
Painting black
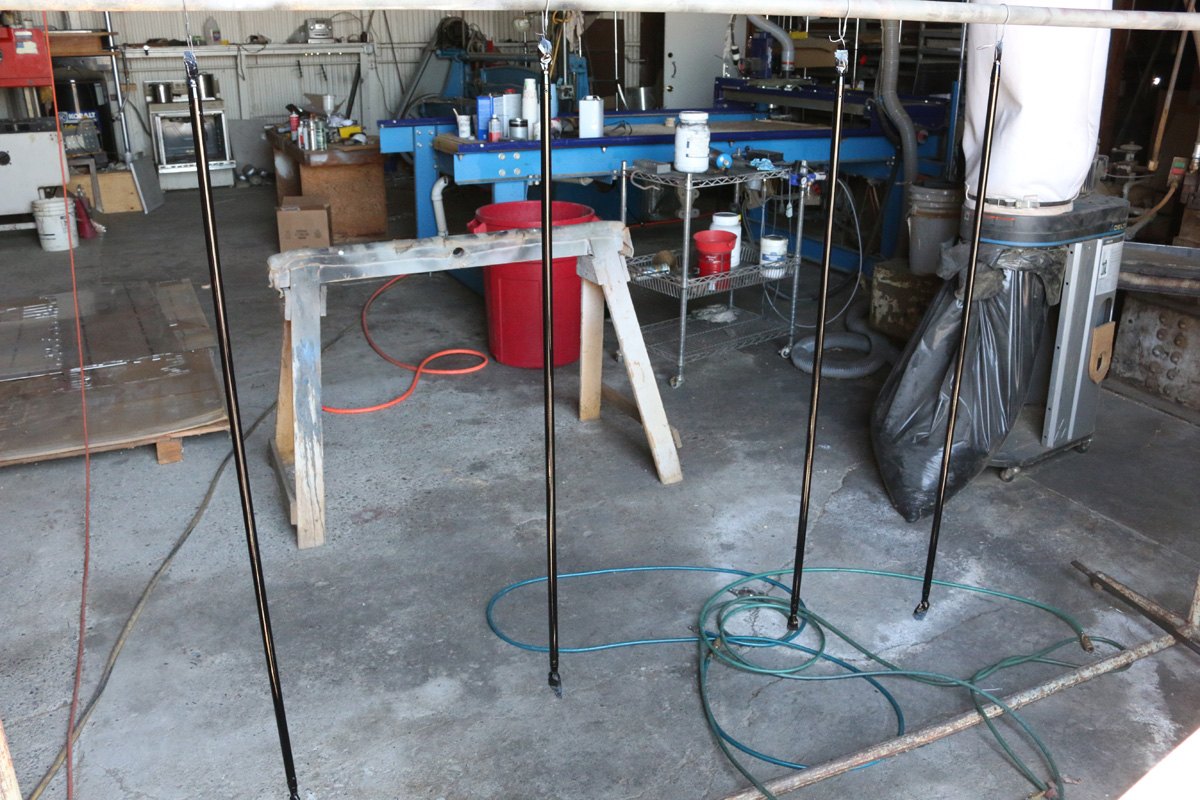
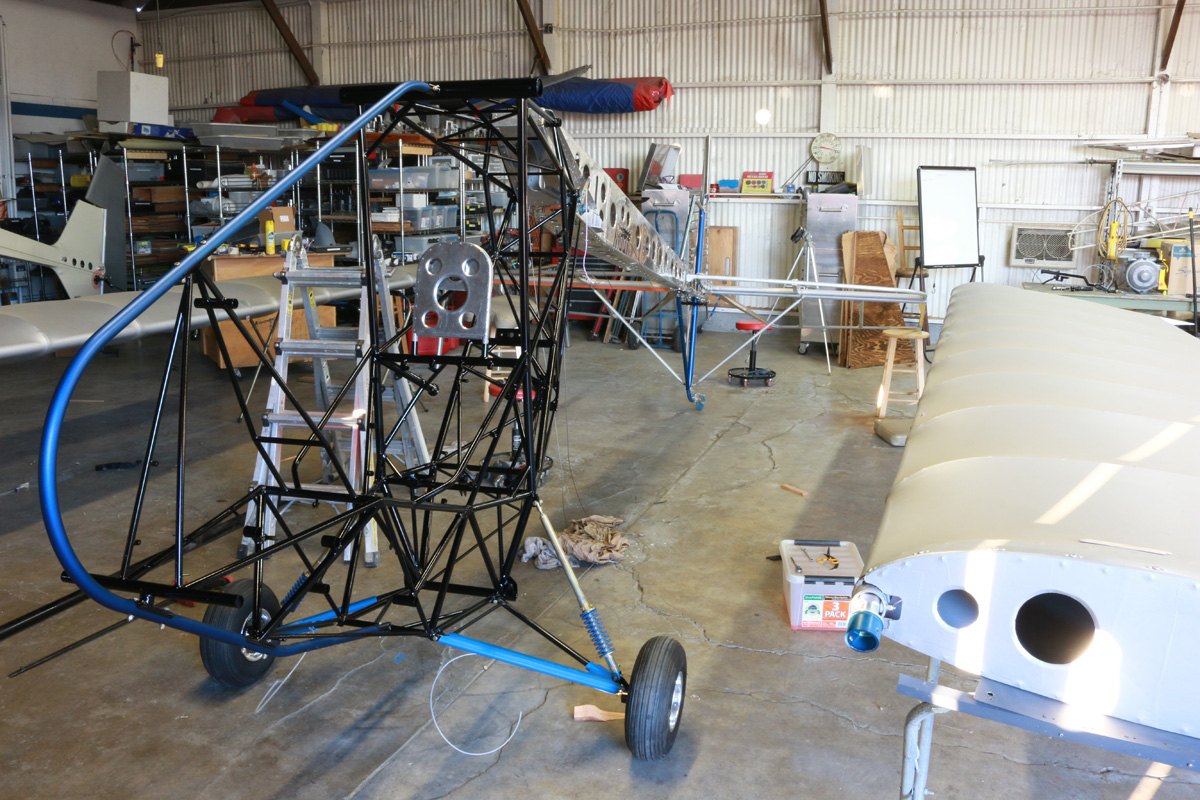
Fuselage frame painted
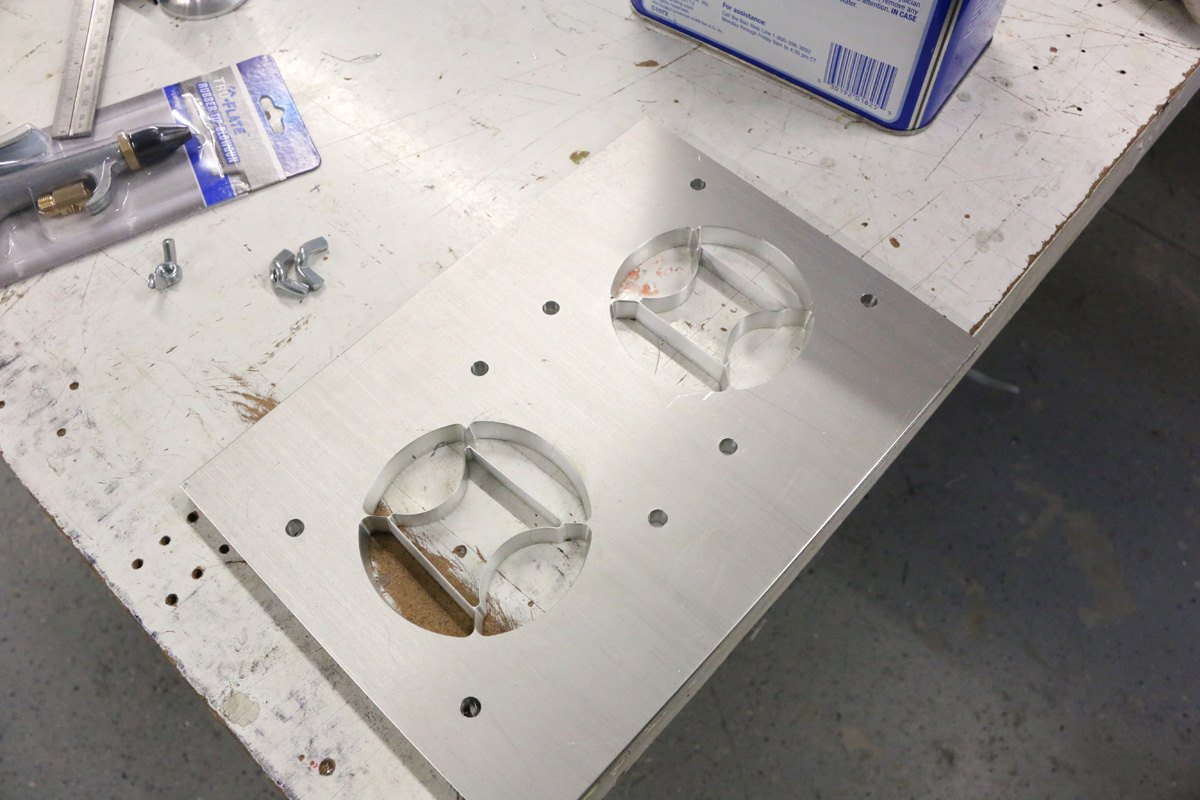
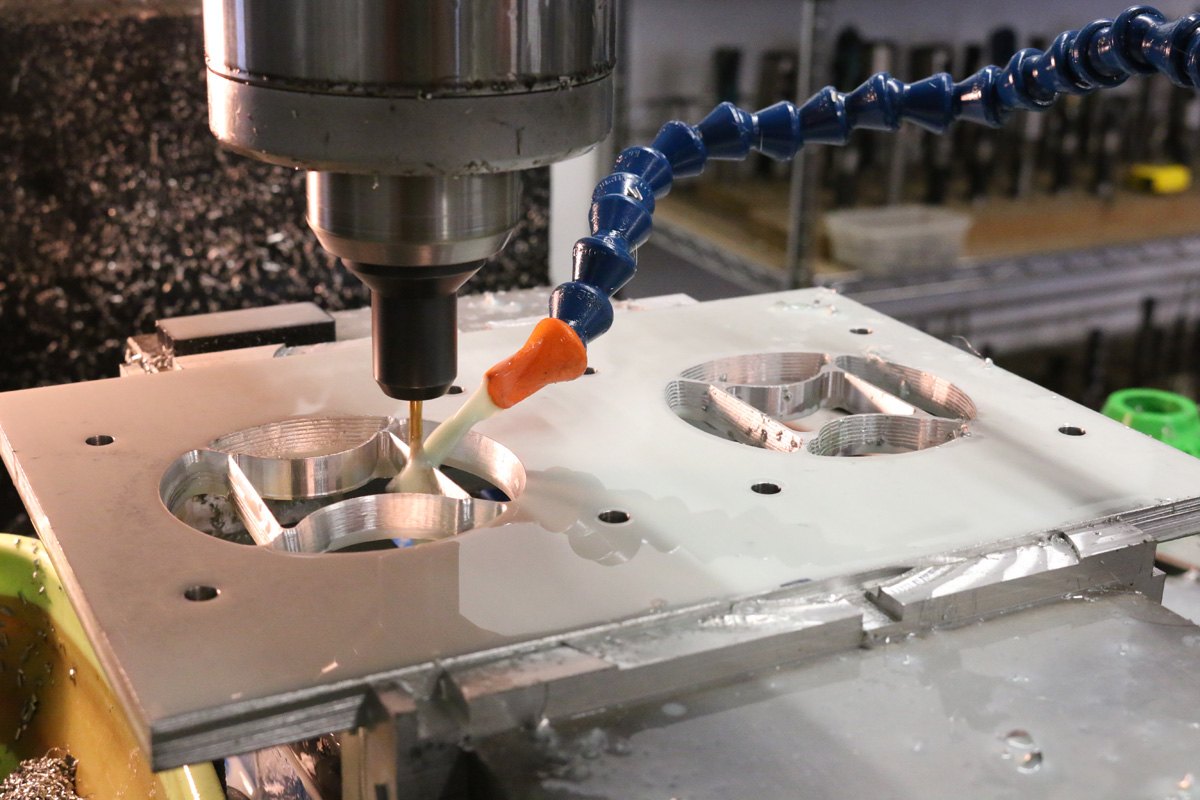
Gap seal cutting tool completed
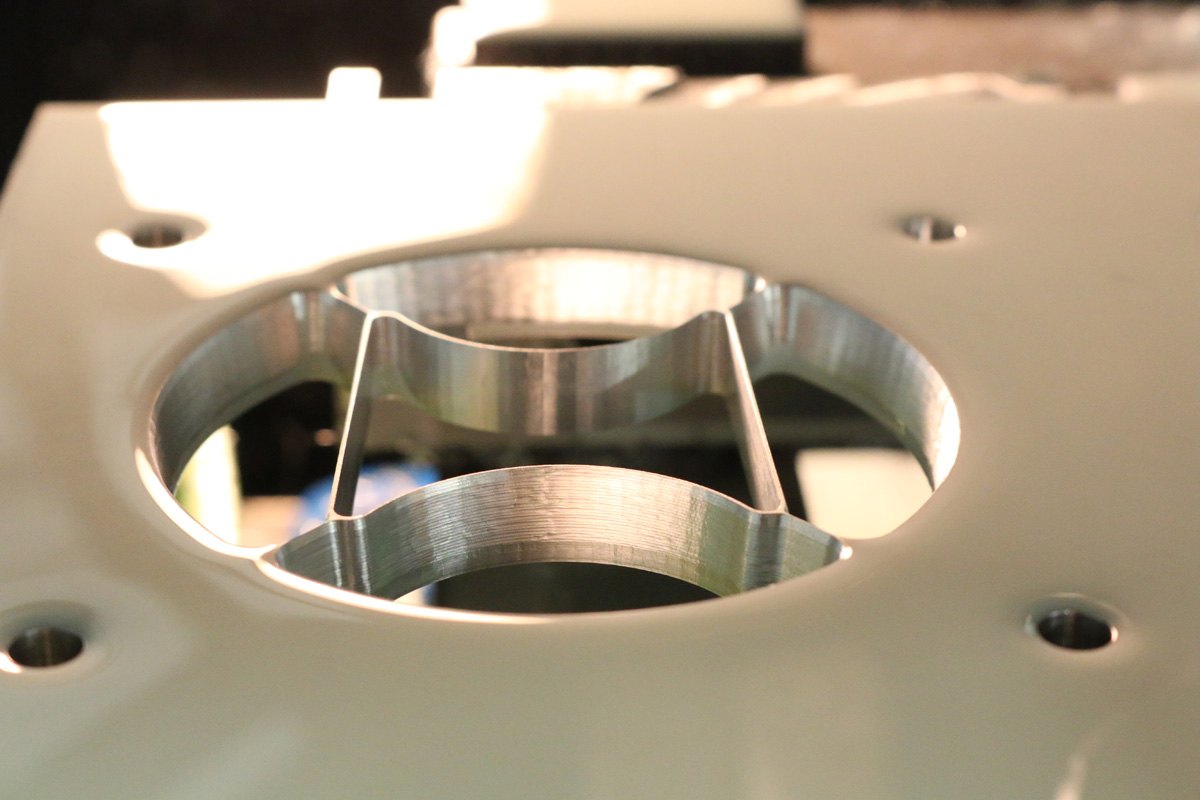
Gap seal cutting tool
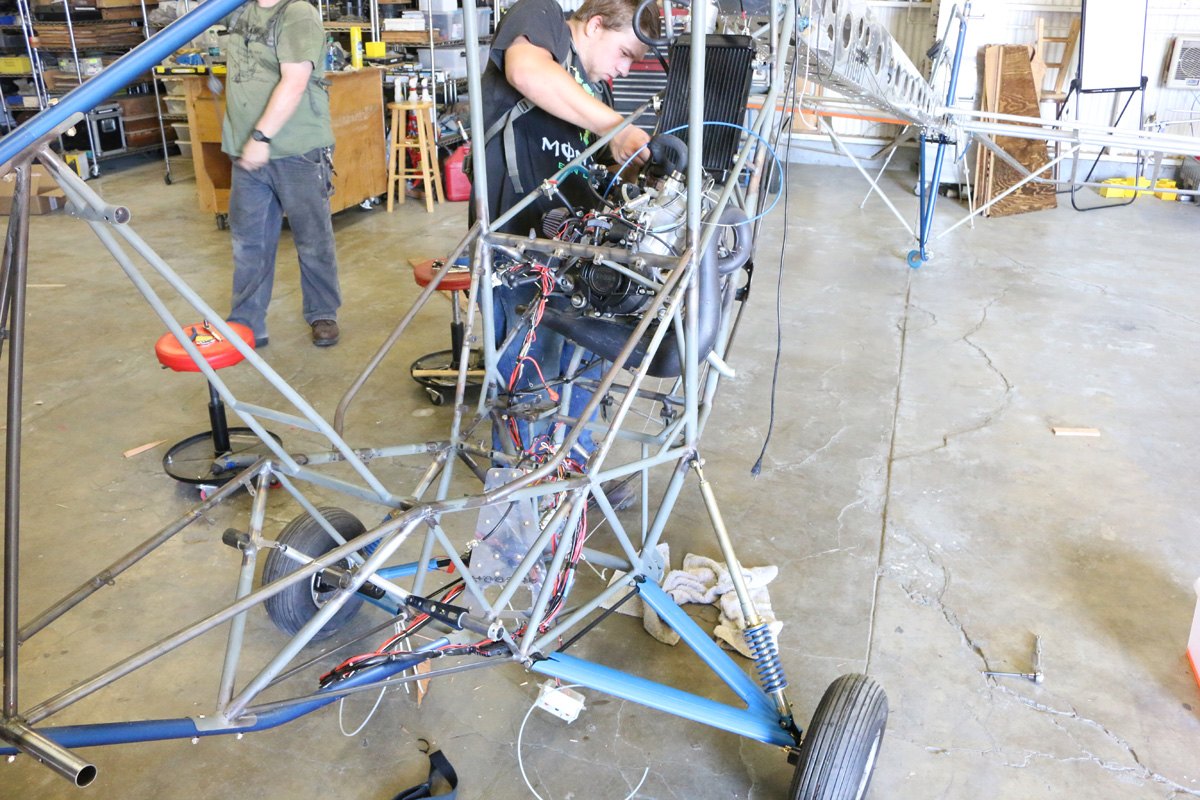
July 4th, Airframe teardown
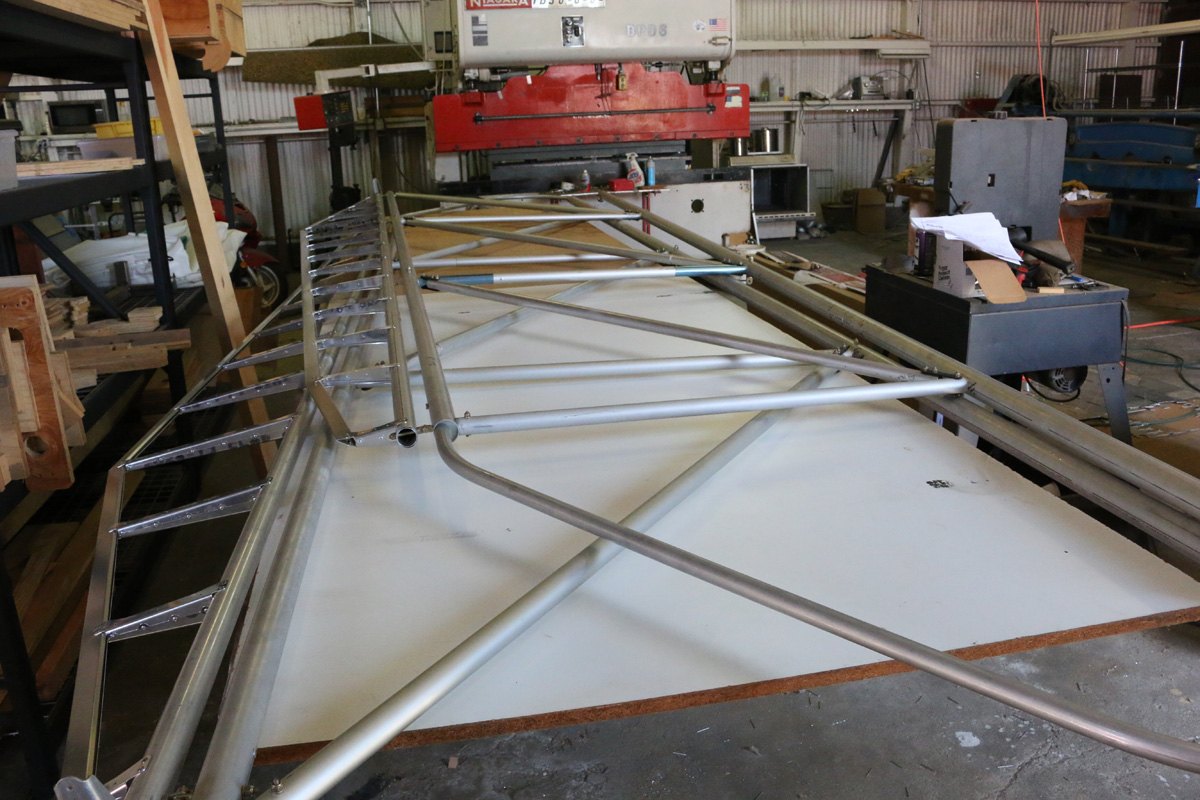
Wing removal
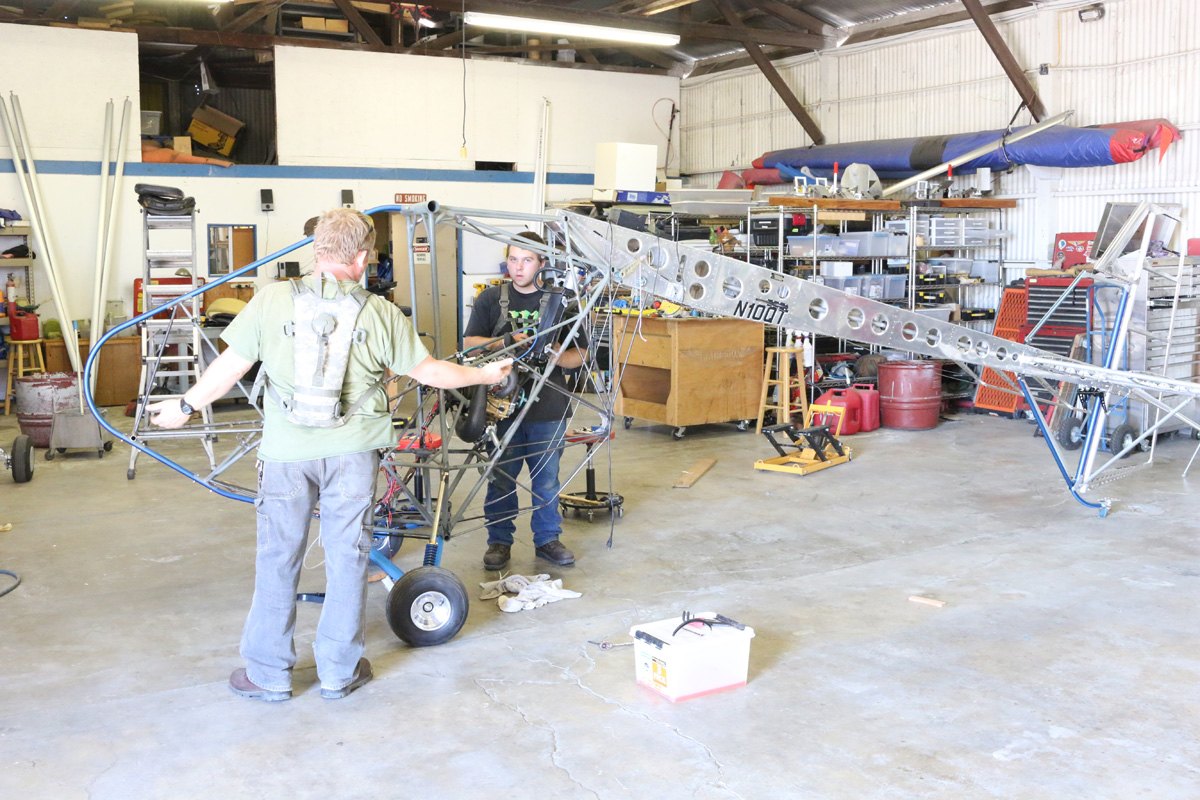
Children, children, children, stop arguing!
Frame is ready for processing.
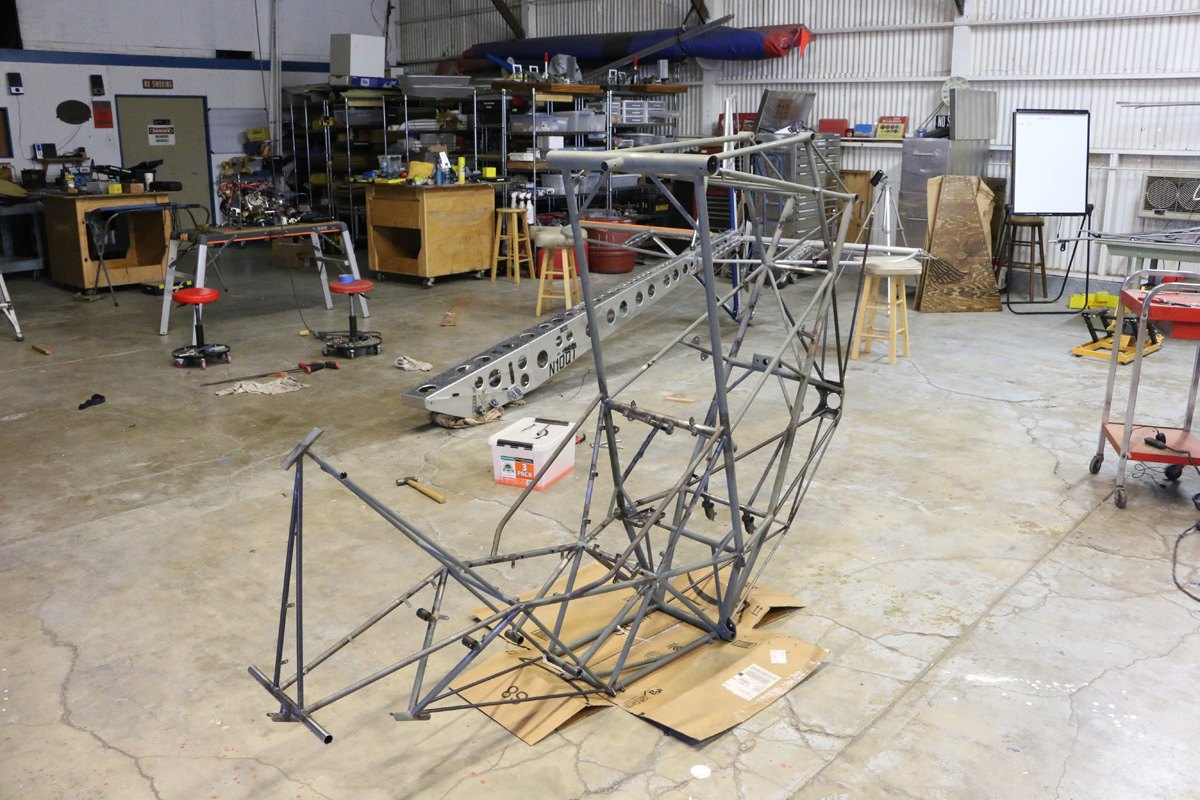
Engine removed.
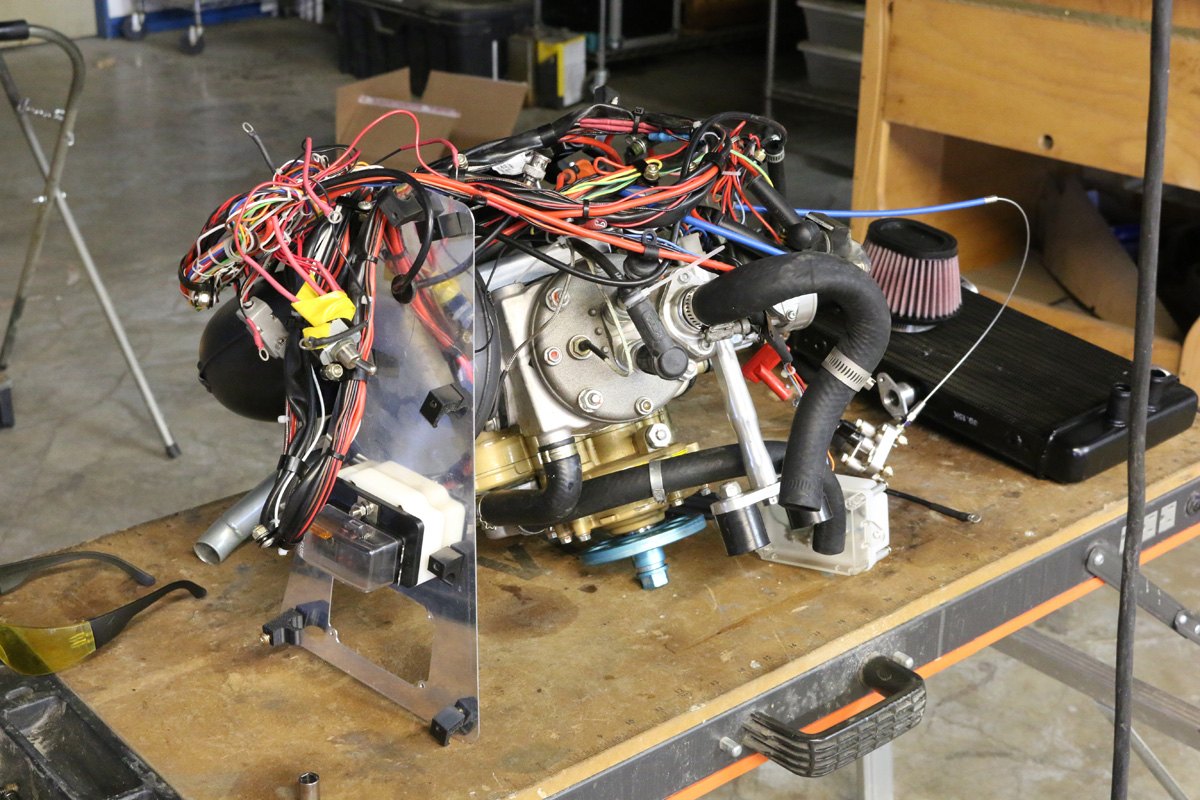
Wing and tail gap seals
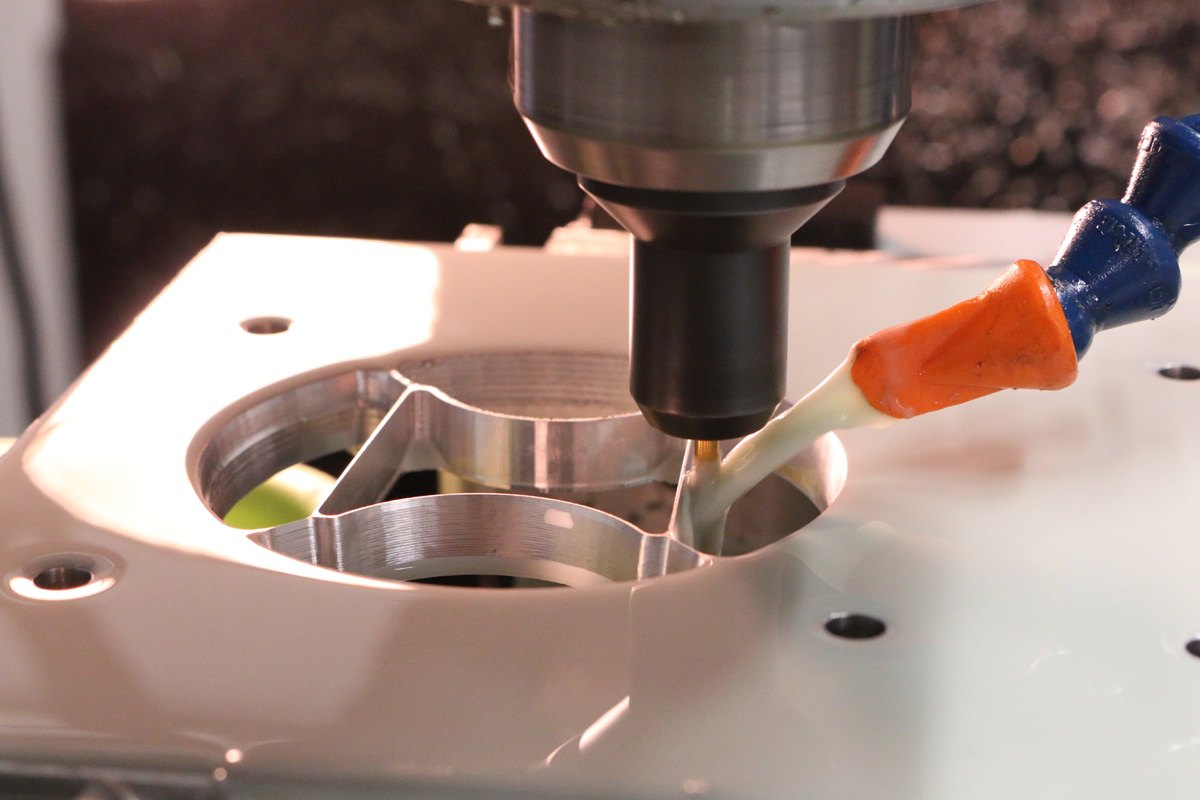
Gap seal cutting die
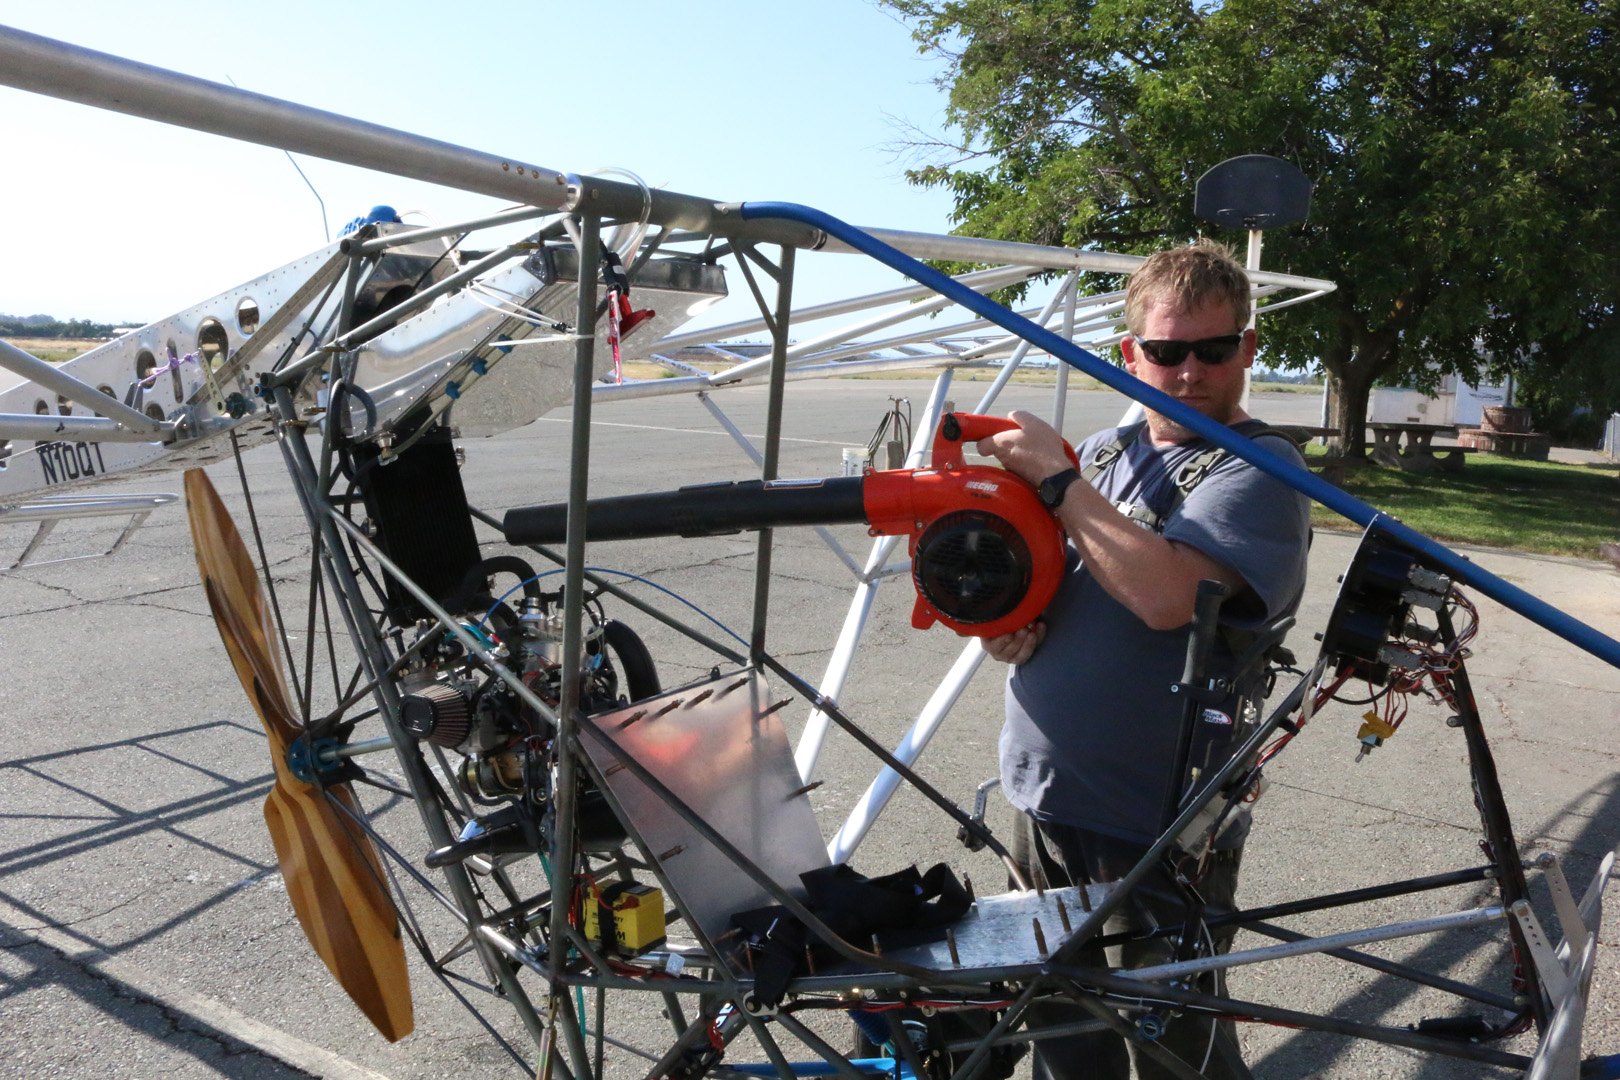
July 3, 2017 engine run
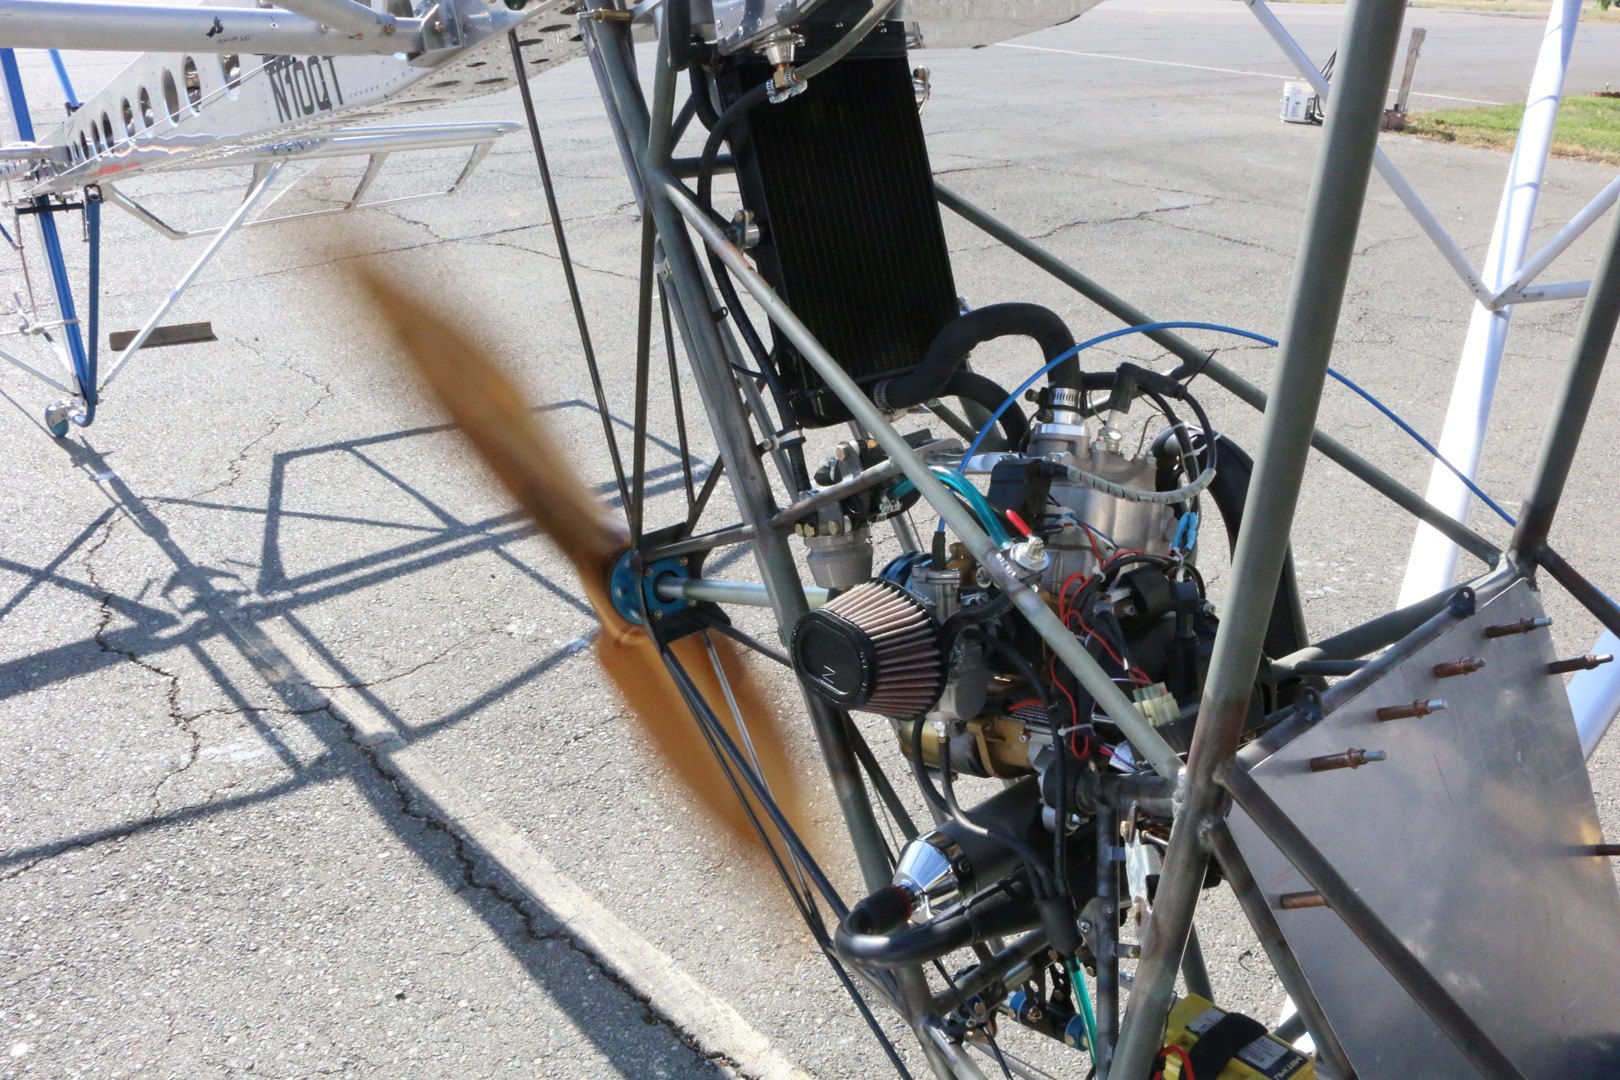
Test running the Polini 250
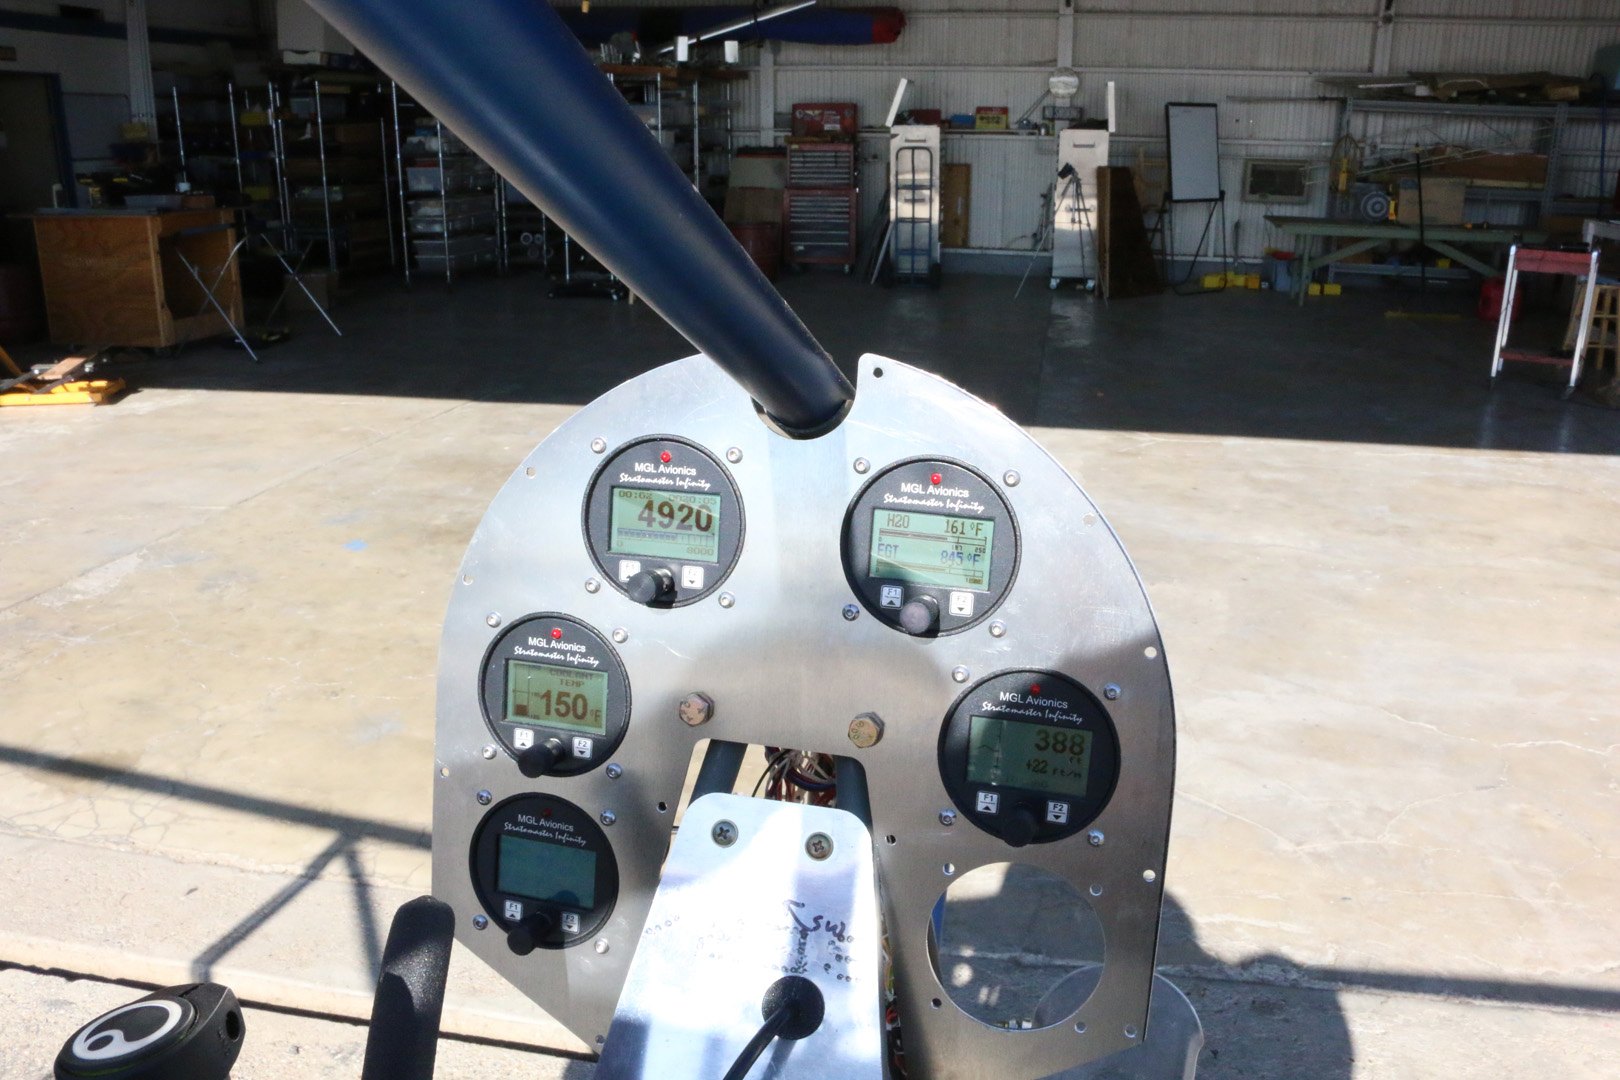
Engine temperatures
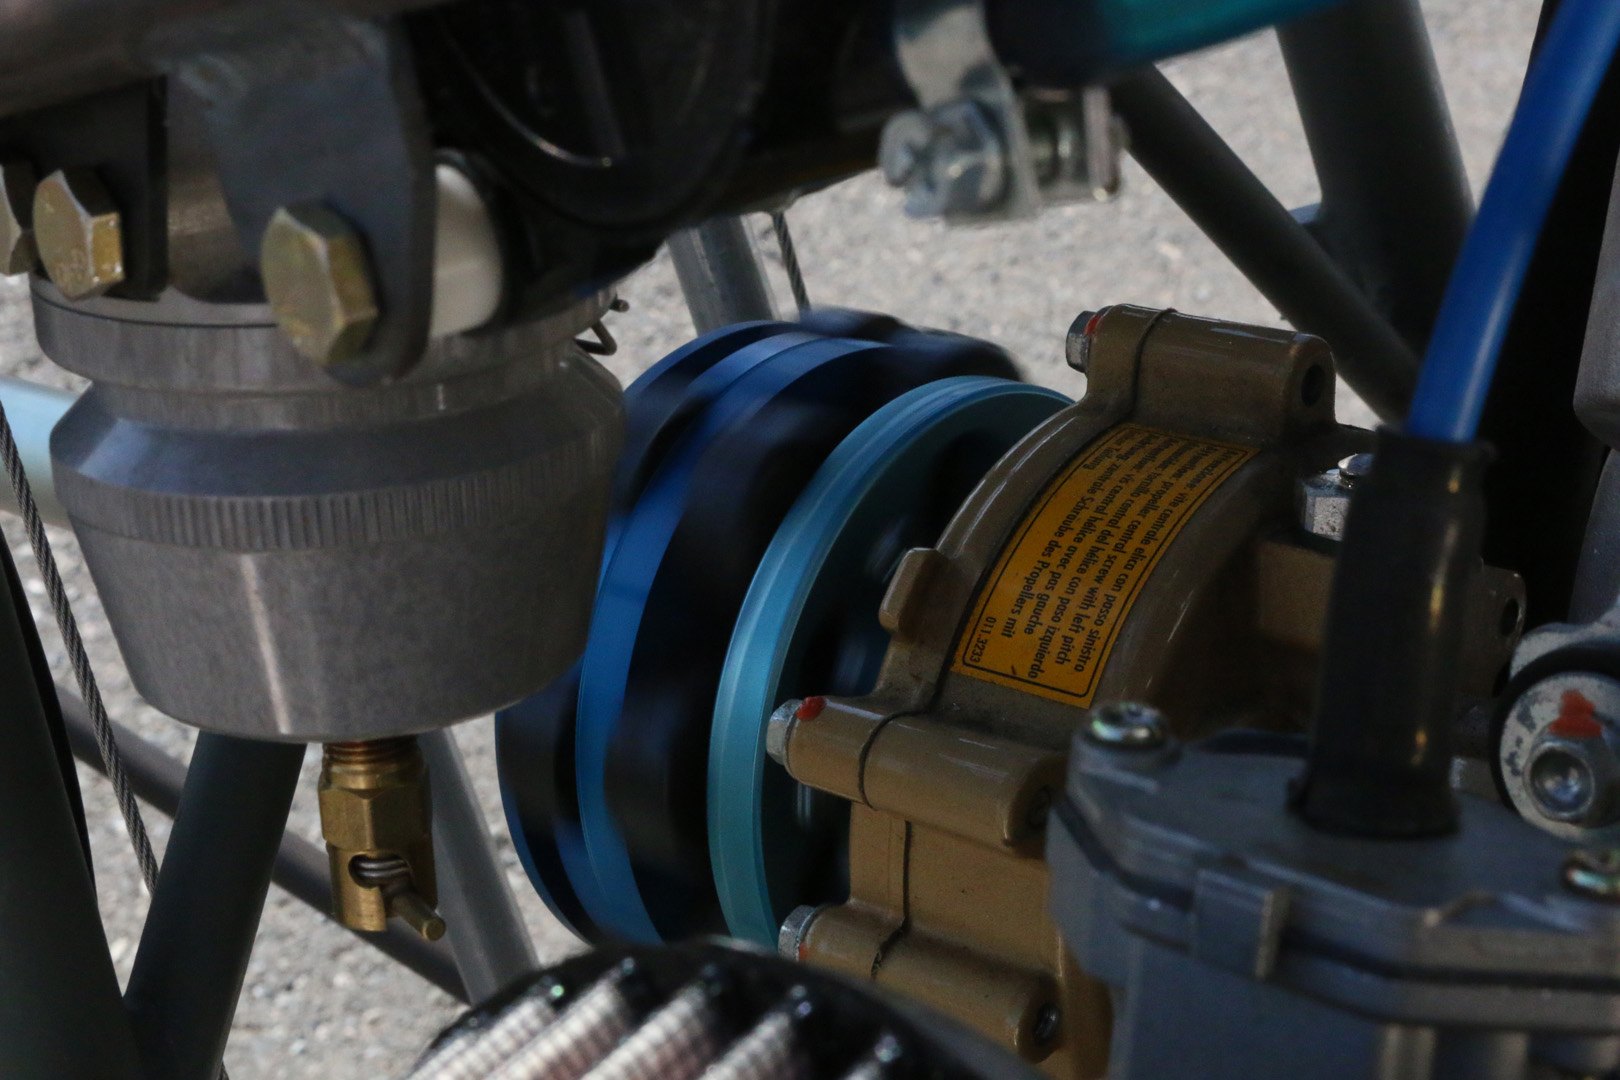
Propeller driveshaft system
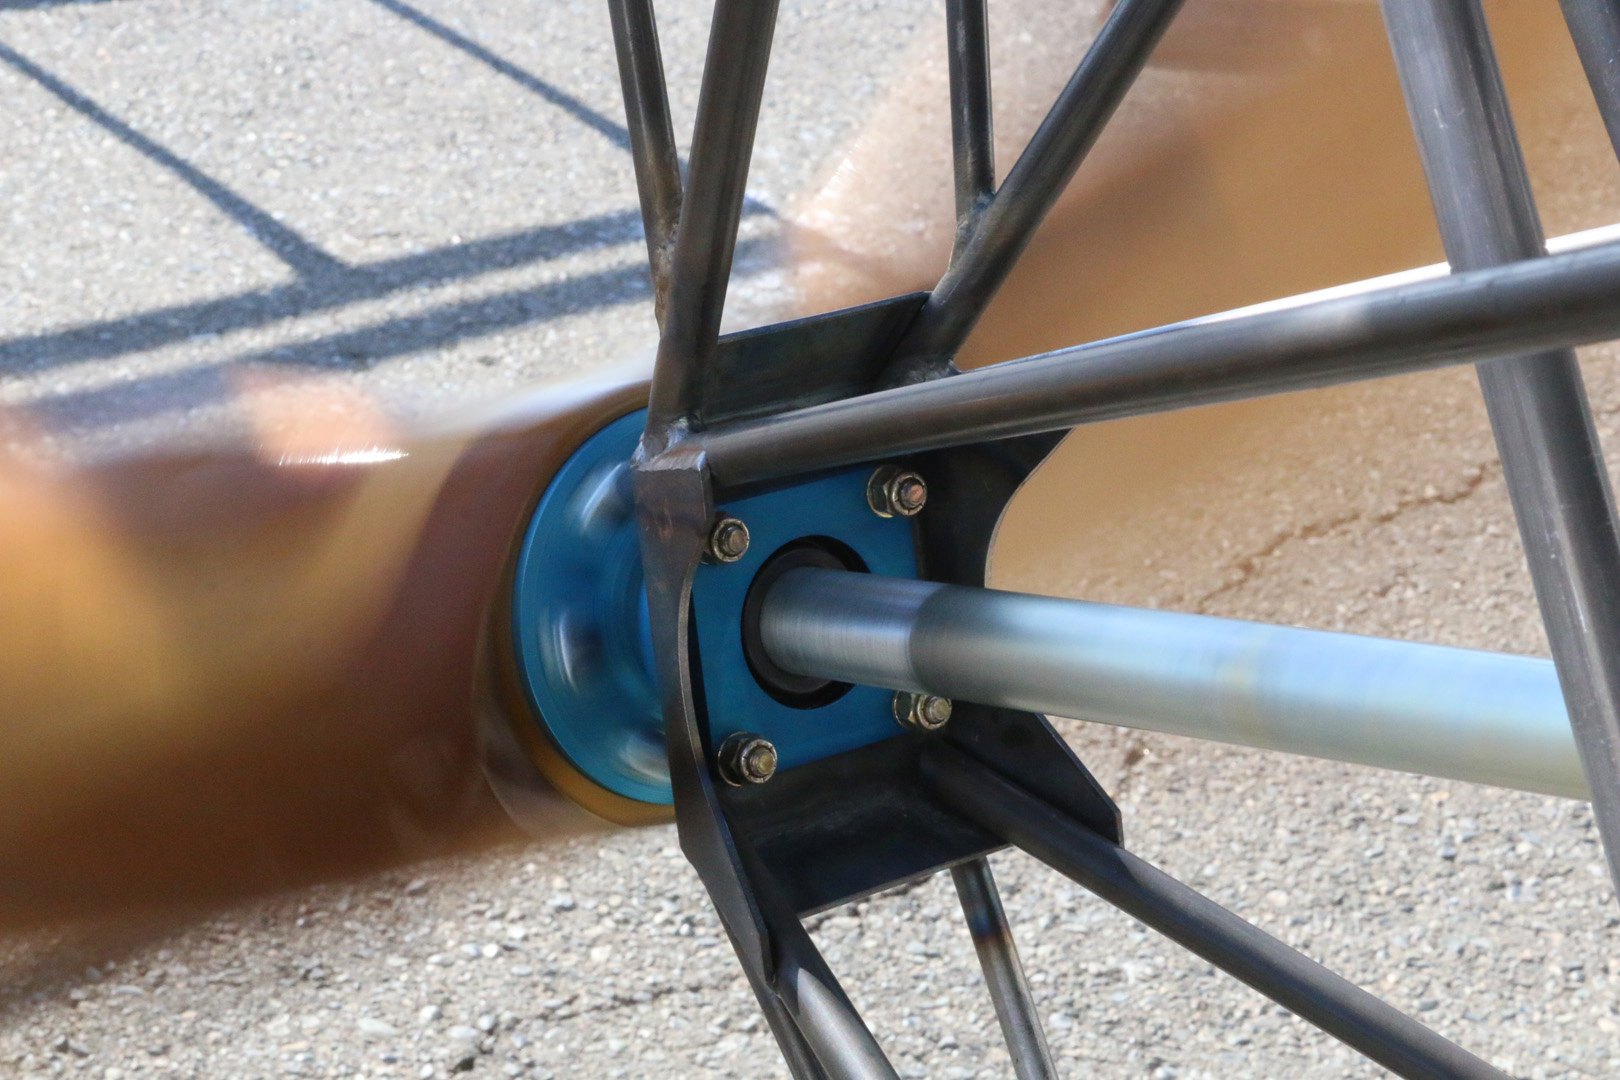
Vibration dampener coupler
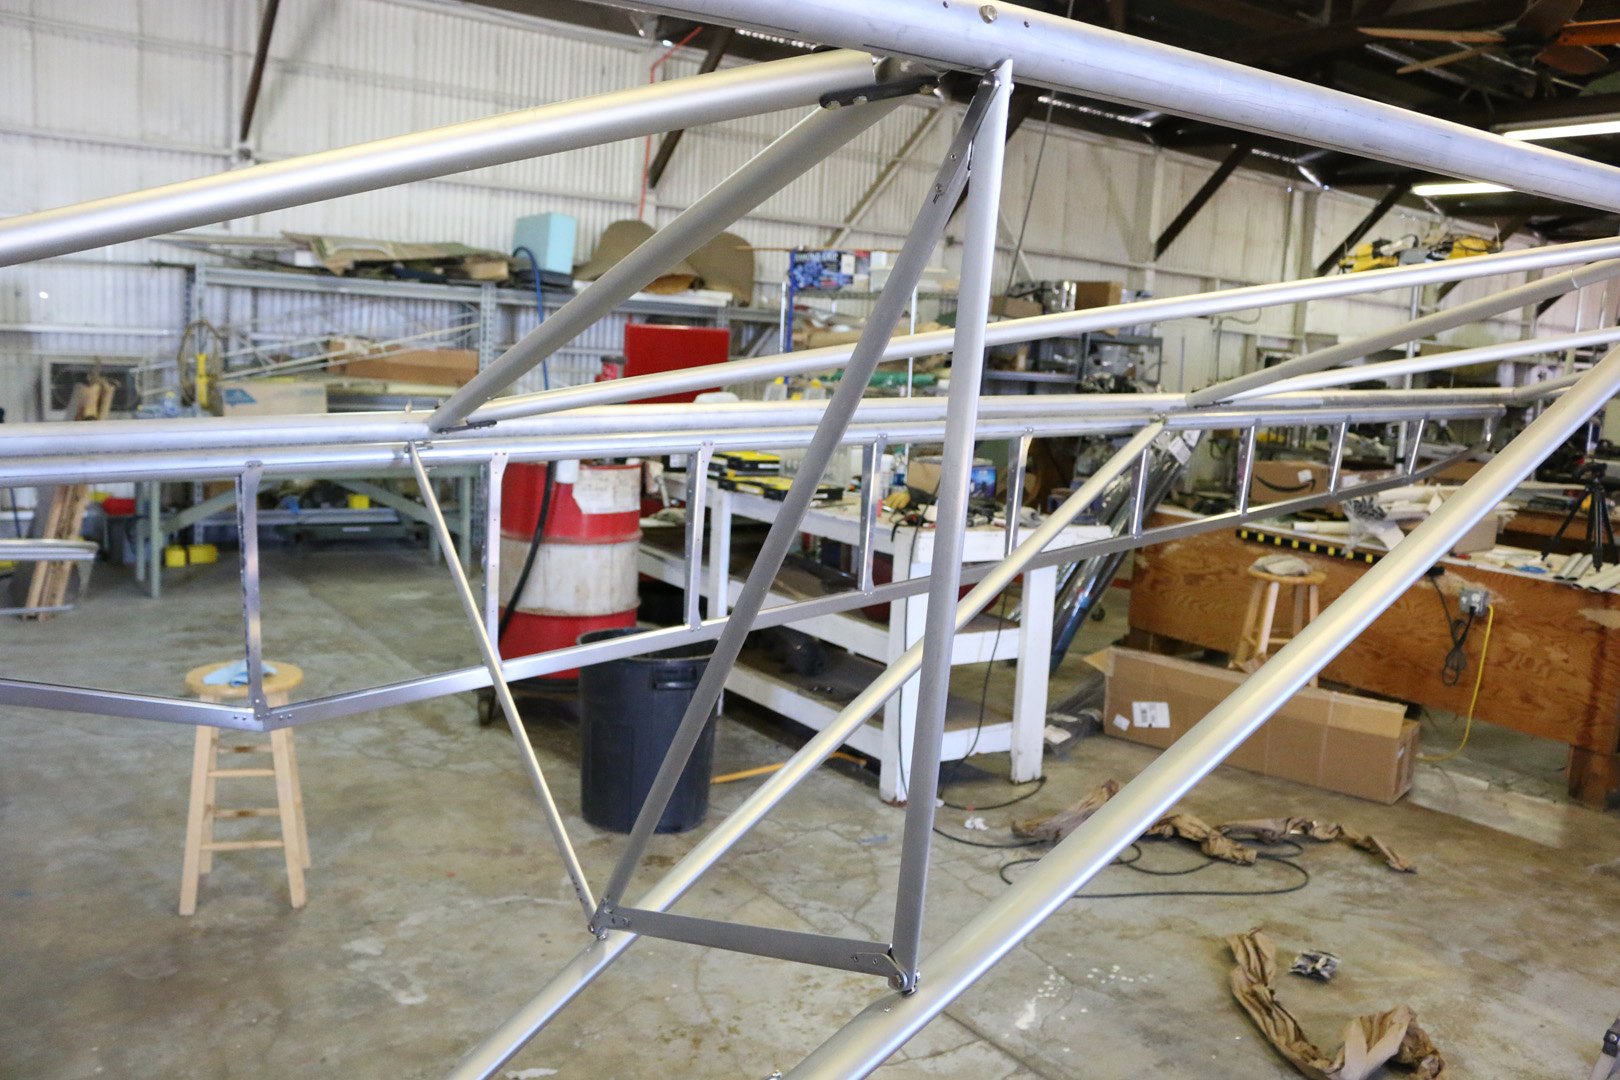
Jury strut subassembly
July 1, 2017 Running the Polini 250
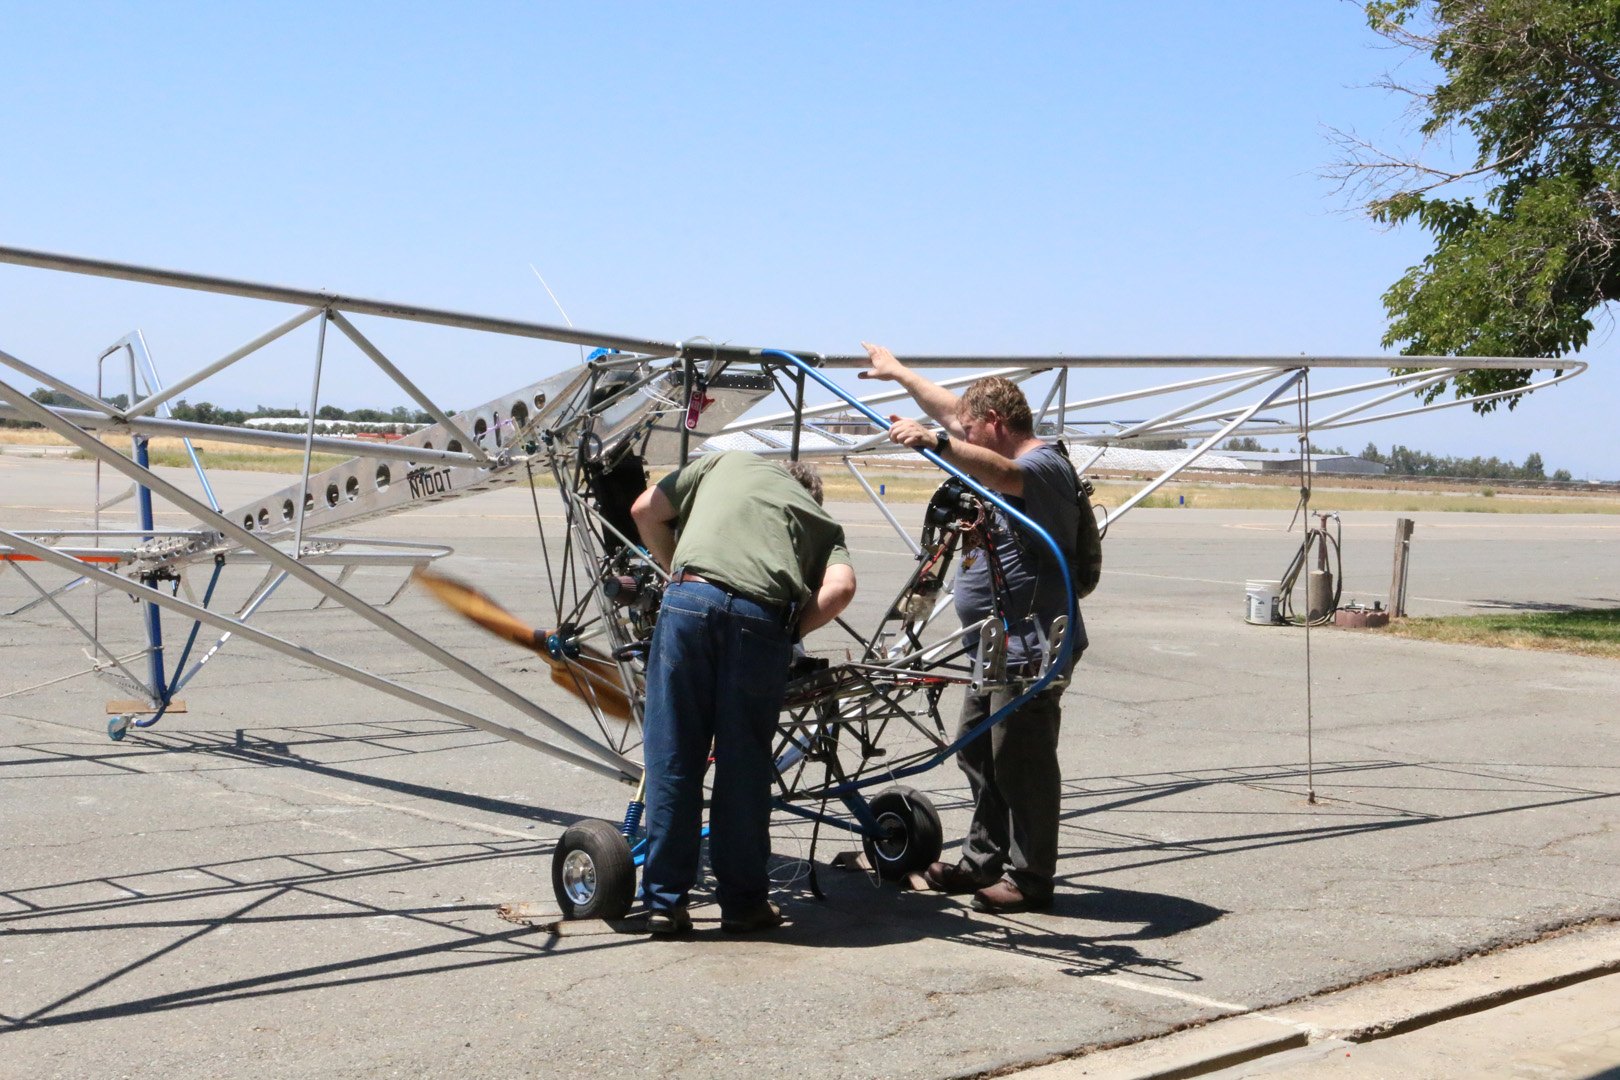
Getting ready to run the engine
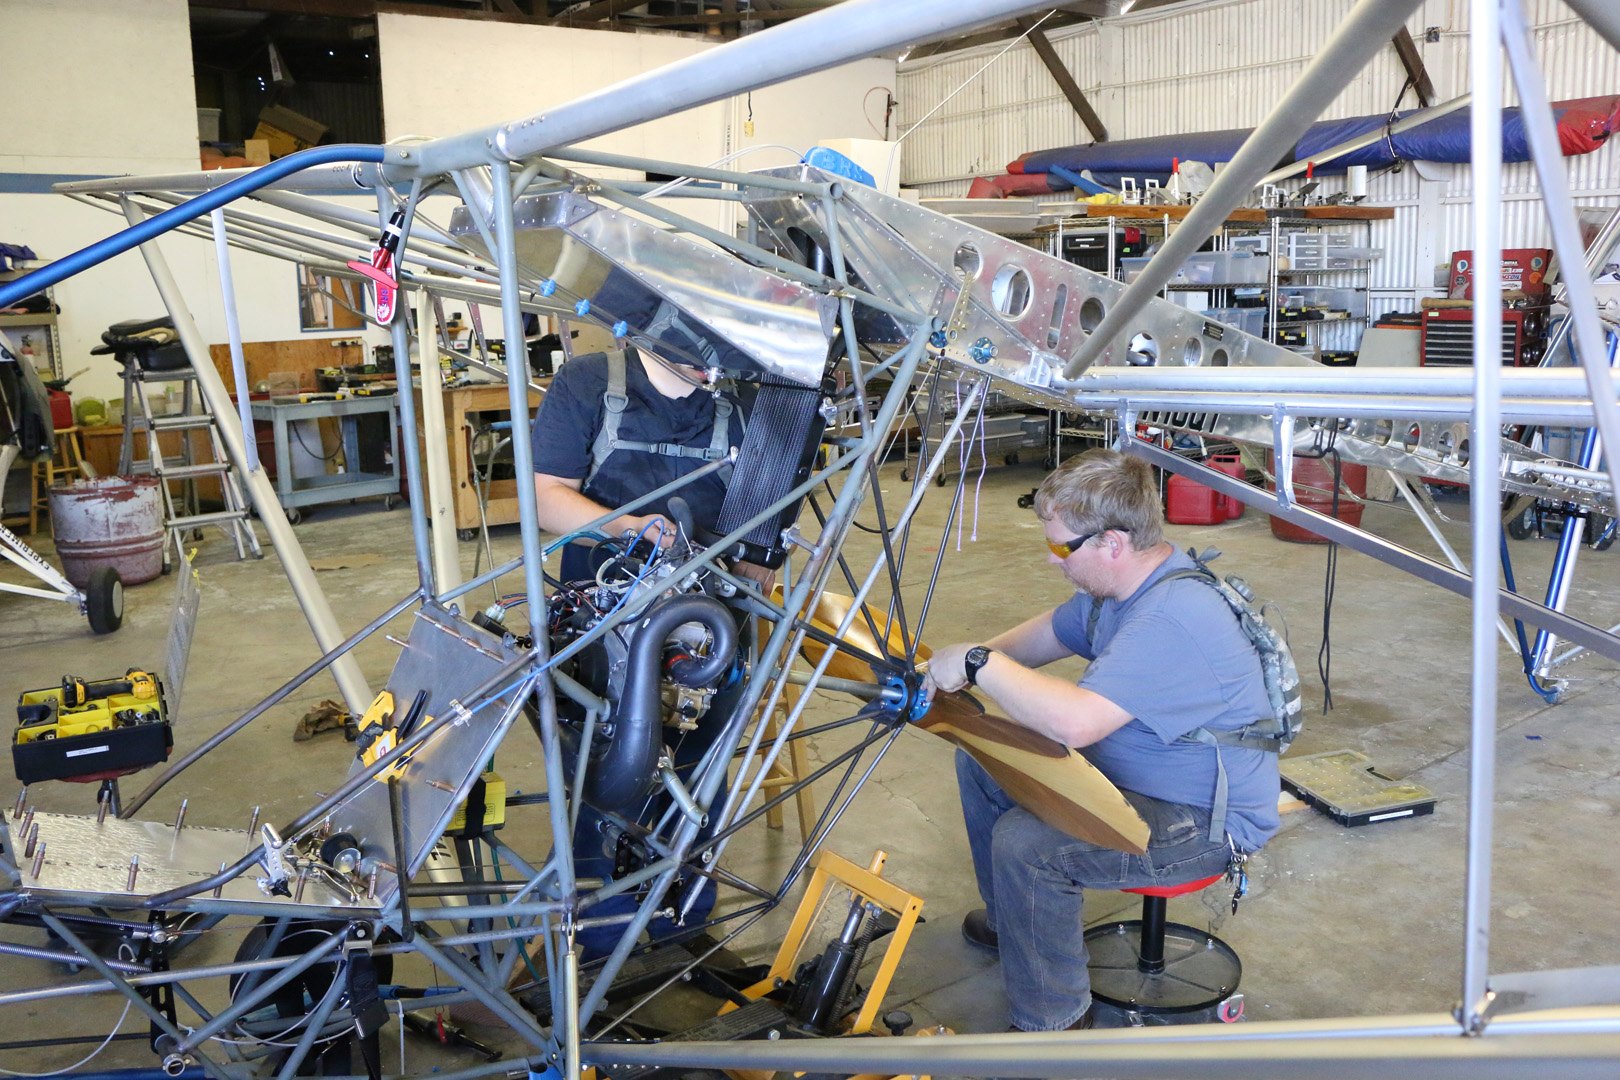
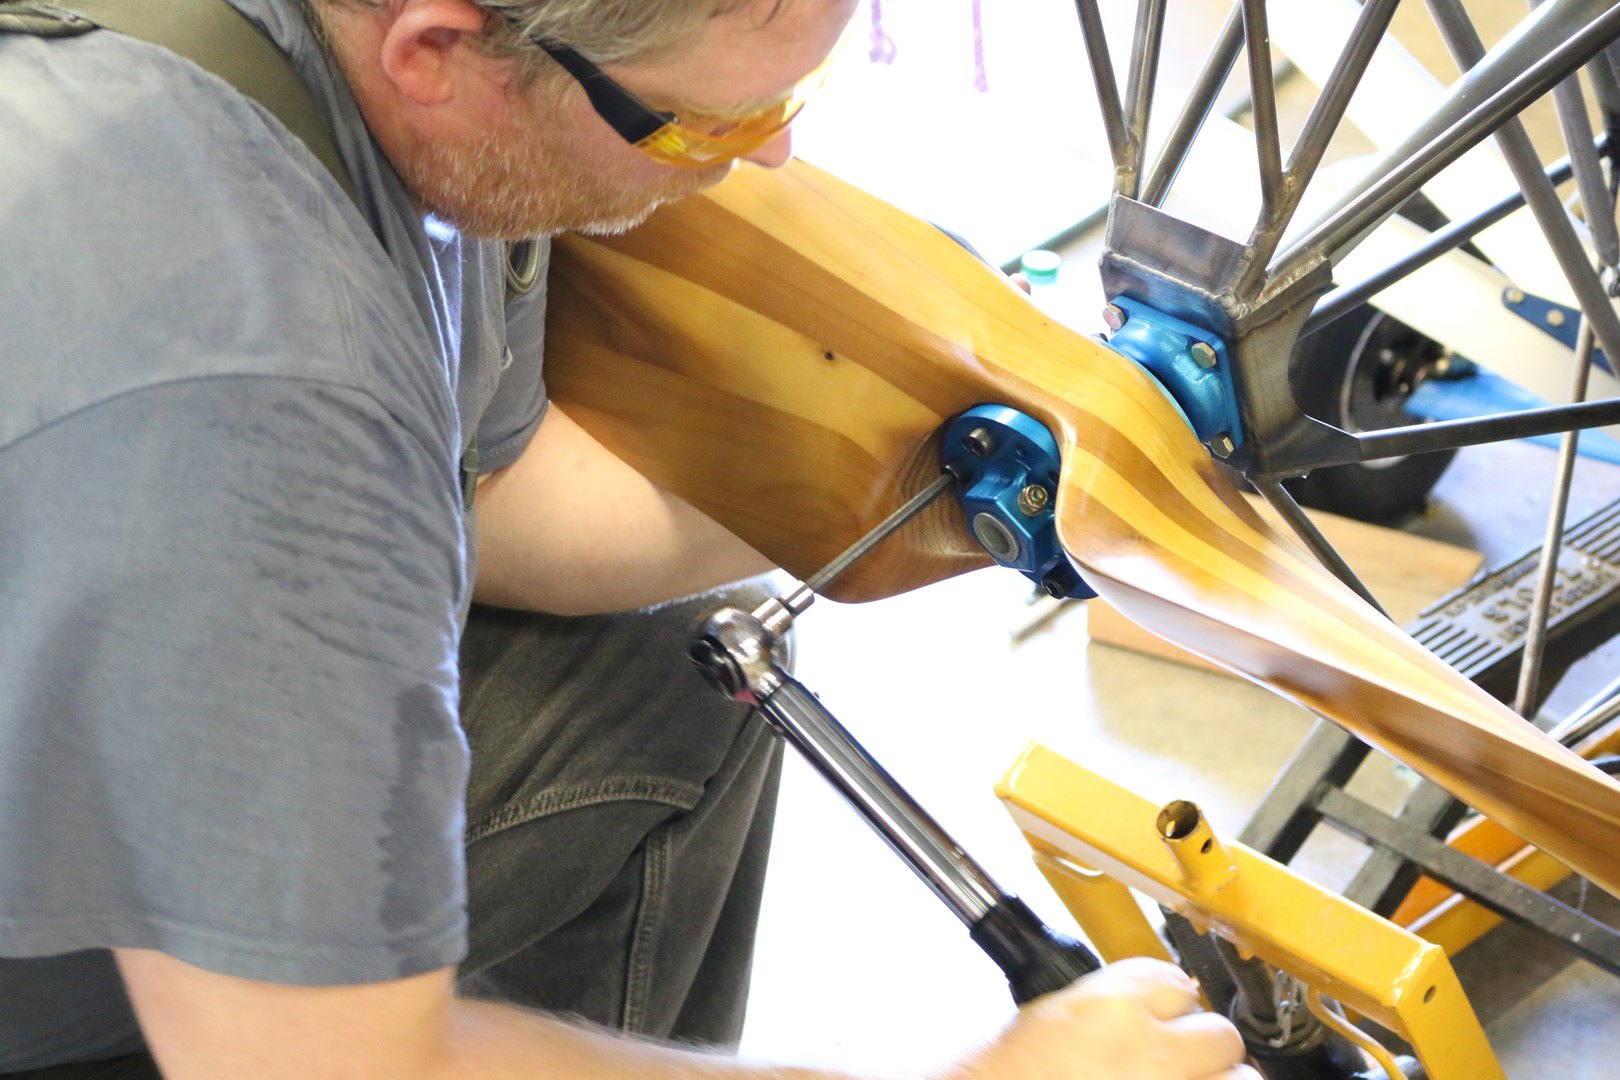
Prop installation
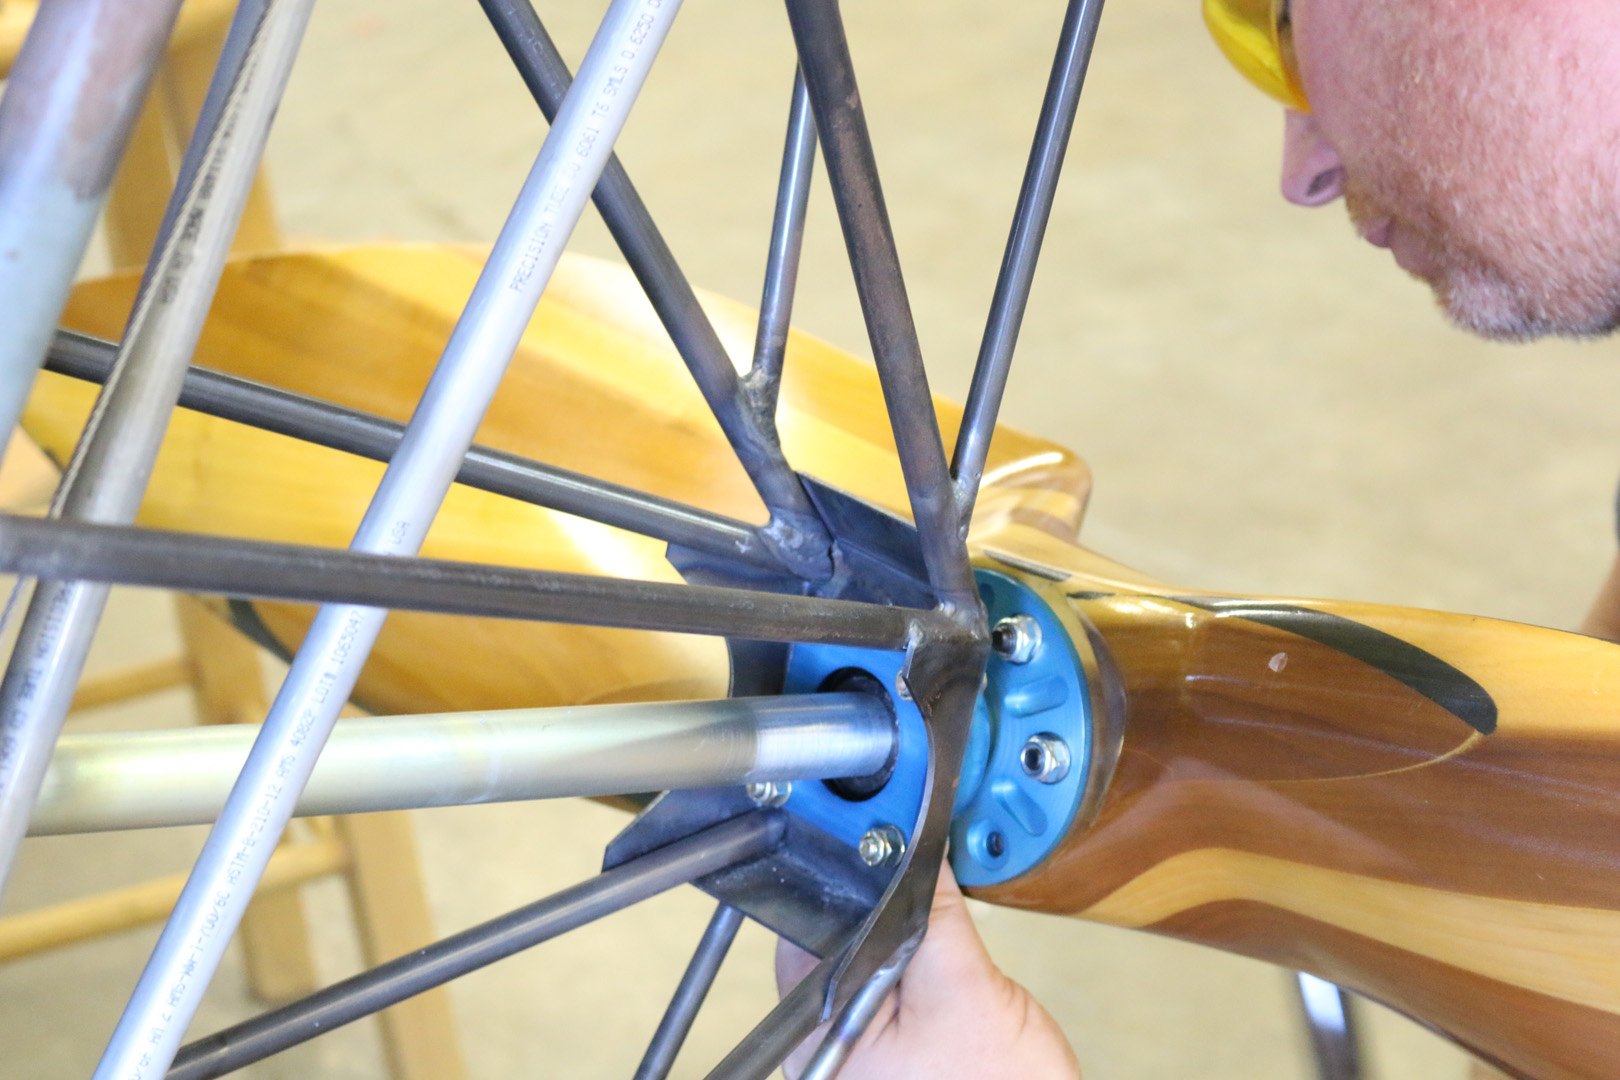
Torquing the prop
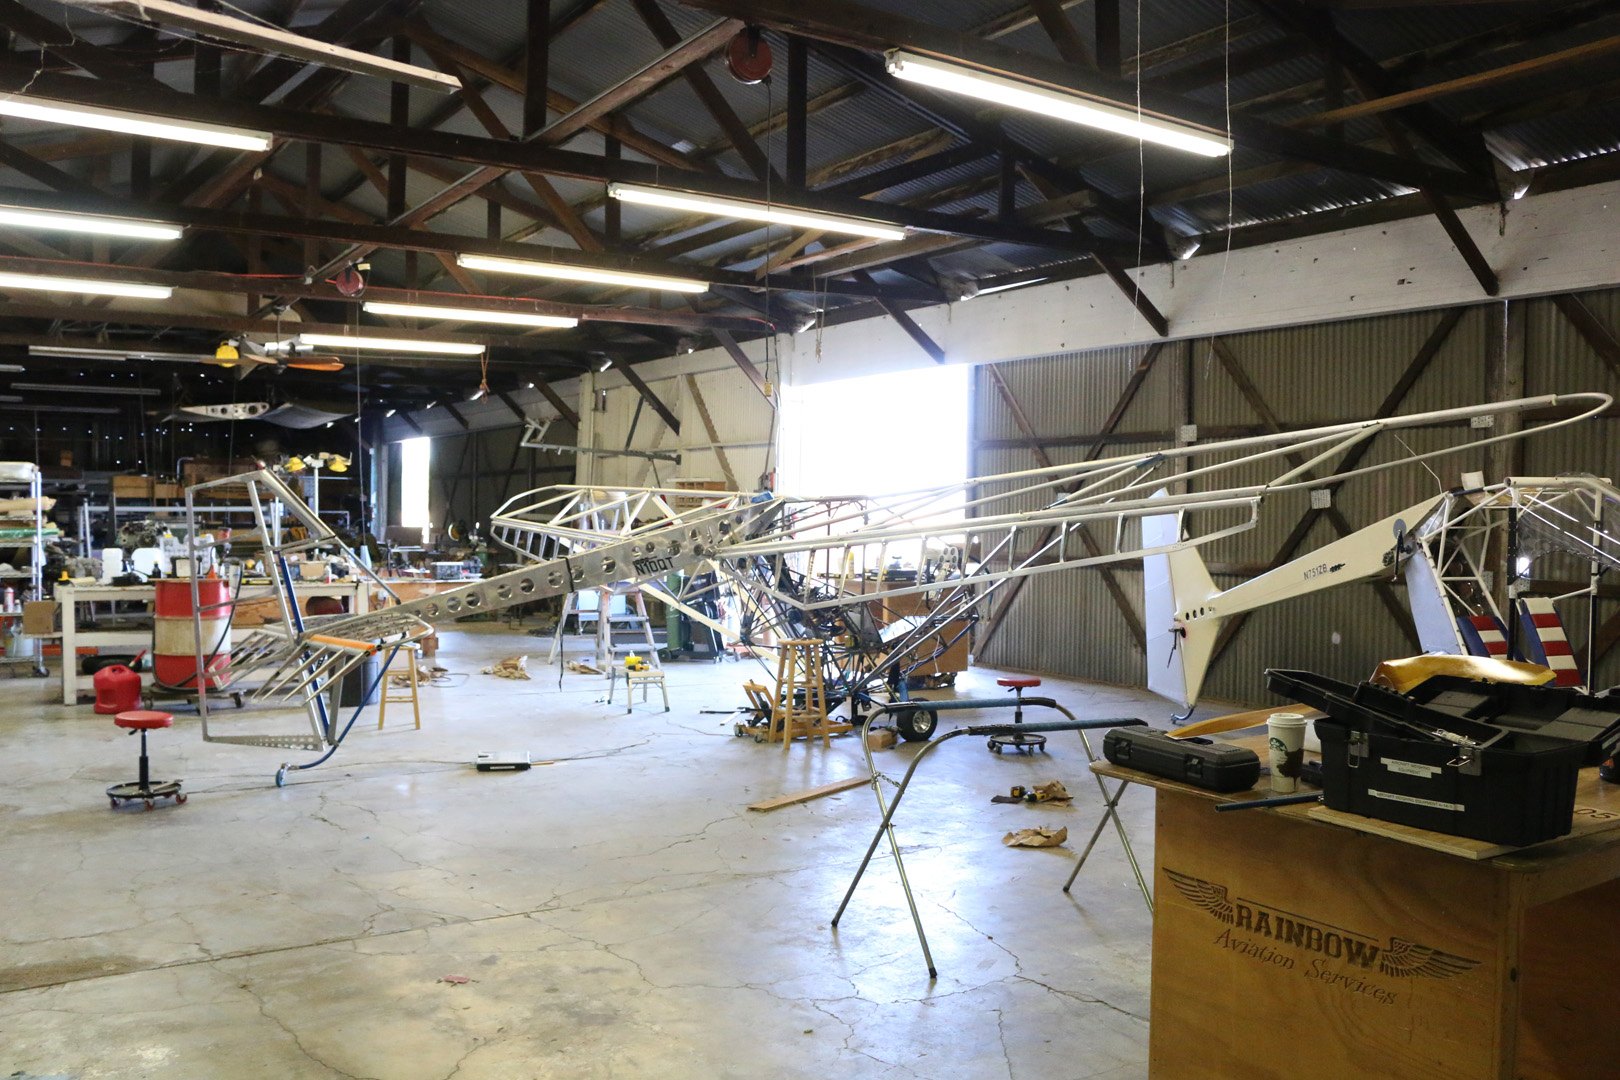
Ailerons mounted to the wing
Aileron subassembly
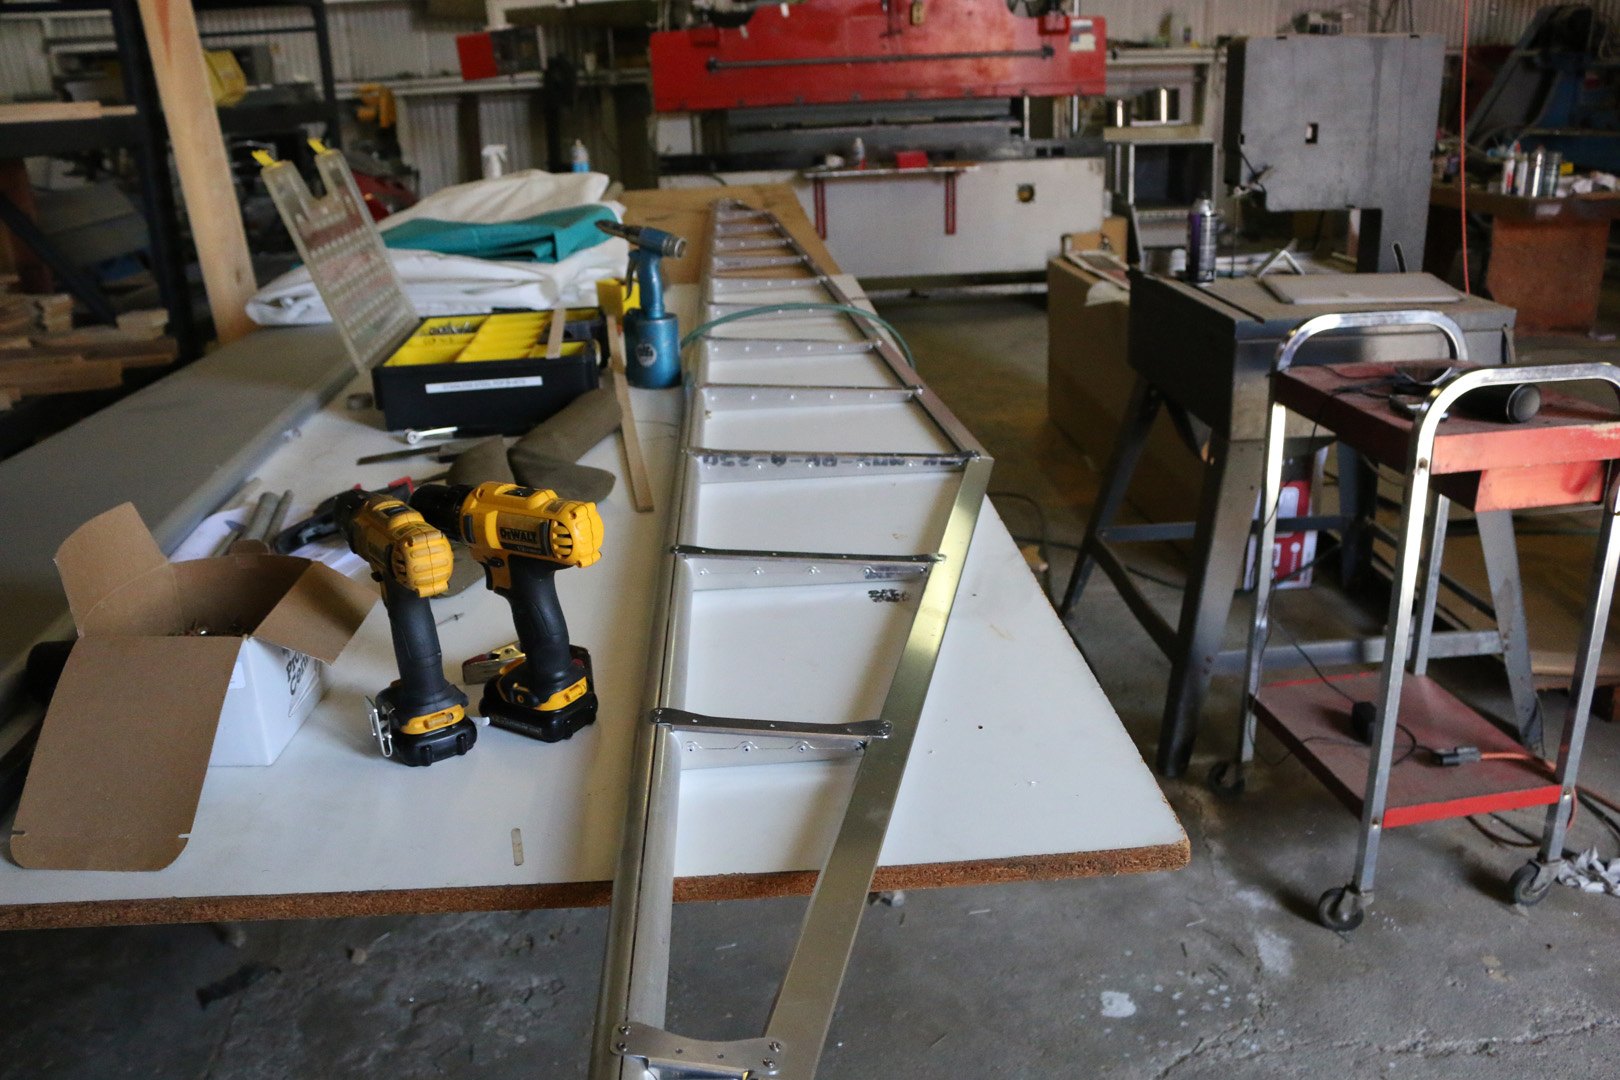
Inboard aileron detail view
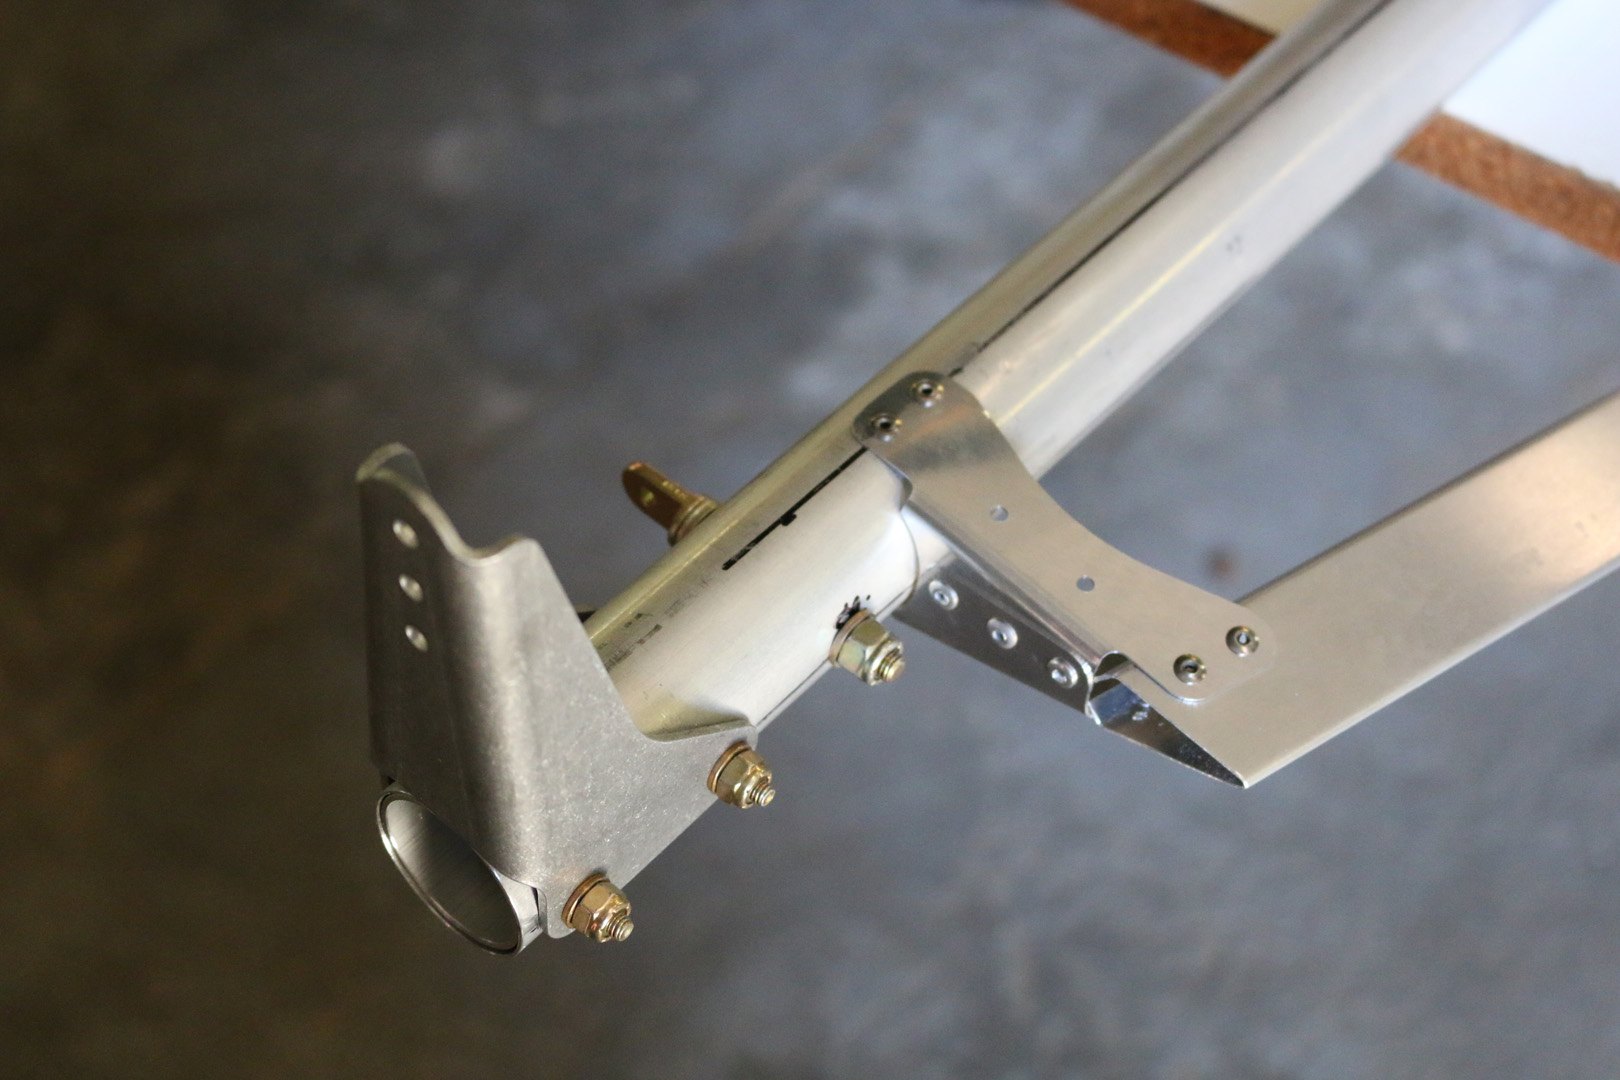
Aileron spar assembly
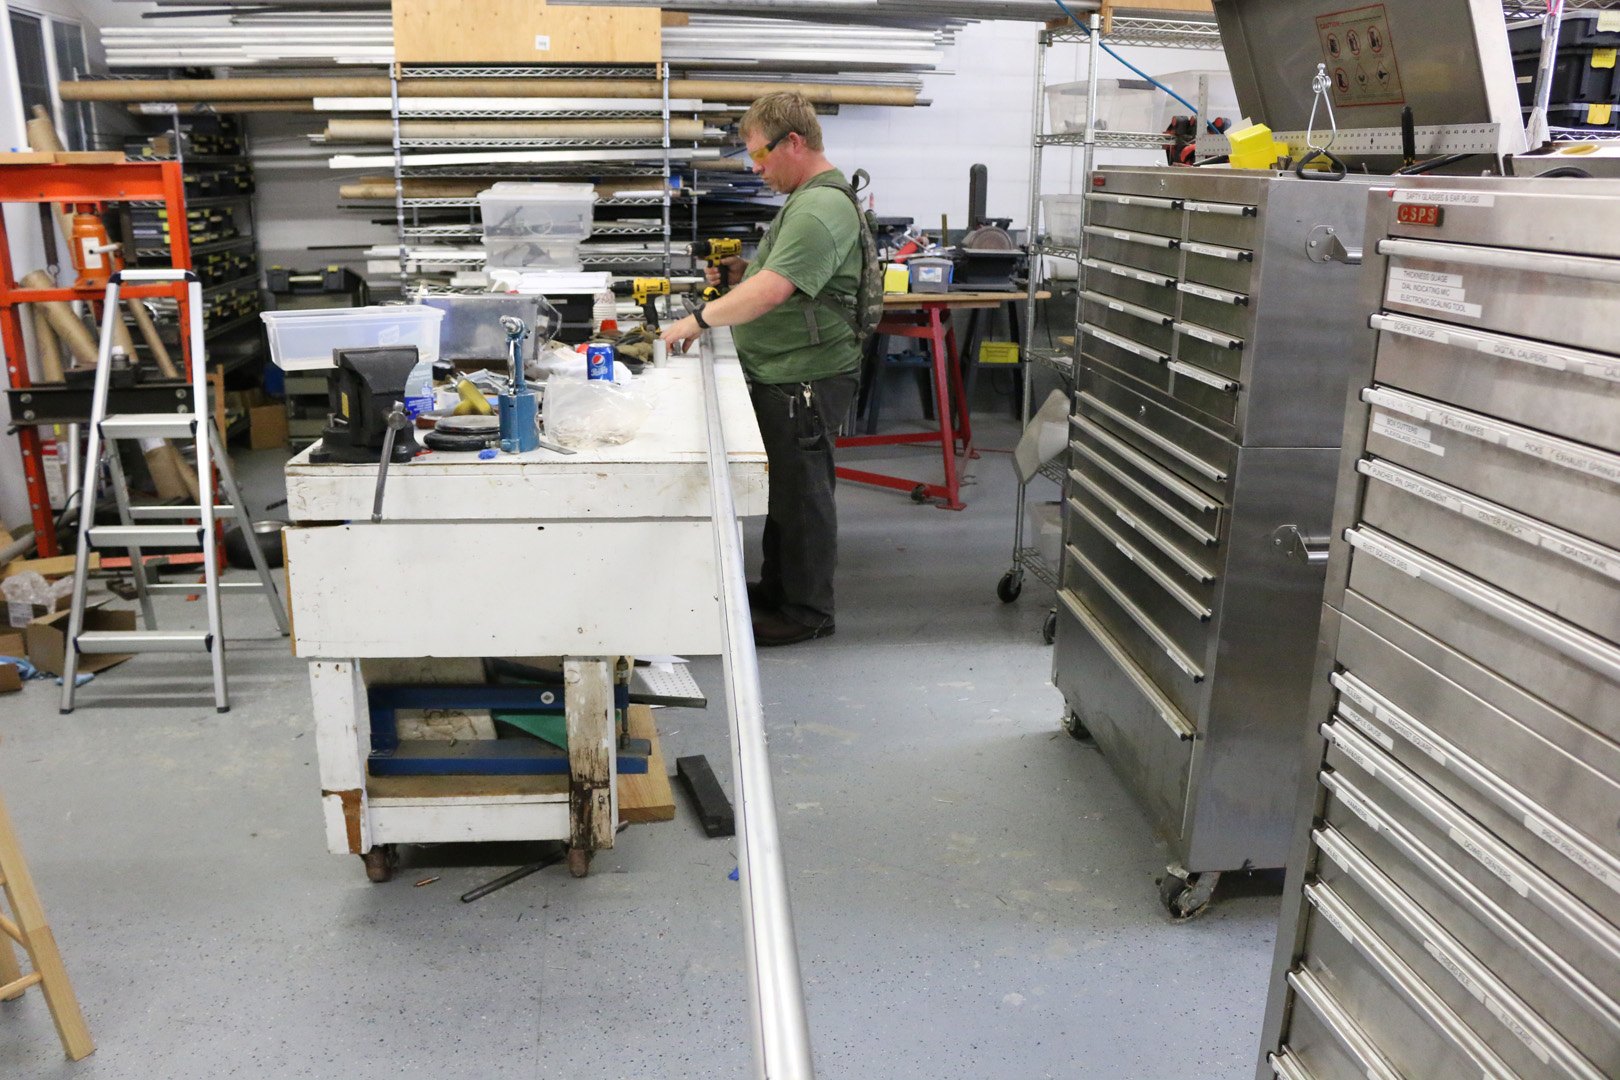
Jury strut installation
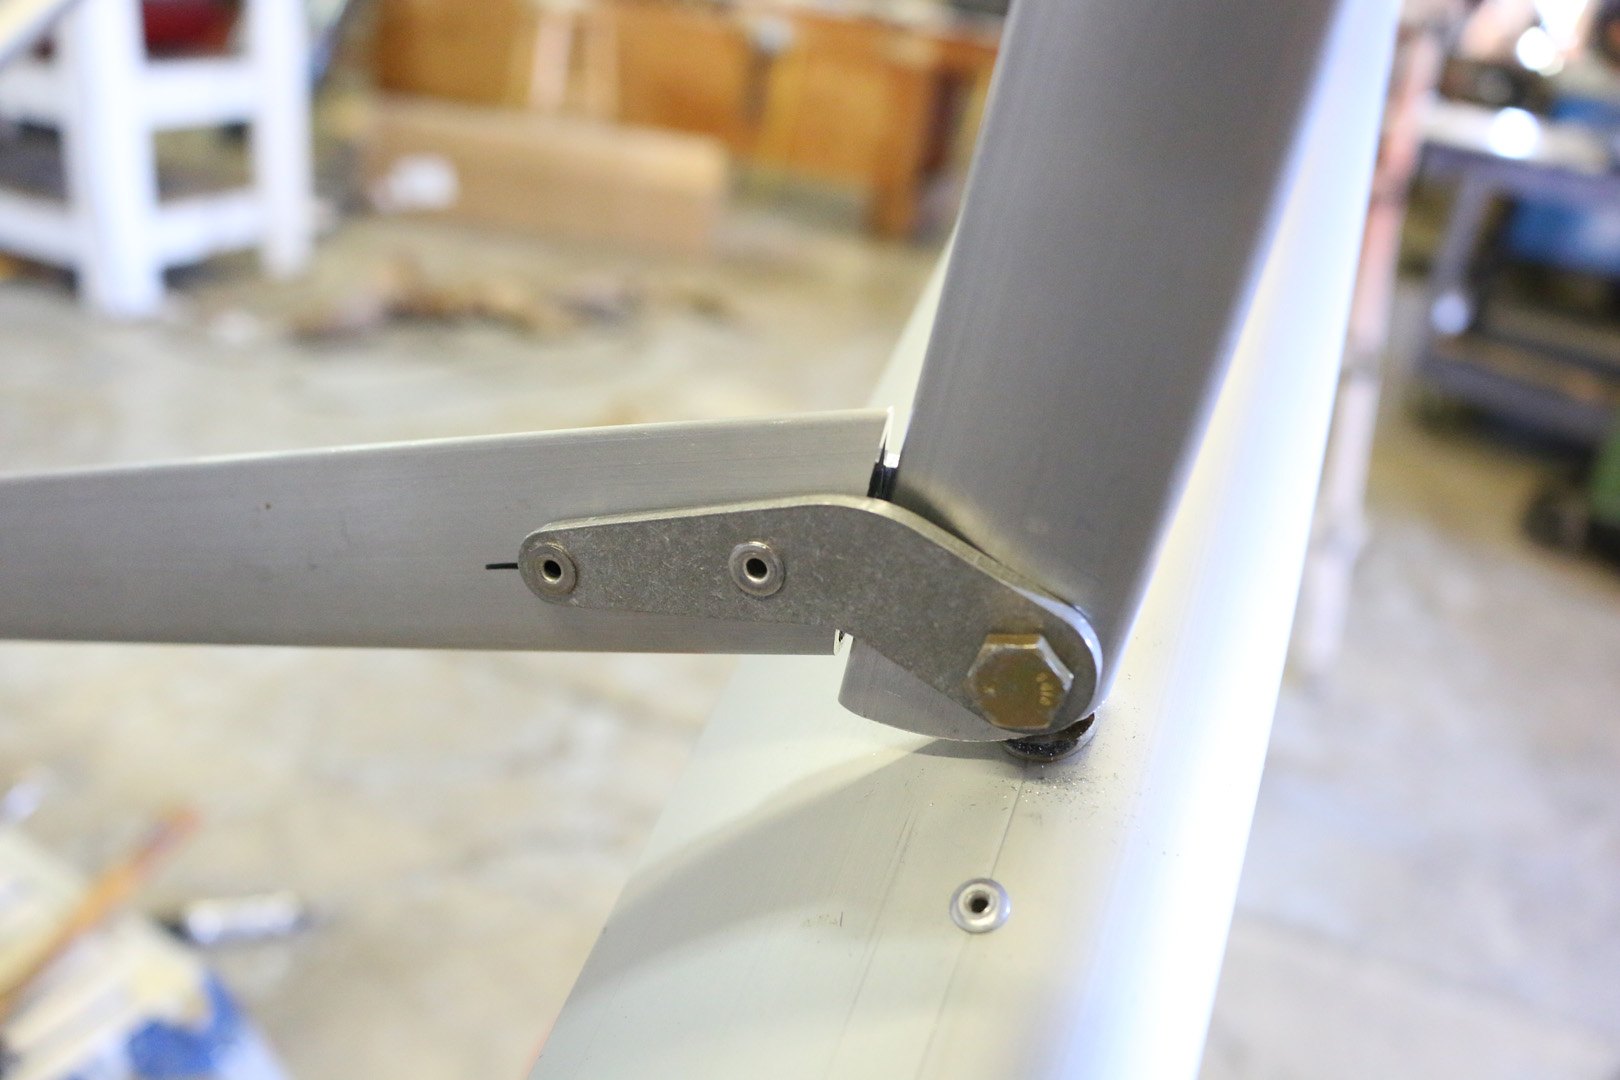
Jury strut connectors
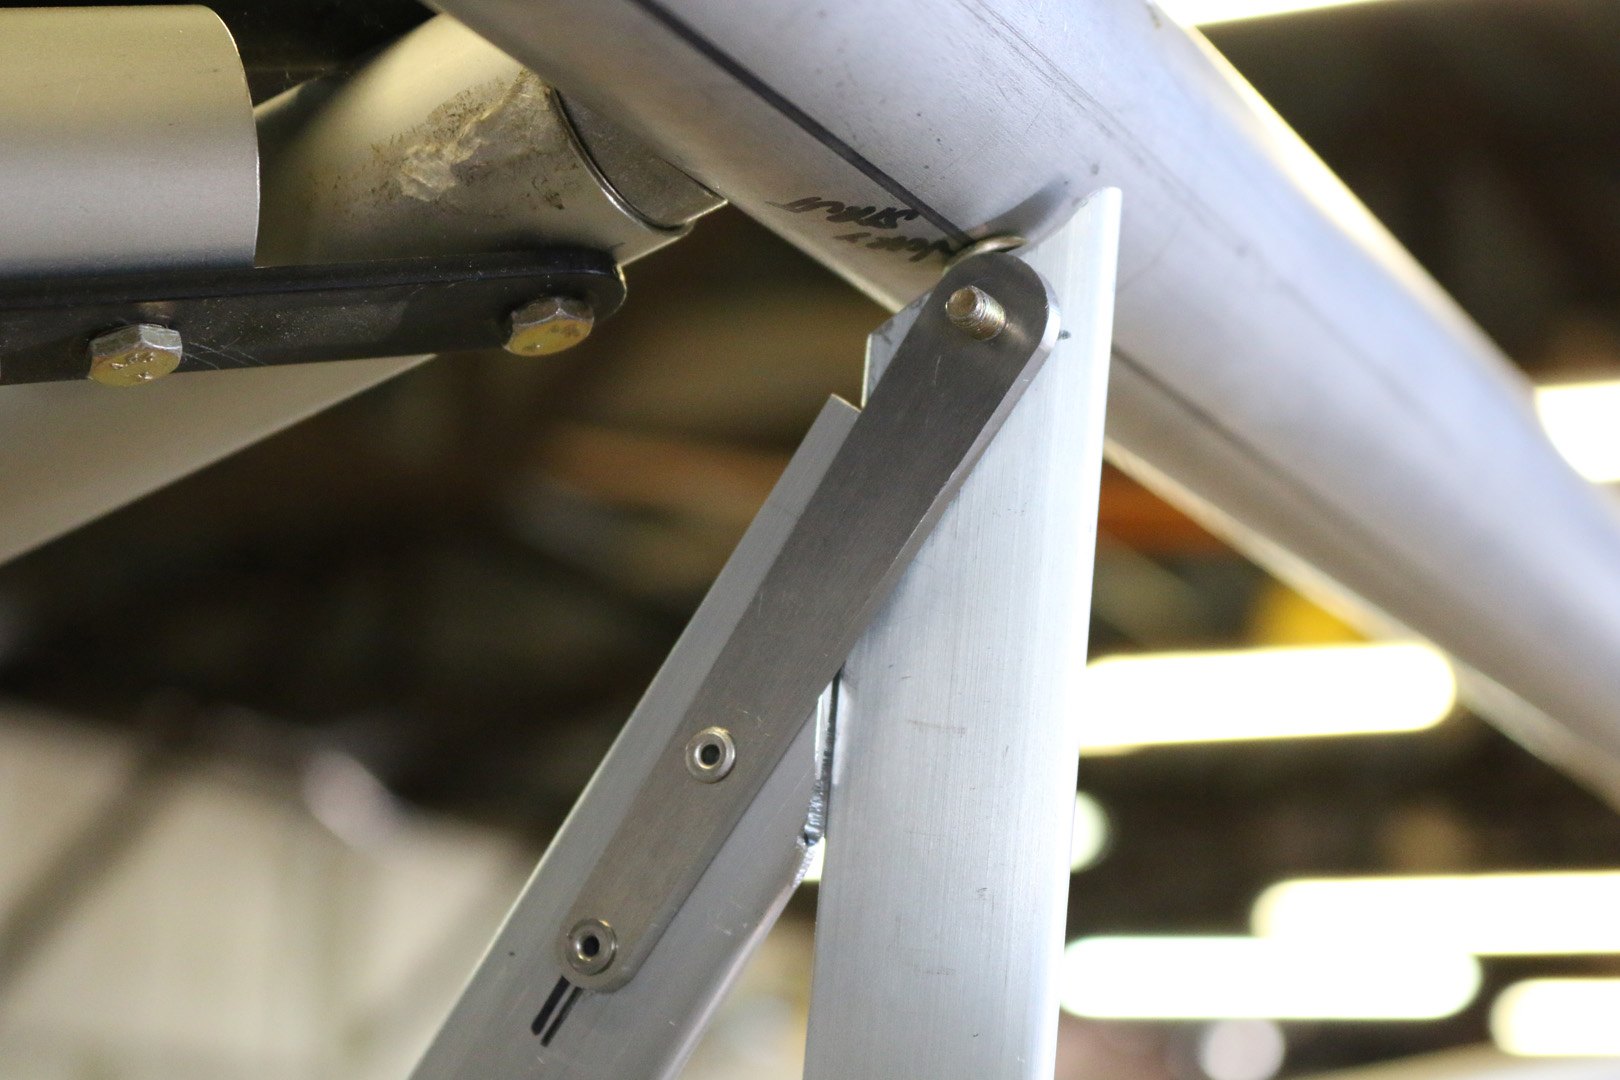
Manufacturing the jury strut connectors
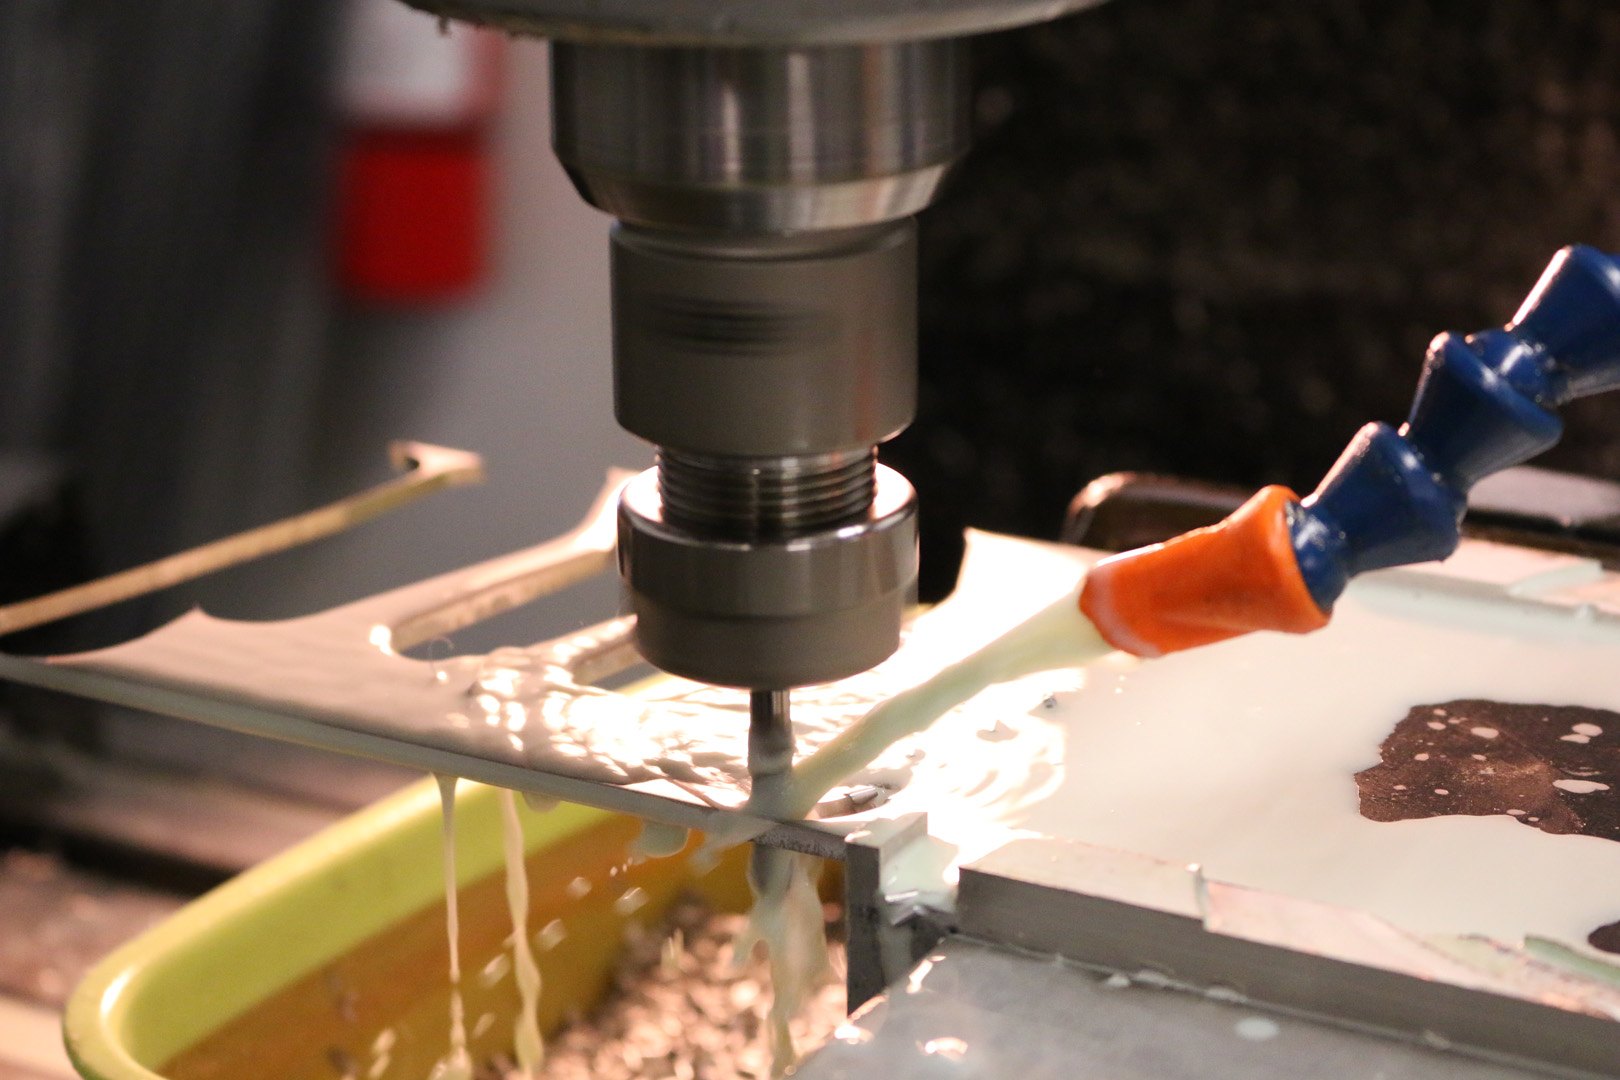
Jury strut connectors
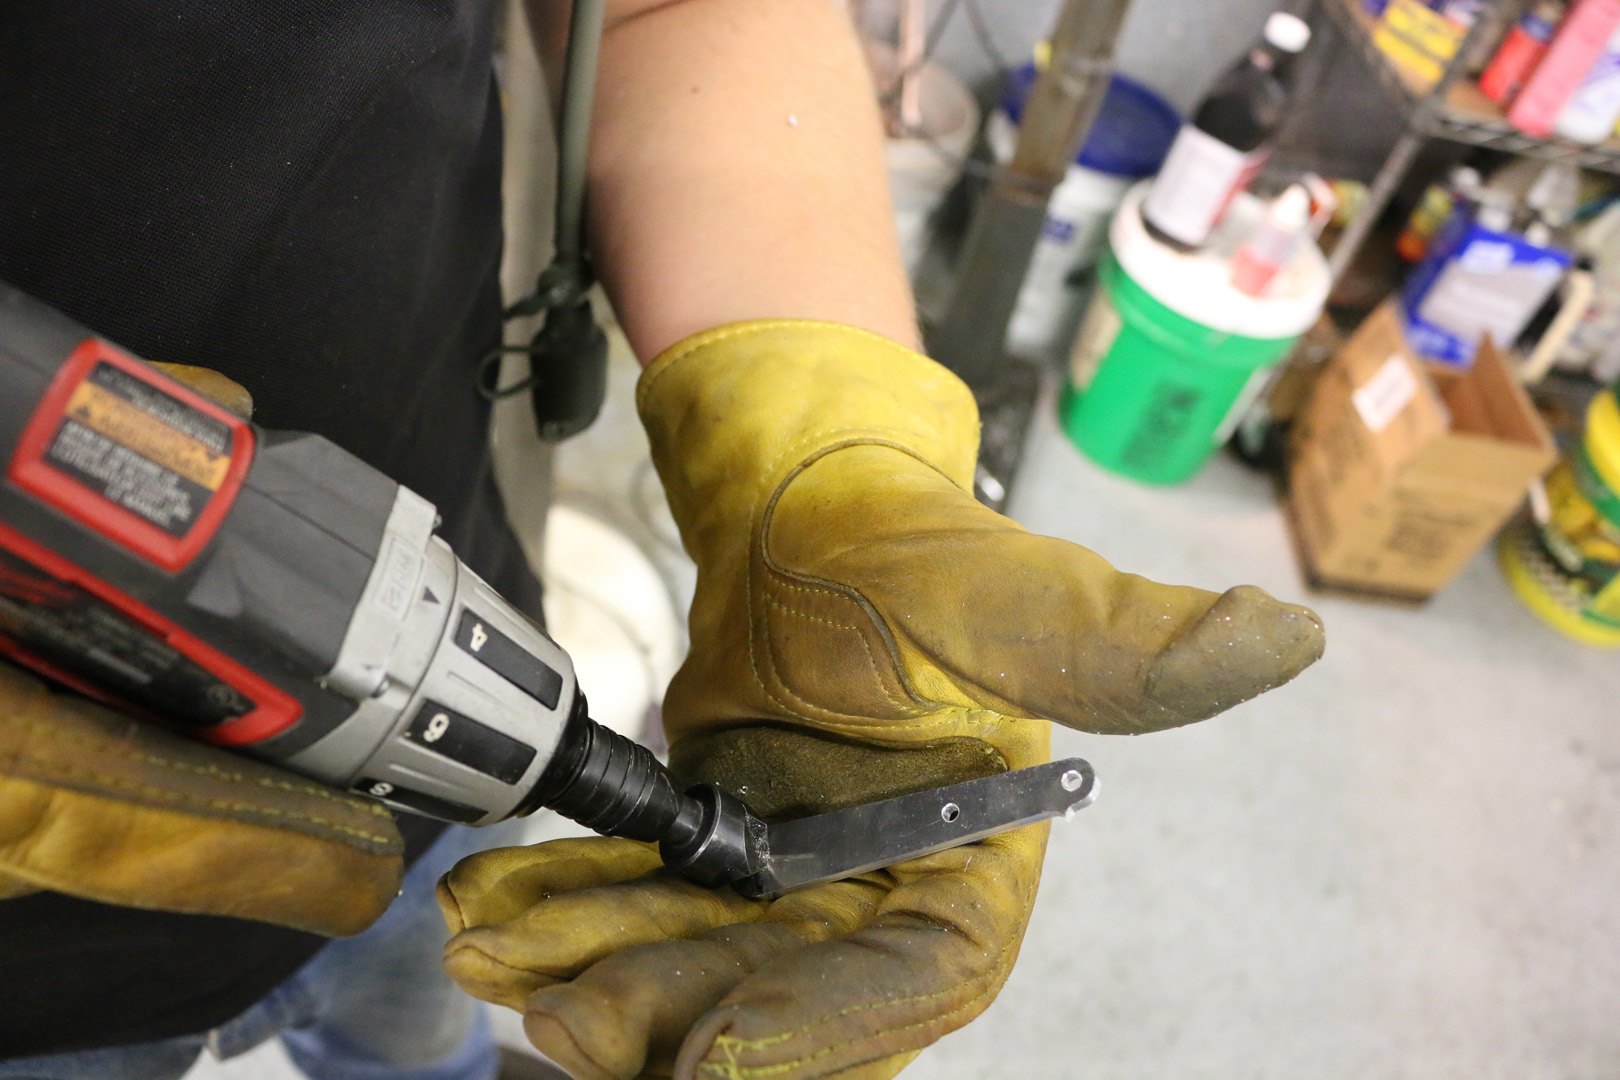
Ceiling the fuel tank