Shop notes · February 2017
EMG-6 "Shop Notes" February 2017
Brian Carpenter · Rainbow Aviation
“EMG-6 Shop Notes” is a day-to-day accounting of what’s going on in the shop with the EMG-6 Electric Motor Glider.
February 20, 2017
After we finish welding the Polini 250 motor mounts we have to protect the tubes from corrosion.
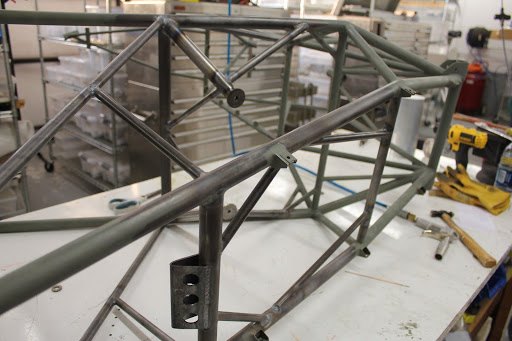
Here you can see where we have removed the self etching primer before welding. This leaves the frame susceptible to corrosion.
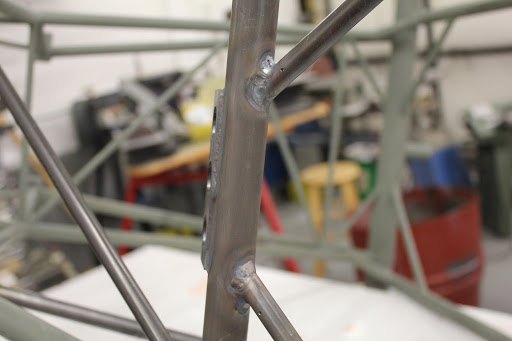
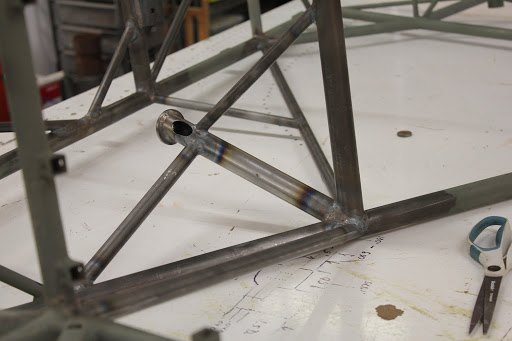
This is an image of the forward Polini 250 motor mount. Again you can see that we have removed the self etching primer that we use for corrosion protection.
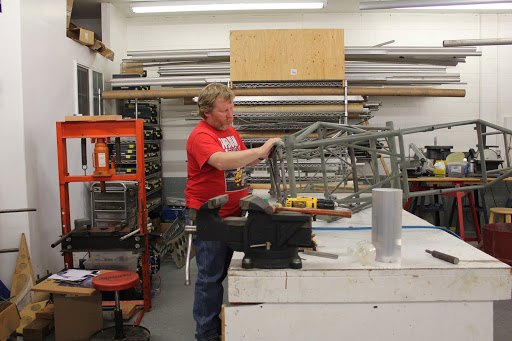
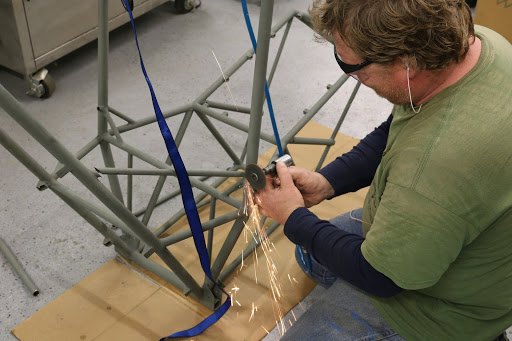
Here we are removing any surface contamination from the welding process with a Scotch Brite pad.
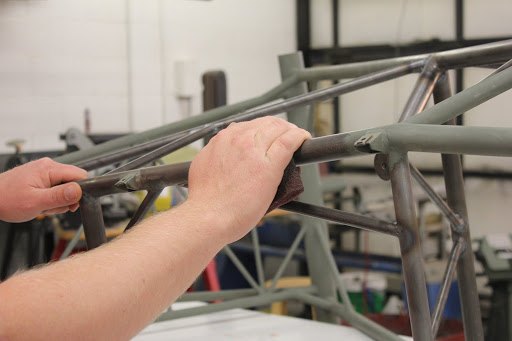
Here is a closeup of the cleaning process. We are using a self etching primer to protect from corrosion. Because this primer will be removed for future welding, epoxy painting, or powder coating. We will not use a surface prep or wash the frame at this time.
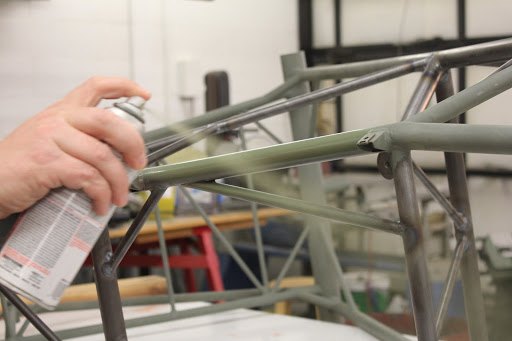
Here we are applying the self etching primer.
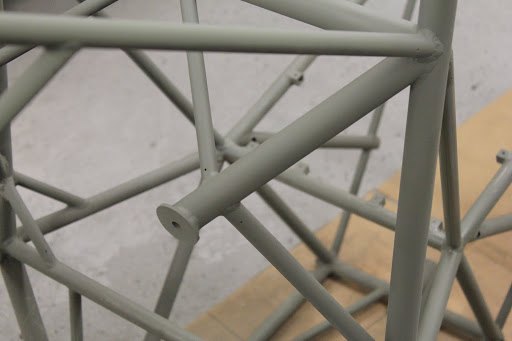
Here is the forward mount after coating it with primer.
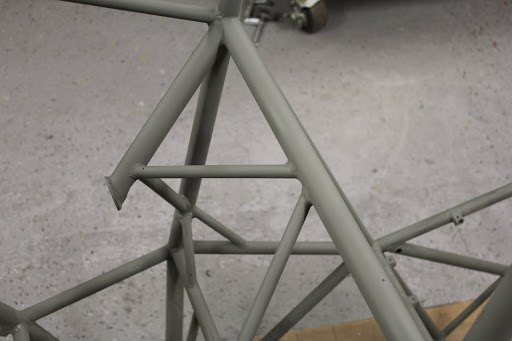
In this photo you can see we have left the pressure relief holes. These will be welded up when we are completely done with any modifications to the frame. We will do a final inspection for pressure relief holes before we paint or powder coat the frame.
February 14, 2017
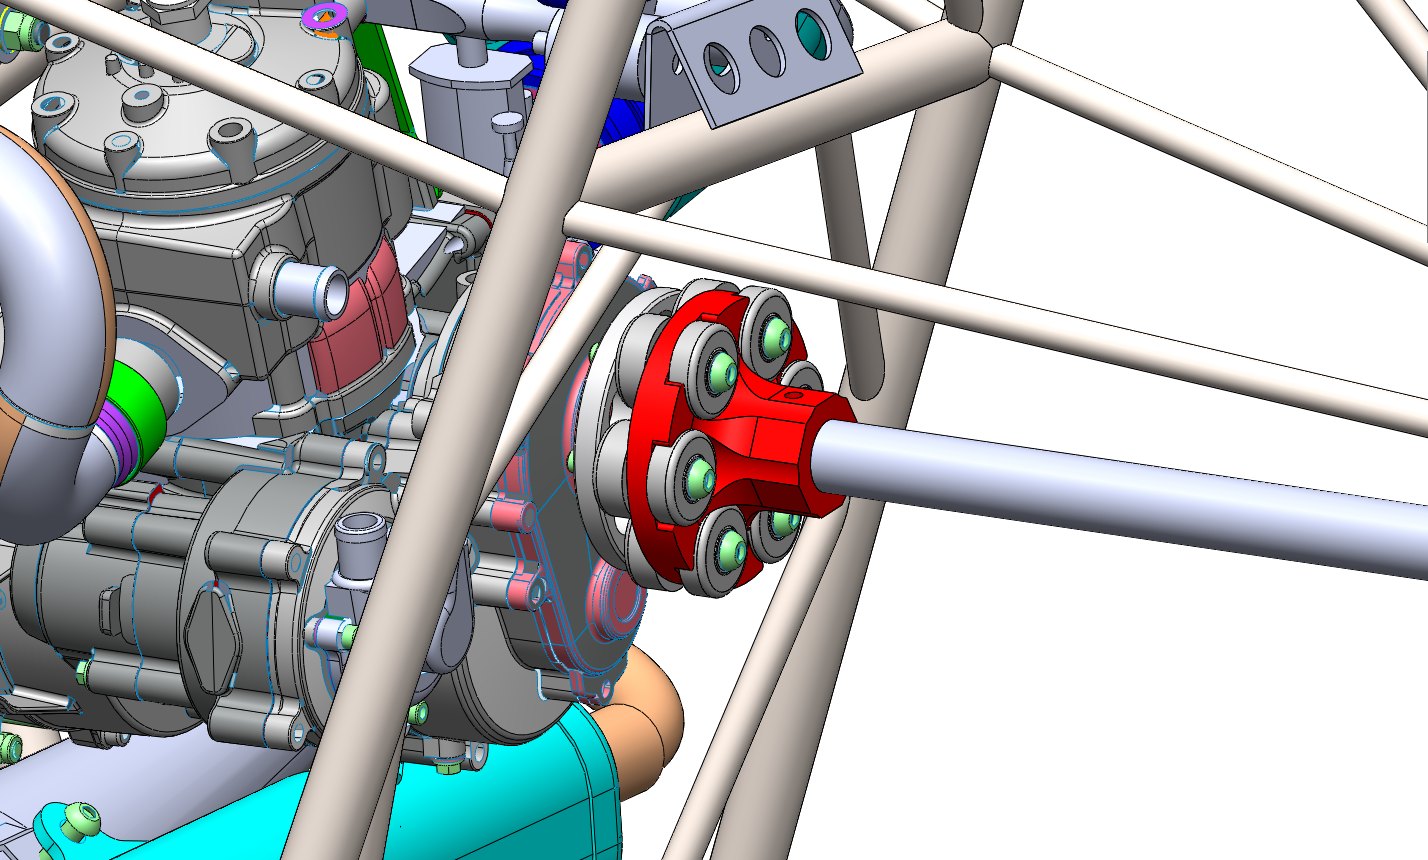
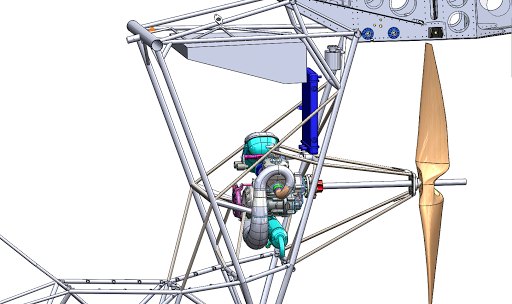
We’ve begun work on the drive system for the Polini 250. In the picture below you see a preliminary drawing of how the drive system might look. We’ve been talking for a long time about the max moment of inertia problems associated with the Polini 250 swinging these large heavy propellers. One of the great advantages of the EMG-6 is not only that we use a small moment of inertia propeller but we believe that the introduction of the additional shock dampening drive system should improve the life of the gearbox substantially.
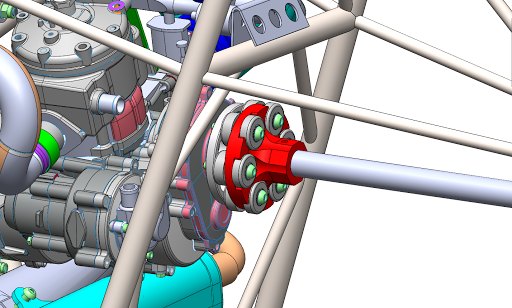
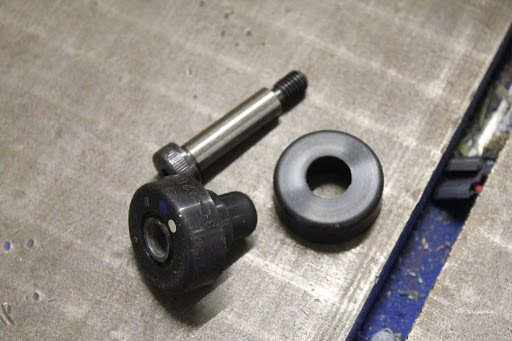
We are utilizing the verse-a-mount shock mounts that are readily available from McMaster Carr. One of the design criteria that always place for mount in the design decisions is how to keep the cost of the aircraft reasonable. Having existing off the shelf components, especially for consumables, is very important.
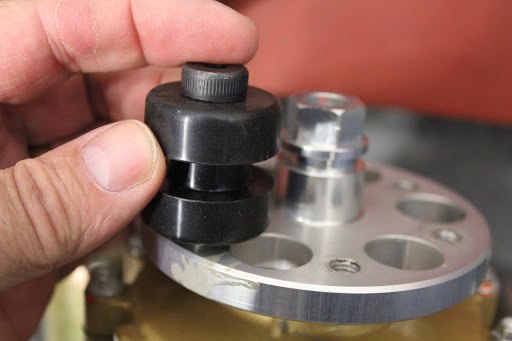
The shock mounts come in a variety of different durometer configurations. We have purchased 3 different sets of shock mounts for testing purposes. We will probably start off with the softest rubber first and then if we notice excessive wear we will go to the next size up. The softer the rubber the less vibration we should encounter.
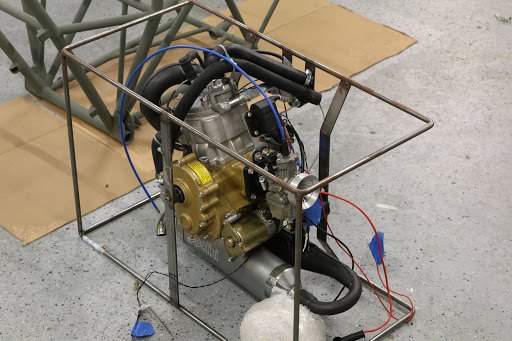
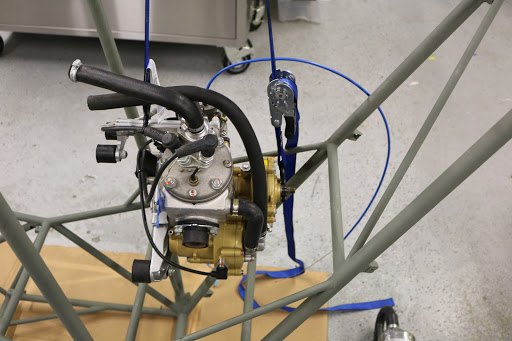
The moment of truth. One thing that we couldn’t easily verify in SOLIDWORKS was whether or not the motor assembly could be removed from the frame after all of the tubes were welded in place. This for servicing purposes would be very important. We could see that it would easily come out of the frame without the exhaust system on, and that was our out. But until we actually tried it we didn’t know if we could remove and install the entire engine assembly preassembled down through all of the tubes and in position.
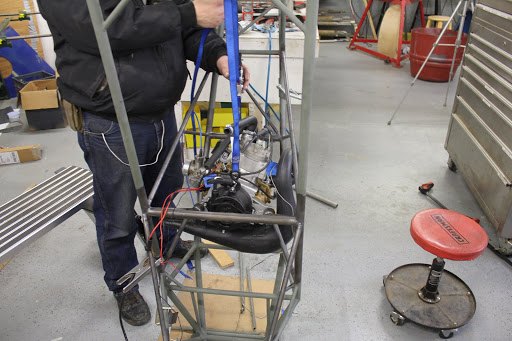
As it turned out, by rotating and twisting in a very specific pattern, the whole assembly comes out of the frame relatively easily. Simply remove the 4 mounting bolts, and we were able to lift the motor out of the mounts.
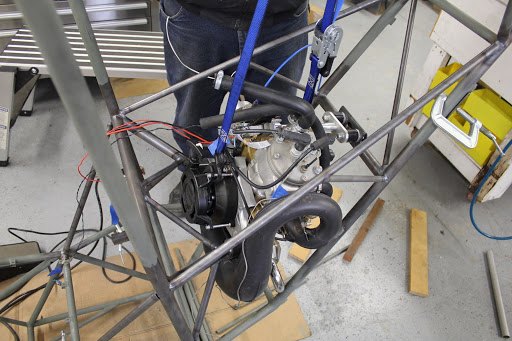
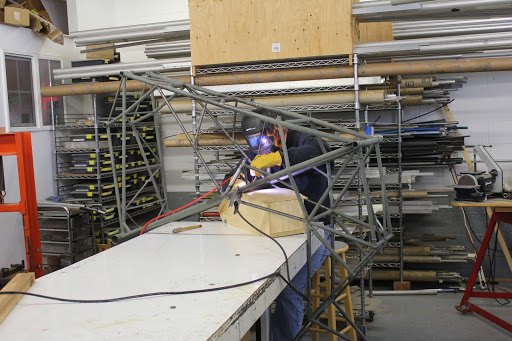
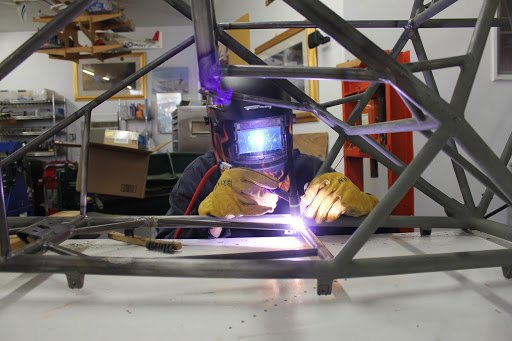
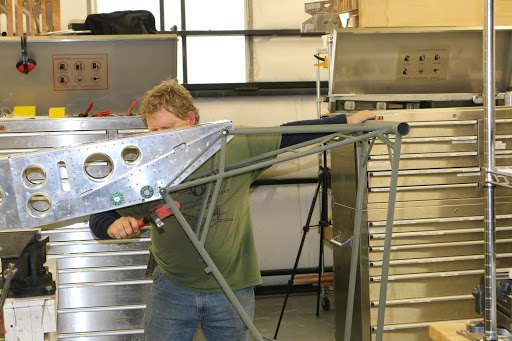
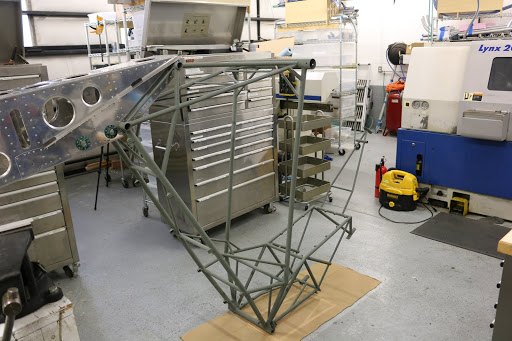
After pulling the fuselage boom assembly and the motor from the frame we are now able to put the frame on the workbench and finish up all of the welding of the tubes. During the fitting process while the aircraft is assembled, we simply tack weld each of the tubes in place. But it is much easier to work with where we can rotate the frame into a comfortable position for welding. One of the great advantages of having a relatively small frame that is lightweight.
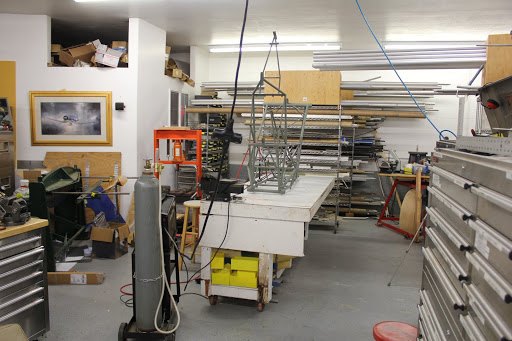
We can flip the frame into any position in order to make it easy to access the welds. The little “Mr. Tig” TIG welder is really handy for this kind of welding. The downside is the duty cycle is relatively small. The big syncro-wave 250 welder that we utilize has a cooling system in the torch head making it virtually unlimited duty cycle. But for the prototyping process like were doing here, the small welder is much more user-friendly.
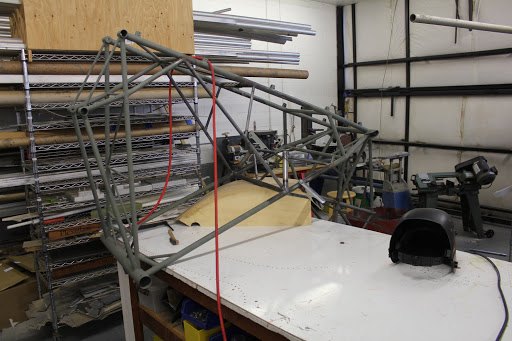
Being able to rotate the frame for welding makes it much easier to access each one of the joints.
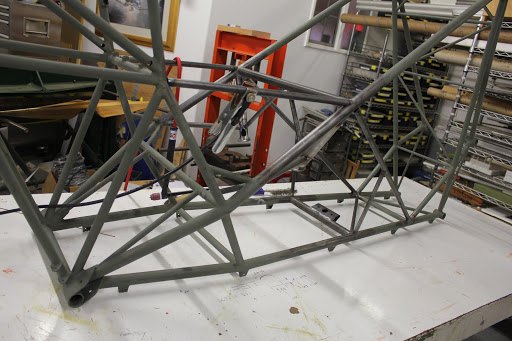
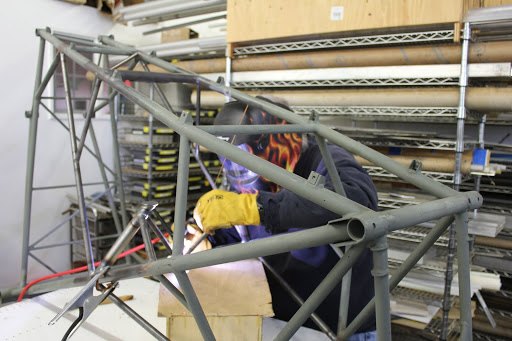
Welding motor mount tubes for the Polini Thor 250.
February 12, 2017
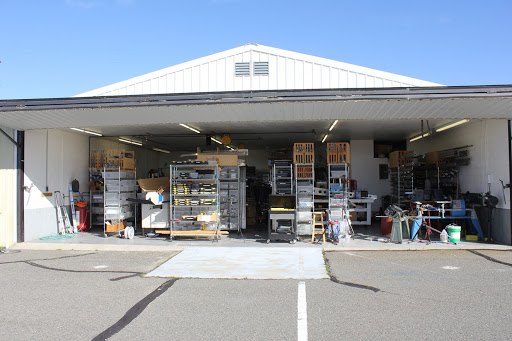
Well, first day of the year that we were able to open up the hangar and enjoy some of the sunshine. That lasted about 3 hours and then we realize that we been invaded by mosquitoes. Well, it was nice while it lasted.
We’ve been continuing to make progress on the Polini 250 installation. 1 of the 1st steps was to anchor the aft motor mount in position.
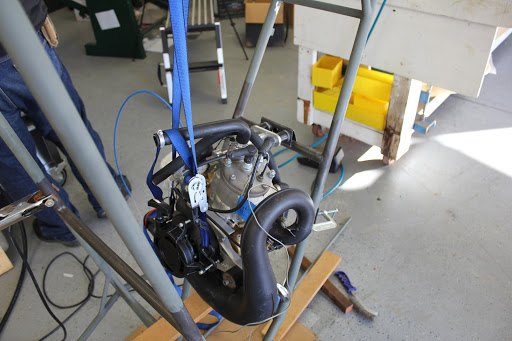
The motor mount plate allows us to screw the Lord mounts from the aft section and this very specifically orients the motor in all 3 axis.
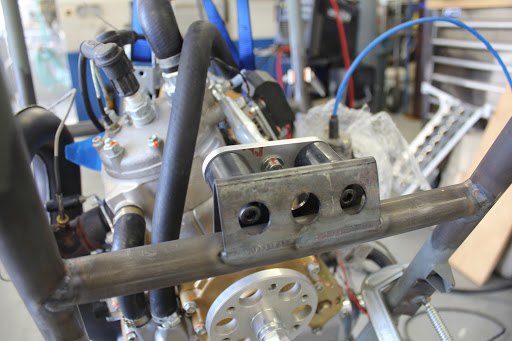
In designing the installation we wanted to be able to use as many of the stock components that come with the Polini from the factory. In doing so we flipped the upper motor mount attachment bracket 180° and sent it to the aft bulkhead as its primary mounting location.
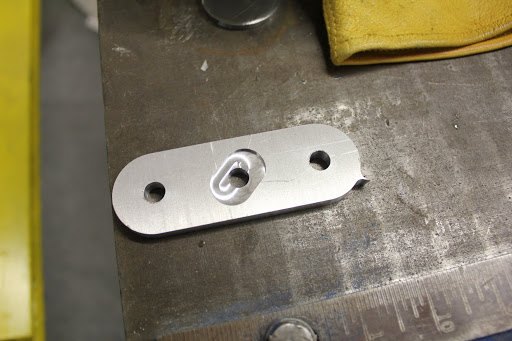
We had to machine a special bracket different from the stock mounting bracket. The reason for this is that the motor center axes is positioned 23° from vertical. And when the mounting bracket is flipped over it then repositions the existing bracket 46°. No problem, we simply had to manufacture a special bracket that would reorient the Lord mounts horizontally to be level with the rear bulkhead cross tube. The slot that is cut into the face is designed to engage the factory manufactured upper mount and prevent twisting.
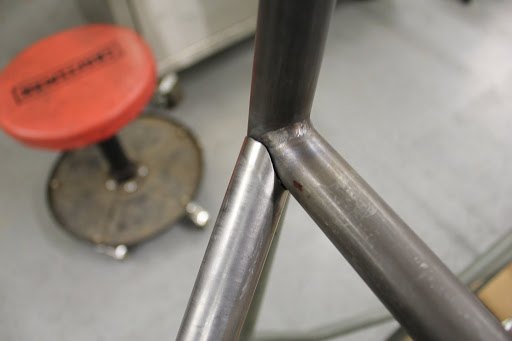
Utilizing our tube template system we were able to get fairly close joints on all of the additional tubes.
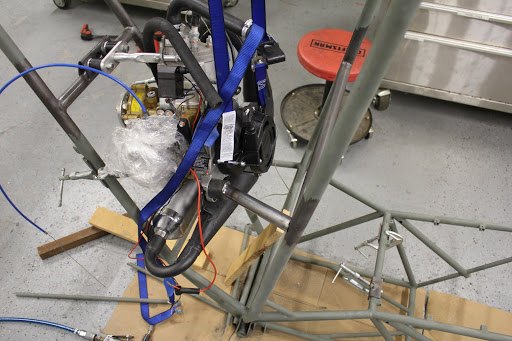
The engine is now mounted into the aft fuselage. The actual tube count and weight of the new installation is just slightly less than the original aft mounted engine configuration.
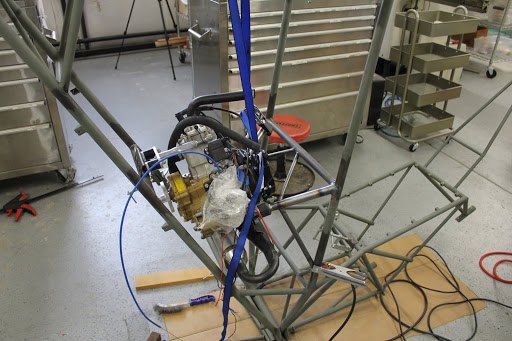
Next step involves a few additional support tubes that will tie the forward and rear bulkhead’s together.
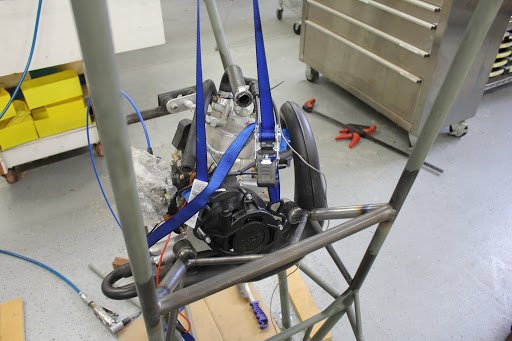
February 11, 2017
This morning we start with a fresh slate. All of the reinforcement tubes for the rear bulkhead have been removed so that we can begin the process of installing the new tubes for the Polini 250 installation. Any time that we weld or grind away other pieces of metal on the frame we go through the process of applying a small thin coat of etching primer. The humidity during the winter months here is enough that we will see corrosion if we don’t.
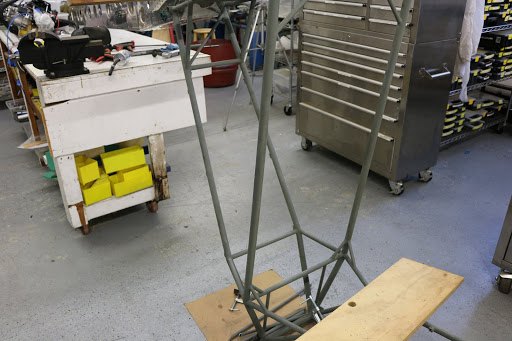
We are creating tube templates for all of the tubing components. If you haven’t seen how we do this system it’s really quite unique. Jason is the master of the tubing templates. He can grab a template and make up a tube that fits just about perfect every time.
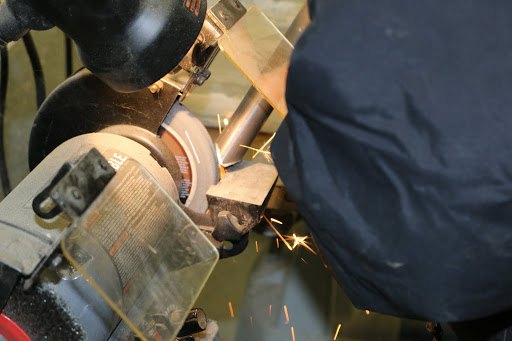
After marking the tube we simply grind away all of the material that is left by the marking pen. We use a silver sharpie that is made for marking on metal and the silver color stands out really clearly against the darker colored 4130 steel tube.
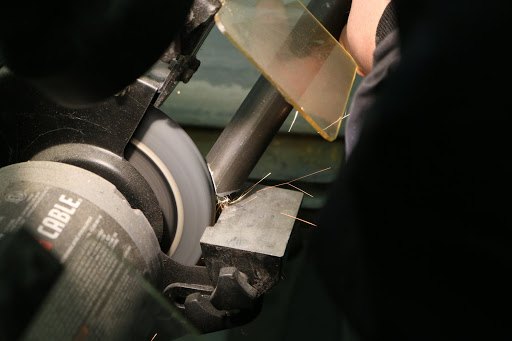
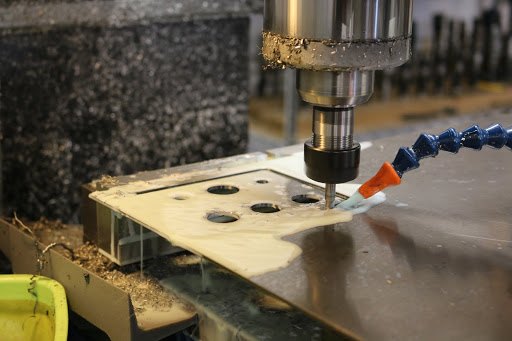
We are having to manufacture a few new components for the motor mount system. This is the flat layout for the aft motor mount attachment. This will have to be bent later and then welded to the rear bulkhead motor mount tube.
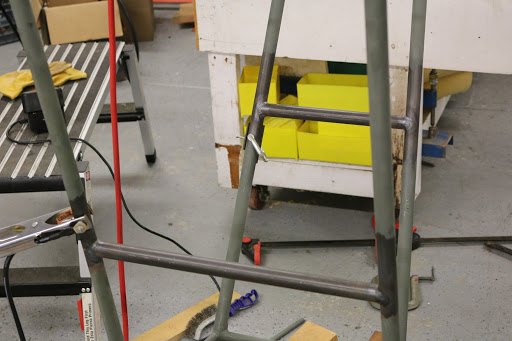
These 2 tubes that are installed here will carry the majority of the load for the Polini 250 installation.
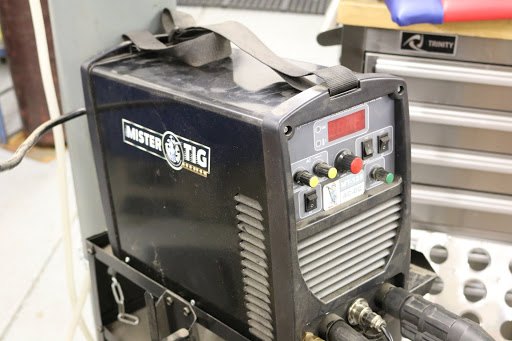
We were able to bring the new Tig welder from the main shop down to hangar 7. It is a 110 powered welder on a small welding cart which makes it very mobile. We normally use the big Miller Synchrowave 250 welder which is very versatile but not very mobile. Being able to weld in hangar 7 has been a great plus since the weather has been so miserable over the last couple weeks. The more that I use this little welder the more comfortable and confident I am in its abilities. For its cost it’s probably the absolute perfect welder for building the EMG-6. We are planning to do some reviews on this welder but until I get some more time utilizing it and testing it in different applications we will hold off a a bit longer.
February 10, 2017
For the last couple weeks we been working on the SOLIDWORKS drawings for the Polini 250 installation. We’re getting pretty close to the final installation mockup in CAD. We are still waiting on several of the design components to show up so that we can continue the design work. We really can’t start the installation until we have completed the entire design and the fitting of all of the individual assessor ease like the radiator, fuel tank, header tank, intake silencer, battery, fuel pump, starter relay etc. all of these components need to interact and fit cleanly into the installation and sometimes even having one component 1/4 inch at a place screws up everything else.
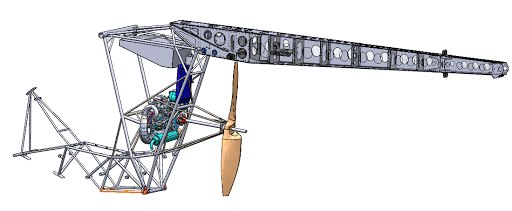
On the original pulley installation that we did for testing of the motor we utilized a aftermarket polypropylene fuel tank just bolted into the rear passenger seat. For the production installation we will manufacture a fuel tank specifically designed to interact with the other components like the radiator. Providing airflow directing down and through the radiator. We have designed a brilliant (if I do say so myself) drive coupling system that we are really excited about. Low-cost, off-the-shelf components (mostly), and should provide exceptional vibration damping. As we get further along will share the drawings for the drive coupling system. We’ve also been working on a driveshaft brake system to be able to stop the prop in-flight. Because of the centrifugal clutch that is installed in the engine, the propeller windmills and creates a significant amount of drag when the engine is at idle. If were going to use this installation as a soaring aircraft. The ability to stop the prop is essential.
February 9, 2017
February 8, 2017
We just hit 1000 subscribers thanks to all of you that follow this webpage and the YouTube channel.
Join a Creator Day to meet and learn alongside other creators
Visit a YouTube Space event or workshop
Attend local meetups and get to know creators in your area
Say hi to our online Creator Community
Get support from a real person here at YouTube
February 7, 2017
We have been diligently seeking out some additional options for electric power systems.
We have been in contact with Steve Tice from EV Drive

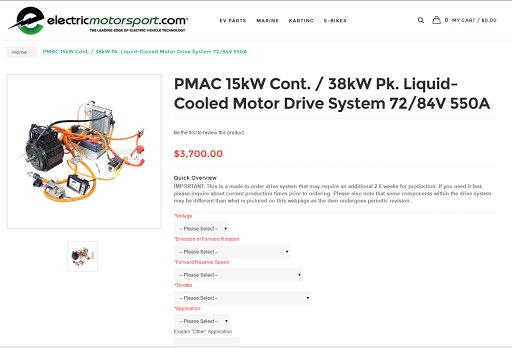
We’ve also been in contact with John from electric motor sports.com looking at the PMAC 15 kW continuous power motor drive system.
We are still reviewing this systems capabilities to determine whether or not it would be adequate for the EMG-6. They are willing to work with us to develop a package that is specifically designed for the EMG-6. And we are looking at the integration of the other modular components into the aircraft.
Click on the link below to see more information about this motor.
February 6, 2017