Shop notes · October 2015
EMG-6 "Shop Notes" October 2015
Brian Carpenter · Rainbow Aviation
October “Shop Notes”
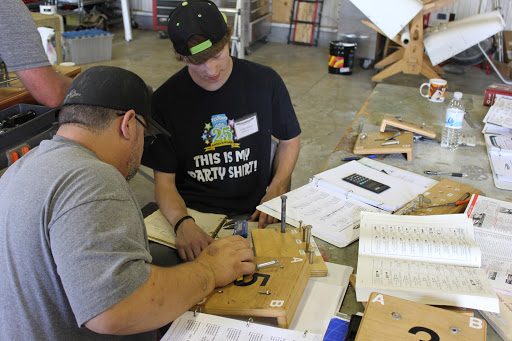
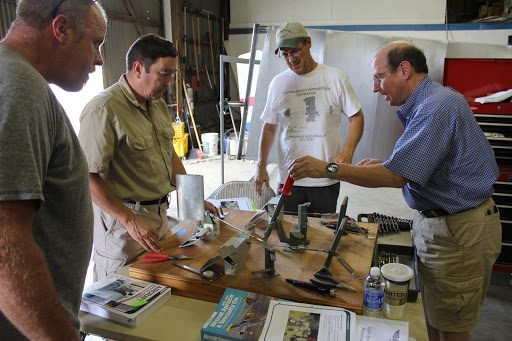
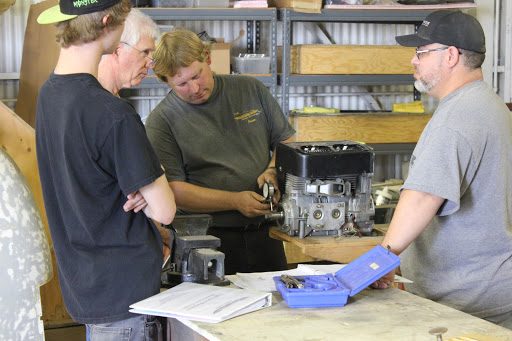
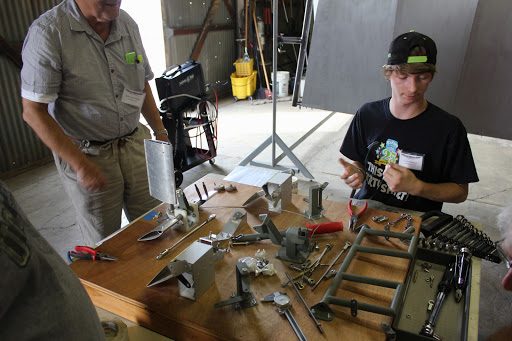
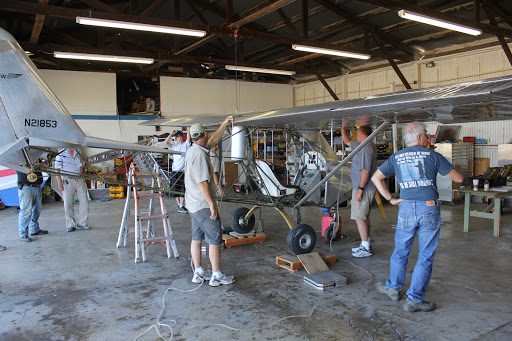
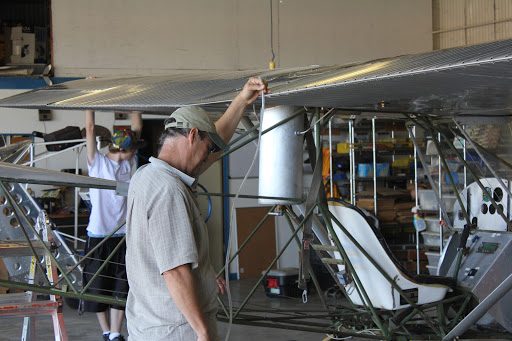
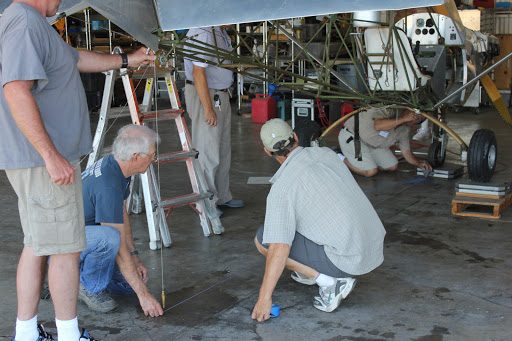
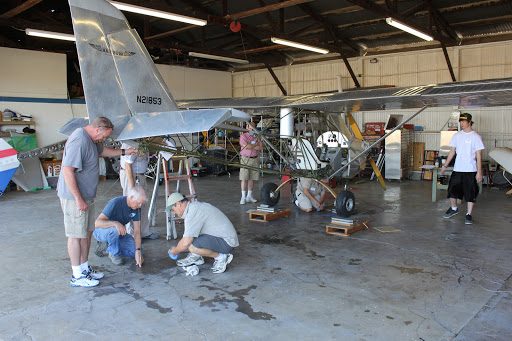
And as such, for those of you that feel angst during the period of time where we hold the light sport repairman maintenance classes because of the lack of posts on the blog we seek your understanding.
I often joke about the development of the EMG-6 as being akin to having a fire hose with hundred dollar bills squirting out the end. Our development of the EMG-6 has always been viewed as a long-term commitment. Our goal has always been to develop a top-notch aircraft at a price point obtainable for the average person.
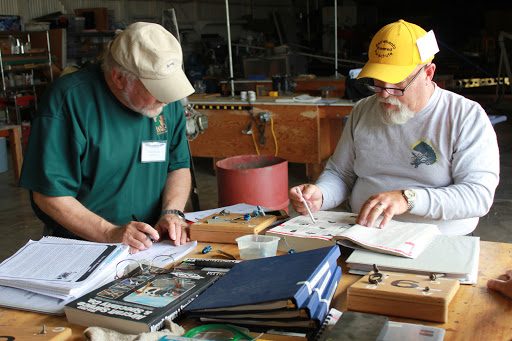
Just like with the development of our Light Sport Repairman Maintenance Class. It was also a long-term commitment that involved a tremendous investment and only through diligence and commitment to the long-term goal were we able to achieve the success that we have with the Repairman Classes. It took nearly 6 years to start to break even with the investment that we had in the Repairman Classes. We expect that it will take even longer to meet our break-even point with the EMG-6.
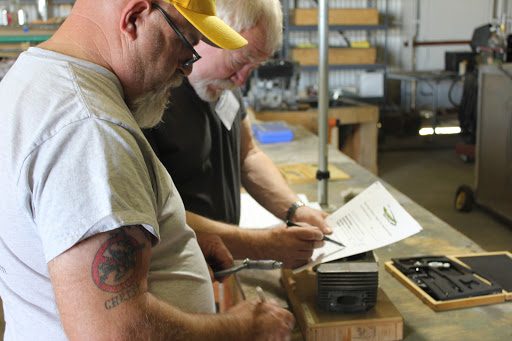
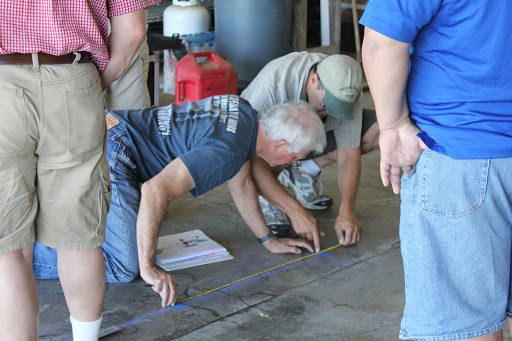
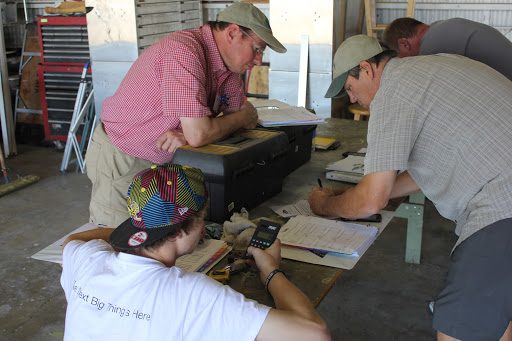
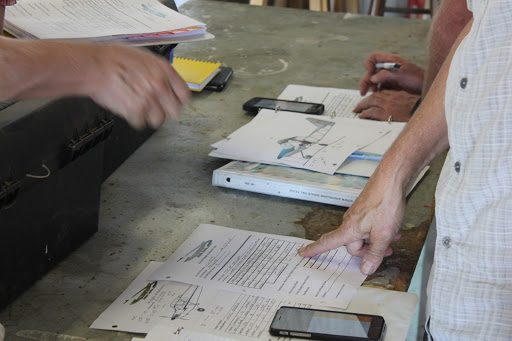
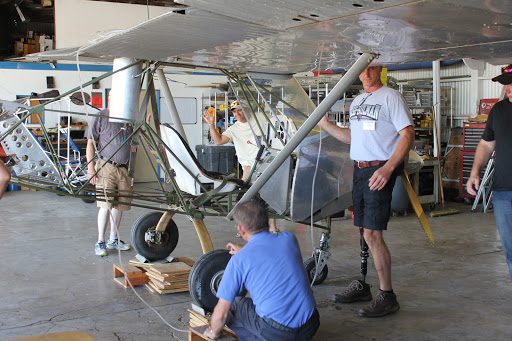
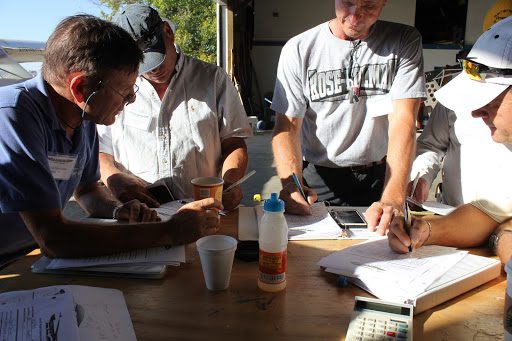
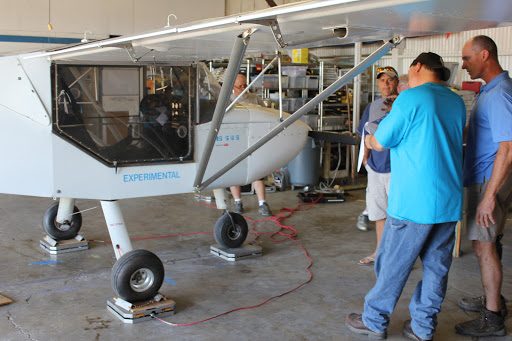
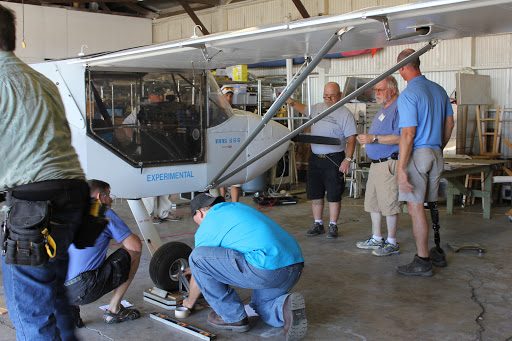
Because we believe in the concept of giving our customers our absolute utmost commitment to providing a great experience when attending our classes, everything else has to take a backseat during this 15 days. This becomes an all hands on deck effort and easily takes fourteen to sixteen hour days to put together.
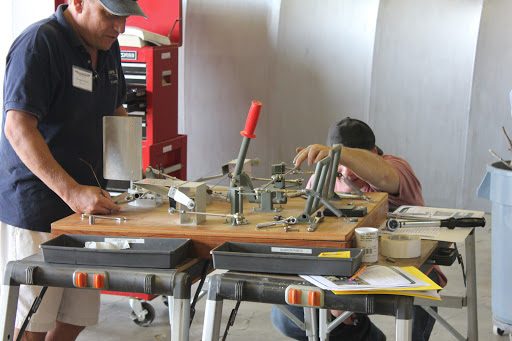
The Light Sport Repairman Maintenance Class is an FAA certificate program to allow individuals working on light sport aircraft all of the privileges of an airframe and powerplant license (A& P) as well as inspection authorization (IA), Limited to light sport aircraft and experimental light sport aircraft.
This program has been extremely popular and provides opportunities to individuals looking to work in the light sport aircraft arena to be able to do major modifications, annual inspections, 100 hour inspections, engine overhauls, avionics installations, and pretty much every other operation that an A&P IA would do.
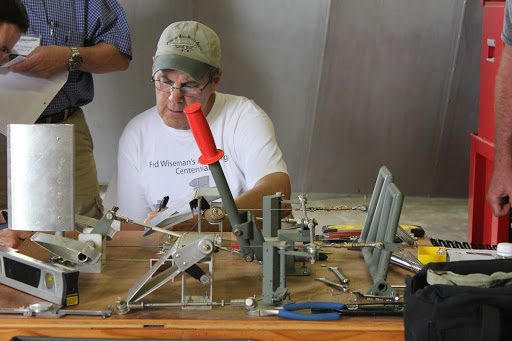
The class takes place 3 to 4 times a year in Corning California and runs for fifteen days with the option for 2 day add-on modules for glider, powered parachute, and weight shift aircraft.
For more information about the light sport repairman maintenance classes. You can link to the Rainbow Aviation website.
October 5, 2015 Dope And the Fabric Cover Design For Ailerons Completed
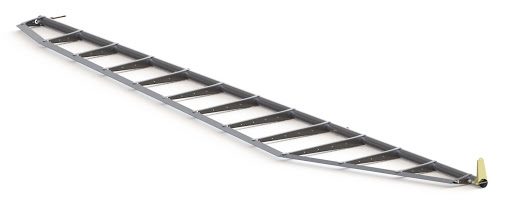
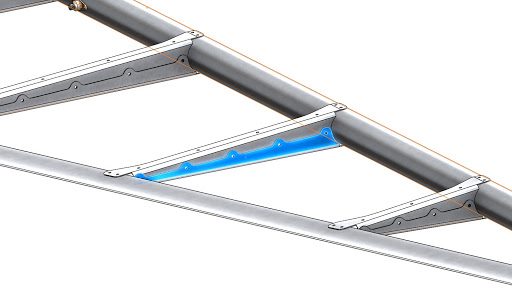
All of the design work is now completed for the Low drag ailerons that will be using the dope and fabric type of construction.
The primary spar for the ailerons is manufactured from 1.5″ x .035 6061 T6 aluminum tube.
Because of the length of the tube it will be spliced at about the 75% station.
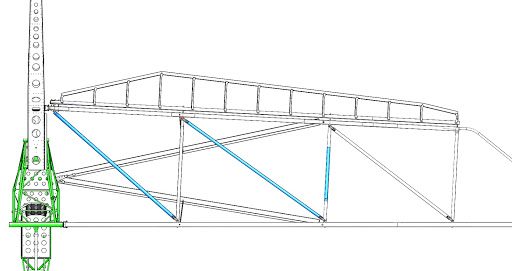
The ribs are manufactured from 2024 T3 aluminum and are manufactured from two separate pieces that will be riveted together to make up the full rib.
The ribs will be attached to the structure with CCP-4-2 stainless steel rivets
This type of construction will allow for a much cleaner lower drag profile.
We have calculated that we will sacrifice about 1.2 pounds by going to this design.
Now that we have completed the design work we need to make drawings for each one of the parts and as soon as those are completed we will post them on the builders database.
October 2, 2015 Meeting with RND (Electric Motor Development)
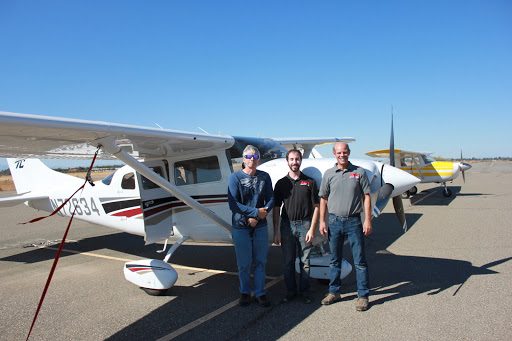
We continue to see progress around the new electric motor that is being developed by RND. Ed Donovan owner of RND (Shown on the right) flew his Cessna 206, up from Lancaster today and brought his director of marketing and one of his engineers along to discuss some of the aspects of the new electric motor development.
And NO! I still can’t share any of the pictures or details about the motor at this point in time. Suffice it to say, though, It Is Awesome!!!. We were able to take a look at the motor in position on the aircraft and get some better ideas about how it’s going to look. We will be receiving some solid works files so that we can do some additional 3-D modeling of the new motor. We also sent four sets of propeller blades home with them for testing purposes.
I can tell you that the motor is designed for 20 hp continuous power output and is being designed with efficiencies in excess of 97%.
The motor is being built in conjunction with another company that is working on the controller system and there is a lot of proprietary information that cannot be made public at this point in time.
Over the next couple of months we will be designing some motor mount and fairing systems and looking at using the new motor as a twin engine configuration for the aircraft as well.
We are very excited about the possibilities of this motor being a commercially viable plug-and-play system for not only the EMG-6. But other aircraft as well. I will let you all be informed of any new information as soon as I am permitted to provide it.
October 1, 2015 Covering the Wings
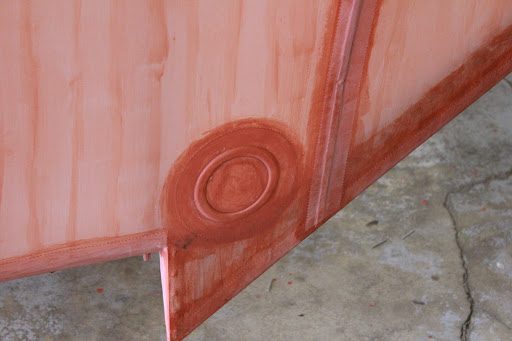
As we continue the covering process for the wings. We are now into the detailed sections.
In this picture here we are installing an inspection ring for future cut out and access for maintenance or inspection.
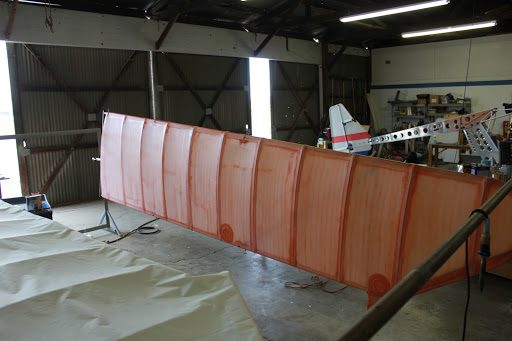
In this picture here we can see that the wing only requires two inspection locations, one at the outboard aileron hinge location on the lower aft section of the wing and one additional inspection cover on the lower trailing edge section of the wing near the wing lift struts.
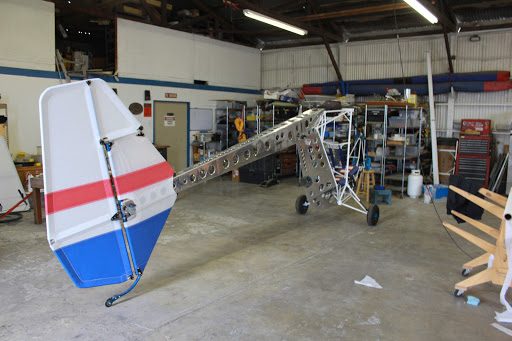
We have brought the fuselage down to the workshop so that we can begin the covering process on the fuselage boom and tail assembly.
The Dacron sailcloth (ultralight) covering will be removed and the vertical stabilizer covered with the Stitts poly fiber process like we’re doing with the wings.
The rudder, elevator, and ailerons will be getting the upgrade to the low drag version of the flight control system using the Stitts poly fiber process as well.
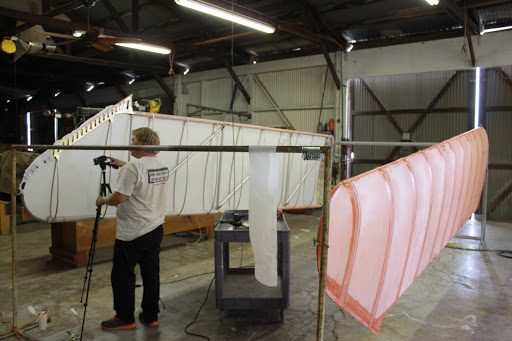
We are beginning the covering process on the right wing now and in this picture here we are starting on the bottom surface once again, and continuing the same process that we accomplished on the left wing.
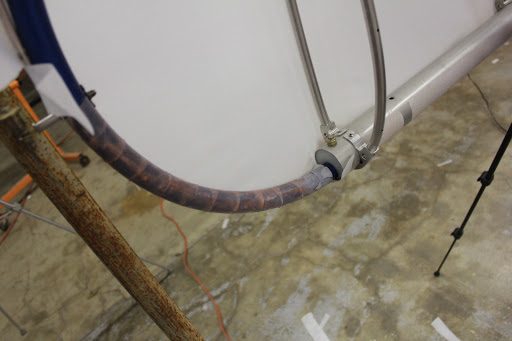
The lower skin fabric is applied and then wrapped 270° around the perimeter of the entire structure during the covering process.
This provides a very large adhesion area.
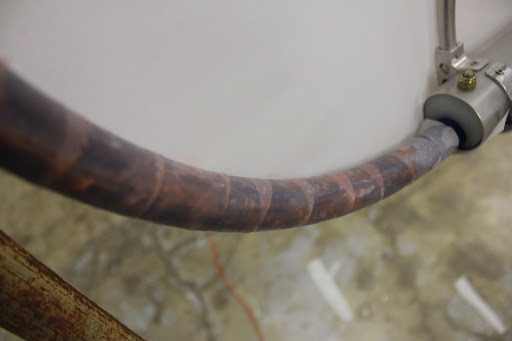
Because of the compound curved at the wing tip areas and the rounded wing tip bow it requires regular pleating of the fabric allowing it to conform to the curved surface.
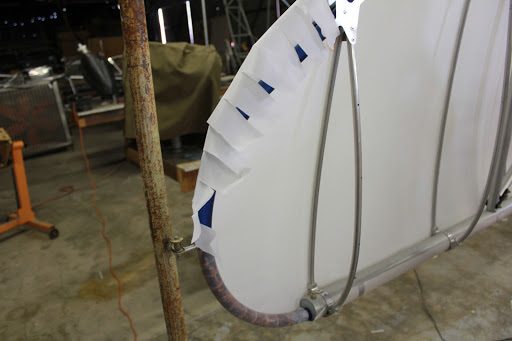
The same is true on the aft section of the wing tip bow, the requirement for completing the curve surface incorporates large pleated areas.
The fabric is also left long enough so that it can conform to the wing tip bow all the way from the trailing edge fairing tube to the wing tip bow.
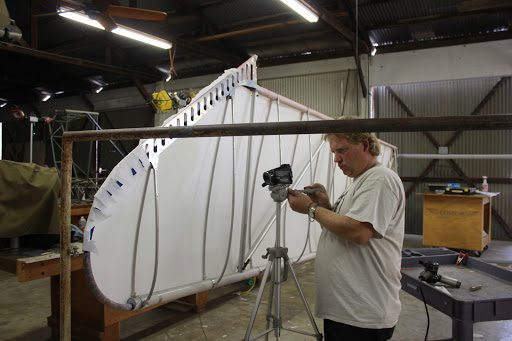
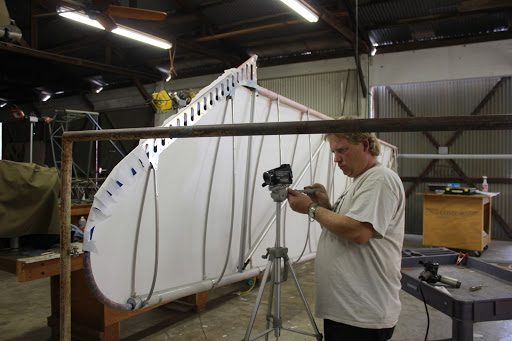
During the covering process on the right wing. We are videotaping each one of the detailed processes so that we can create a “Building the EMG-6” video segment on the wing covering process.
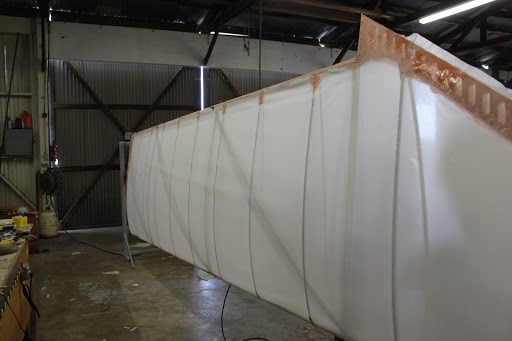
The covering on the bottom of the right wing is now attached around the perimeter of the structure.
We don’t glue to any of the ribs or intermediate components. This will allow the fabric to shrink uniformly without distorting any of the rib tubes that are floating in between the spars.
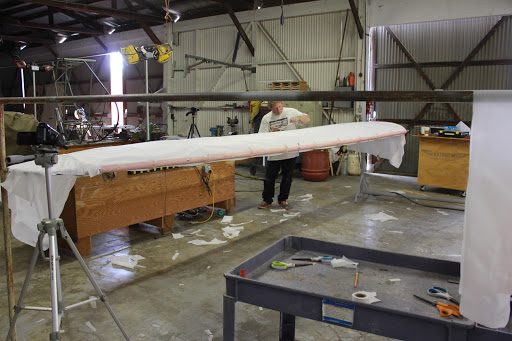
The next step in the process is to attach the fabric to the top surface of the wing using the same processes that we did on the other wing and the lower surface.
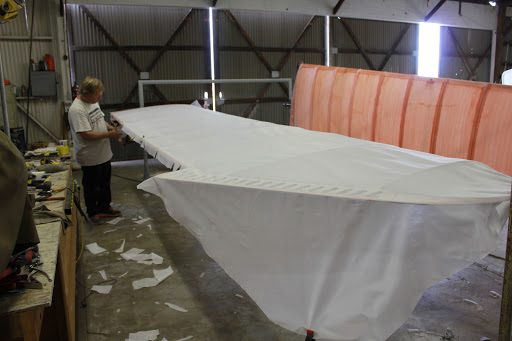
Just like on the bottom surface. Each one of the areas around a bolt or fitting has to be cut away to provide for good flat contact of the fabric on the upper surface to the lower surface.
The fabric is wrapped 180° around the spar and the seam is on the bottom side of the fabric.
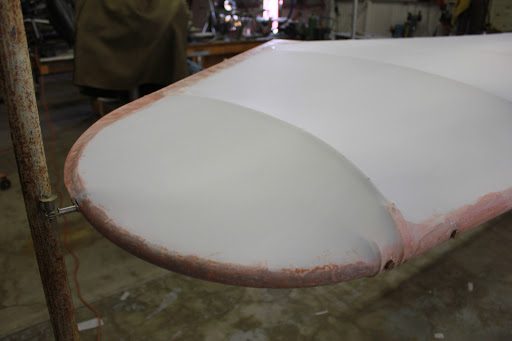
The wing tip area is by far the most difficult area to cover because of the compound curve and the radius of the wing tip bow.
With a little bit of technique and shrinking of the fabric prior to gluing in strategic areas we can achieve a very clean, smooth wing tip.
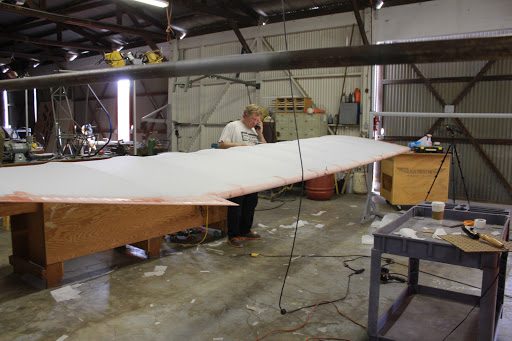
In this picture we have both top and bottom fabric installed and are getting ready for the attachment of some of the finishing tapes.
In this picture here we are shrinking the fabric on both the top and bottom surfaces, and applying the final 350° stabilizing pass.
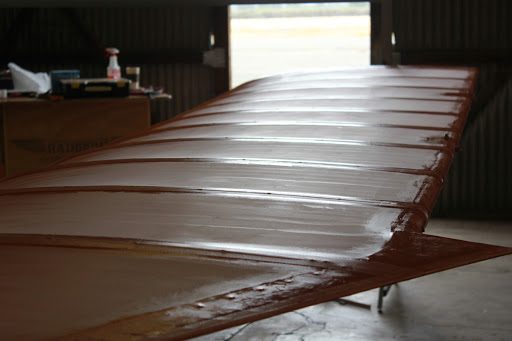
The left-wing continues to get the finishing details worked out. Application of more poly brush along the seams of each finishing tape.
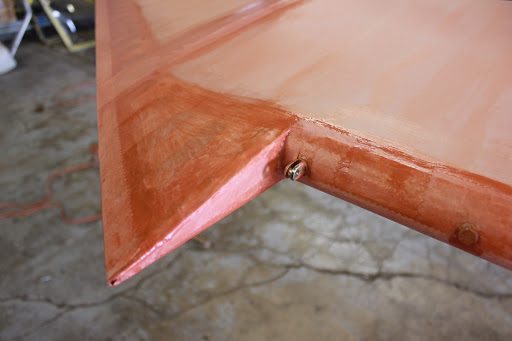
The wing tip area shown with the reinforcing tapes and finishing tapes located around the hinges and bolts.
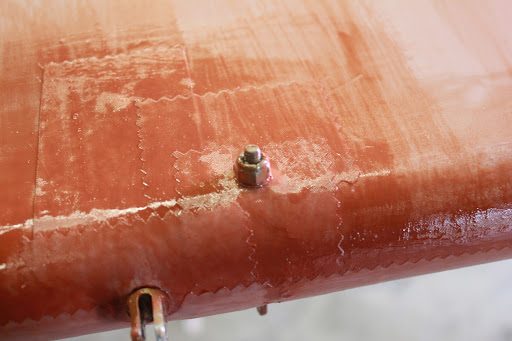
More finishing in reinforcing tapes located around both the bolts that penetrate the spar tubes as well as reinforcement for areas where bolts are located just under the fabric to provide where protection over time.
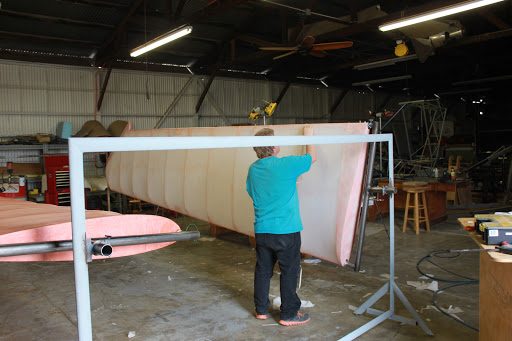
We now begin the process of installing the reinforcing tape’s.
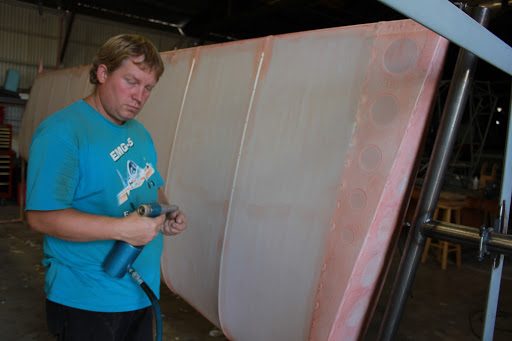
The reinforcing tape’s are a adhesive backed 3/8 inch wide, heavy-duty tape that will transfer the loads from the wing skins to the ribs.
The tapes are applied and then holes are made through the reinforcing tape with a hot soldering iron tip and then 4-2 aluminum pop rivets are installed over the reinforcing tape into the aluminum rib tube.
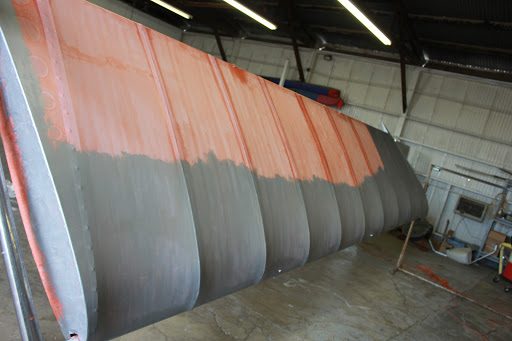
The left-wing begins to get its first coat of brushed on poly spray aluminized coding to protect from UV damage.
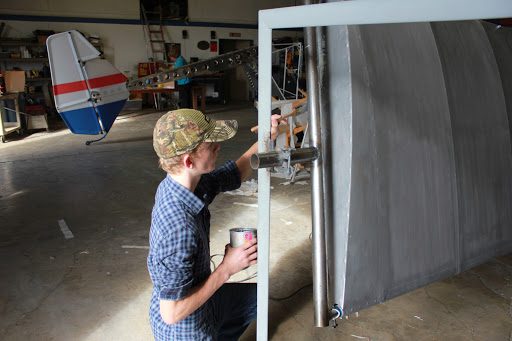
Kristian Is shown here. Brushing on the first of two coats of poly spray.
The poly spray is normally sprayed onto the fabric. However our spray booth is not set up and will take a couple of days to get it set up so we are going to simply brush on the first two coats and will spray the remaining coats.
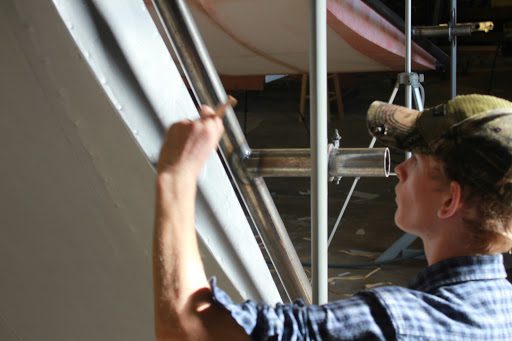
Kristian Is one of our helpers in the shop that works on a regular basis doing miscellaneous odds and ends.
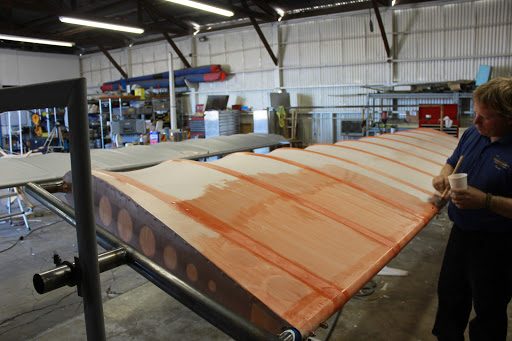
The reinforcing tape’s and finish dates have been completed on the right wing and Jason is now doing the second of two coats of poly brush over the entire surface.